


 Order Status & Returns
 Gift Cards
 Help Center
 1-800-345-4545
Driveshaft Safety Loops
A driveshaft safety loop is a steel hoop that surrounds your driveshaft and catches it if something in the driveline breaks. JEGS carries bolt-on, weld-in, universal and vehicle-specific loops in one place, with fitments for popular muscle cars, pony cars and custom race chassis. Shop by your car, your class rules and your install plan, and you'll have the right loop in the tunnel before your next pass.
Show More
What Does a Driveshaft Safety Loop Do?
A driveshaft safety loop catches your driveshaft if a joint or the tube fails. Without one, a loose shaft can dig into the track, vault the car or whip through the floor pan. When the front joint breaks, the tube drops while it's still spinning at driveline speed, and that's the failure a loop is built to contain.
Launch loads are what break parts. Sticky tires, a transbrake or a hard clutch dump send a shock load through the front joint that street driving never does. Worn or overloaded U-joints are a common weak point, and the loop is your backup when one lets go.
A loop won't prevent the failure, but it limits the damage. Pair it with U-joint straps and girdles that help keep the bearing caps seated under load. Feel a shake on the street? Start with our guide to diagnosing driveline vibration at highway speeds, since a worn joint often vibrates before it breaks.
NHRA Driveshaft Loop Requirements
NHRA rules generally require a driveshaft loop on cars running quarter-mile times of 13.99 or quicker on slicks, or 11.49 or quicker on street tires. That cutoff catches plenty of street cars with sticky tires and a power adder, so check your time slips before your next tech inspection.
The rules also cover placement and construction. Here's what NHRA rules generally call for:
- A loop located behind the front U-joint, within 6 inches of its center
- A full 360-degree enclosure around the driveshaft
- Steel plate at least 1/4-in. thick and 2-in. wide
- Welded steel tubing at least 7/8-in. x .065-in. as an alternative
Rules change, and some classes add their own requirements, so confirm the details in the current NHRA rulebook before you buy. Our bracket racing tech articles cover more race-day prep. You'll find the parts that spin inside the loop in our driveshafts, yokes and U-joints category.
Bolt-On vs. Weld-In Driveshaft Loops
The difference is how the loop attaches: a bolt-on design mounts with hardware, while a weld-in kit welds its mounts to the chassis. Pick based on your tools, your chassis and how permanent you want the install to be.
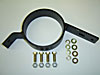
Bolt-on loops are the easier job in a home garage. The Competition Engineering Universal Driveshaft Loop Bolt-In uses a CNC-formed plate that's 2-in. wide and 1/4-in. thick mild steel. It's zinc plated and mounts to the floor pan with four fasteners per side.
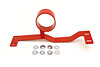
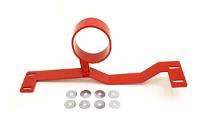
The BMR Suspension two-piece G-Body loop uses CNC-formed 1/4-in. plate steel and Grade 8 hardware, and it installs without welding.
Weld-in kits need a welder and some fabrication time, but they let you set the loop exactly where your chassis needs it. The Competition Engineering Tubular Driveshaft Loop Kit uses 1.25-in. OD x .083-in. wall mild steel tubing. Its loop is removable, so you can still service the driveshaft after the mounts are welded in.
Universal vs. Vehicle-Specific Driveshaft Loops
A vehicle-specific loop is shaped for one chassis and uses known mounting points. A universal loop adapts to almost any car with some measuring and fitting. If you drive a popular platform, a vehicle-specific loop is usually the simplest path.
Brands on this page cover a wide range of fitments:
- BMR Suspension loops for 1982-2002 Camaro and Firebird, 2010-2014 Camaro, 2005-2014 Mustang GT and 2015-2017 Challenger
- Metco Motorsports loops for 1965-1967 Mustang and 1979-2004 Mustang and Cobra
- Lakewood loops for 1982-1992 Camaro and Firebird and 1979-1986 Mercury Capri
- Rhodes Race Cars loops and loop kits with a 360-degree design
Universal loops, including the Competition Engineering bolt-in and weld-in designs, make sense for swapped, custom or less common chassis. Measure your tunnel and driveshaft diameter before you order. Then make sure the loop leaves clearance all the way around the tube. A universal loop takes more fitting time, but it's the right call when no vehicle-specific loop exists for your build.
Where to Mount a Driveshaft Loop
Mount the loop behind the front U-joint, as close as your tunnel allows and within the distance your class rules set. That spot matters because a front joint failure is the one that lets the shaft drop and dig in.
Check a few things before you drill or weld. At ride height, the loop should surround the tube with even clearance so it won't touch the shaft as the suspension moves. Confirm it clears nearby lines, pipes and wiring, and that the mounts land on solid floor pan or frame structure.
Vehicle-specific loops take most of the guesswork out because they use known locations. Universal loops put the layout in your hands, so mock it up, measure twice and recheck clearance before final install. Replacing worn parts while the car's on the lift? Browse driveshafts and components or our full lineup of transmission and drivetrain parts to finish the job.

ADD A VEHICLE TO GUARANTEE PARTS FIT
See products that fit

ADD A VEHICLE TO GUARANTEE PARTS FIT
See products that fit

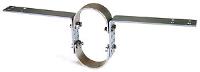
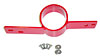
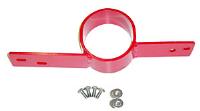
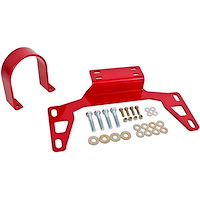
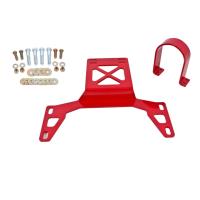
![2-Piece Driveshaft Safety Loop For 1983-1987 GM G-Body [Red]](https://www.jegs.com/images/mini_100/100/142/142-dsl460r.jpg)
![2-Piece Driveshaft Safety Loop For 1983-1987 GM G-Body [Red]](https://www.jegs.com/images/mini_200/100/142/142-dsl460r.jpg)
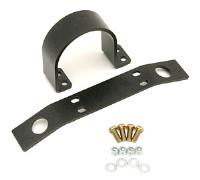


STIFFLERS SUSPENSION
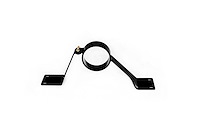
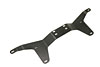
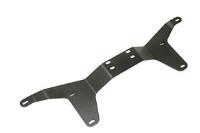
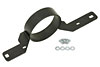
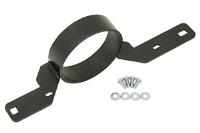
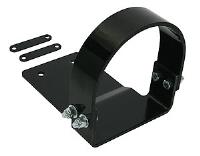
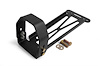
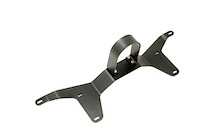
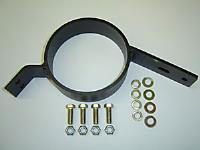
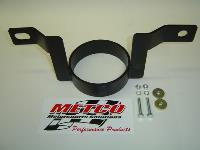
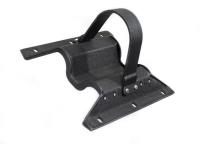
DSL-M02 Drive Shaft Loop for 1979-1998 Ford Mustang, Fits Trans (AOD, AODE, 4R70W, TR-3650, T-45, T-56, TKO)
Part Number: 483-DSL-M02
 Ships on 10/12/2026
 Lowest price guarantee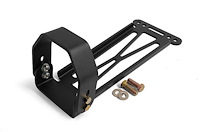
STIFFLERS SUSPENSION
DSL-M02 Drive Shaft Loop for 1979-1998 Ford Mustang, Fits Trans (AOD, AODE, 4R70W, TR-3650, T-45, T-56, TKO)
Part Number: 483-DSL-M02
Ships on 10/12/2026Lowest Price Guarantee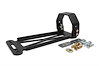
STIFFLERS SUSPENSION
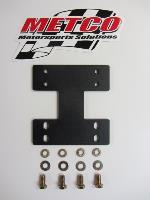
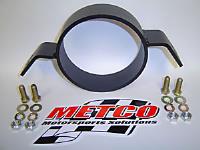
DSL-M01 Drive Shaft Loop for 1999-2004 Ford Mustang, Fits Trans (C4, POWERGLIDE, TH350, 700-R4)
Part Number: 483-DSL-M01
Ships on 10/12/2026Lowest price guarantee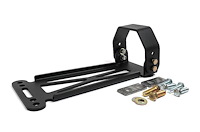
STIFFLERS SUSPENSION
DSL-M01 Drive Shaft Loop for 1999-2004 Ford Mustang, Fits Trans (C4, POWERGLIDE, TH350, 700-R4)
Part Number: 483-DSL-M01
Ships on 10/12/2026Lowest Price Guarantee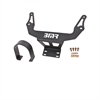
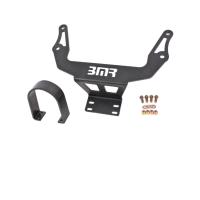
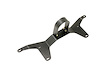
Frequently Asked Questions About Driveshaft Safety Loops
Do I have to remove the driveshaft to install a loop?
Not always. The BMR Suspension two-piece G-Body loop, for example, installs without removing the driveshaft or welding. Weld-in kits are a bigger job, and many builders pull the shaft to protect it from heat and spatter. Our transmission and drivetrain tech articles cover more driveline install and service basics.
Can I build my own driveshaft loop?
You can, as long as it meets your class rules and passes tech inspection. NHRA rules generally call for 1/4-in. x 2-in. steel plate or 7/8-in. x .065-in. welded steel tubing in a 360-degree enclosure. A weld-in kit like the Competition Engineering tubular kit gives you the tubing and a removable loop, so you only fabricate and weld the mounts.
Do I need a loop for a two-piece driveshaft or a rear loop?
A two-piece driveshaft still needs protection at the front joint, and its extra joint and center support add more places for a failure. Confirm the loop you choose fits your driveshaft layout before you order. Some racers add a second loop farther back, so check your class rules and your chassis builder's recommendations.
How much does a driveshaft safety loop cost?
Price depends on fitment and design. On this page, the BMR Suspension 1982-2002 Camaro and Firebird loop is $59.95, and the BMR two-piece G-Body loop is $69.95. The Rhodes Race Cars 360-degree loop is $74.95. The Competition Engineering tubular weld-in kit is $114.99, and prices can change.
Does a driveshaft loop reduce ground clearance?
In most installs, it shouldn't. A properly mounted loop sits up around the driveshaft in the tunnel, so it typically stays above the lowest point of the car. Universal loops vary with the mount, so check clearance at ride height before you drive it.