So, it's finally time to restore your ride. Maybe you have that rust spot that seems to continue to come back or the dent from ages ago that isn't perfectly straight. New replacement body panels can certainly be the long-term fix you need. Whether you're an experienced body technician or this is your first restoration, this article will provide tips and tricks on choosing and installing body panels correctly the first time so you can complete your car or exterior truck restoration.
What Are Body Panels & When You Need to Replace Them
Auto body panels provide two main functions. First, they create protection for passengers, the engine, drivetrain from the elements and from damage during an accident. The second function of a truck or car body panel is style, creating a look that is appealing and attractive. The condition of the body panel(s) you are debating to replace or repair is the determining factor. If there are multiple large rust holes and thin areas on or major accident damage that would require a lot of body filler, auto body replacement panels most likely would be the best option. However, if the panel only has only a few dings and very little rust, which wouldn't take much labor or materials to restore it's condition, repair is the path of least resistance. Often, the true condition of a body panel isn't revealed until its completely stripped, which will uncover hidden damage and filler use. This possibility should be a factor in decision making.
Types of Body Panels and Their Availability
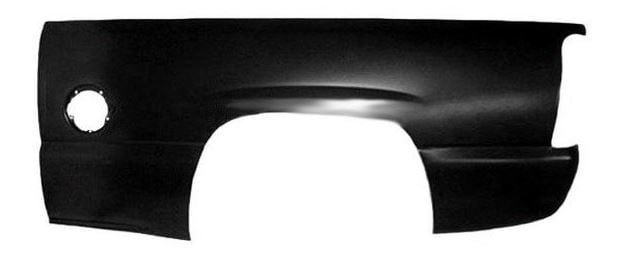
When replacing body panels, it's important to understand the different types available for your vehicle. Common types include fenders, doors, hoods, and quarter panels. OEM panels, which are made by the vehicle manufacturer, offer precise fitment and quality, but they can be more expensive. Aftermarket options provide a wider range of choices, including different materials and designs. Research and compare the availability, pricing, and quality of both OEM and aftermarket panels to make an informed decision.

Cost of Body Panel Replacement
Replacement body panels have a wide range of pricing covering anywhere from $10 for a patch panel to over $7,000 for a complete restoration panel kit. Careful research and shopping will help to get the best deal and quality on automotive replacement body panels. If you already have the tools needed such as wrenches, sockets, a torch, air cut-off tool, and a welder, the only other major materials and supplies that are necessary are body prep and paint products.
Tips for Selecting Replacement Body Panels
Selecting the right replacement body panels is crucial for a successful restoration project. Ensure that the panels you choose match the specifications of your vehicle, including the make, model, and year. Consider factors such as material quality, fitment accuracy, and manufacturer reputation. Read customer reviews and seek recommendations from automotive enthusiasts or professionals to help guide your decision. Investing in high-quality panels will ensure a better fit and long-lasting durability.
What You Need to Replace Body Panels Yourself
When you decide it's time to replace the body panel, the first step is to determine what tools you need to complete the job. An online tutorial (whether video or step-by-step instructions) or vehicle shop repair manual will be a big help in making the replacement easier and providing proper installation. If the body part is bolted on, wrenches and sockets will be required as well as the proper number and thickness of shims to aid in alignment. The use of painter's tape on the edges of adjacent panels will help protect them from damage during removal and installation. In addition, rust penetrant for bolts, as well as a small pry bar and rubber mallet may be required for stuck components. If the replacement part is a "patch panel" or a part of the main body, a cutting tool will be required in order to remove the bad section and a welder in order to graft the new piece in place. Prep and paint supplies will be needed to complete the project and to match the rest of the vehicle. Depending on the panel, weatherstripping, hardware, and trim pieces may also be required to complete installation.


Installation Steps
Below is a list of general body panel replacement steps that can be used for most applications.
Safety Precautions
Safety should always be a top priority when working with body panels. When handling cutting tools or welding equipment, wear appropriate safety gear such as gloves, eye protection, and protective clothing. Follow proper techniques and instructions to avoid accidents and injury. It's also essential to work in a well-ventilated area when using paint products and to use respiratory protection if necessary. By prioritizing safety precautions, you can ensure a smooth and secure replacement process.
Remove The Damaged Body Panel
If bolted on, use sockets or wrenches to remove all of the hardware and carefully remove any trim or components that will be reinstalled on the replacement panel. If only part of a panel or the body is being replaced with a patch, use the appropriate tool, whether a cutoff wheel or plasma cutter, that will properly remove the damaged area.
Prep The Area For Replacement
Once the old panel is removed, clean the area around and behind it of dirt, debris, old welds, and seam sealer. Then address any discovered issues that were hidden. For patch replacement, prep the body surface for welding.
Complete Panel Mockup
Move the replacement panel into position, confirming it will fit properly, including any necessary shimming and alignment with proper gapping between panels and special attention to hinged parts like doors, the hood, or trunk lid to prevent any interference during opening and closing. Once the proper fitment is achieved, prep the back and underside of the panel where it will be difficult for the final coat of paint to reach to eliminate the chances of rust and corrosion, with weld-through primer required for patch panels. Seam sealer is necessary for keeping water and the elements out of panel joints and any exposed glass on the body should be covered to prevent damage from slag during any welding.

Bolt Or Weld The Panel In Place
Once panel fitment is confirmed, bolt it or weld it into place. Bolt-on panels are installed using hand tools while weld-in patches are clamped or secured into place for welding with a welder and by tack welding different areas, working back and forth, to allow proper cooling and to prevent warping from the panel overheating.
Prep The Body Part For Paint
After the body panel is permanently installed and secure, the next step is prepping it for paint. Mask off any areas that will not be painted and protect the vehicle from overspray. Any grinding that is needed to welds is done at this time as well as sanding to provide a smooth surface. In some cases body filler will need to be used to provide additional finishing and completion of a new surface. Filler primer may be used to coat the panel surface, which often identifies areas in need of attention. Additional sanding and prepping is performed until the surface meets expectations and a good paint adhesion base is in place.


Importance of proper rust prevention
Rust is a common issue that can affect the longevity of body panels. Before installing replacement panels, take steps to prevent rust and ensure the longevity of your restoration. Apply rust inhibitors or primers to the bare metal surfaces, especially in areas prone to corrosion. Consider using protective coatings or sealants to provide an additional layer of protection against moisture and salt. By prioritizing rust prevention, you can extend the lifespan of your replacement panels and maintain the overall integrity of your vehicle.
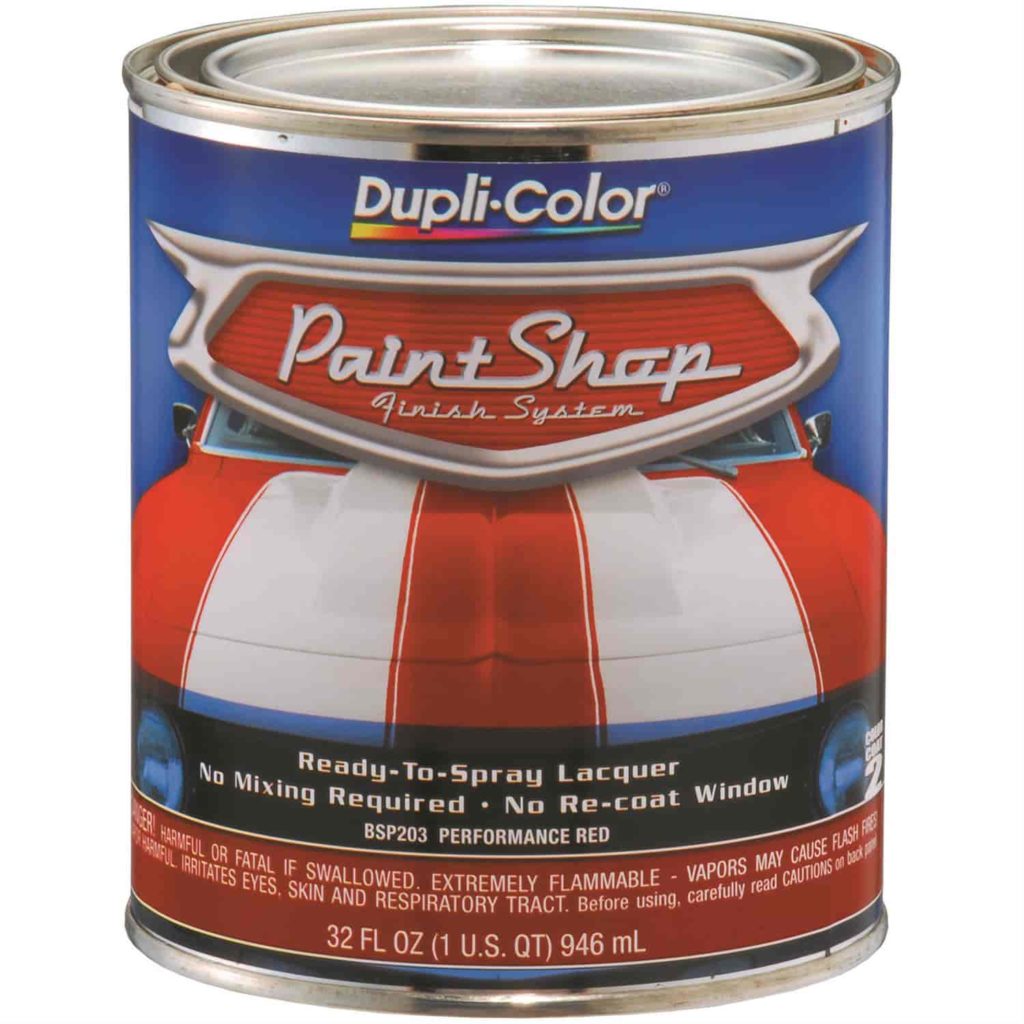
Complete Painting
Using the correct paint, clear coat, and spray gun, while following the paint manufacturer instructions, covering the panel with the correct amount of paint and number of coats. Make sure the temperature and humidity is at the proper level to prevent adhesion issues and defects.

After Replacement Is Complete
Once the paint has properly cured, it can be buffed, polished, and waxed with the appropriate tools and materials. Applying the same paint treatment to the rest of the vehicle will help to provide the "like new" look to your vehicle and complete the restoration of the exterior of your vehicle.

Replacing body panels is a crucial part of restoring the appearance and structural integrity of a vehicle. By considering factors such as panel types, selection tips, rust prevention, professional assistance, and safety precautions, enthusiasts can ensure a successful replacement process. Choosing the right panels that fit properly, preventing rust, and following correct installation and finishing procedures will result in a restored vehicle that looks and performs like new. Whether you tackle the project yourself or seek professional help, prioritizing these recommendations will help you achieve a high-quality and long-lasting restoration. Remember to always research, plan, and take necessary precautions to ensure a successful body panel replacement.