Sign up now to join the JEGS email newsletter and be the first to learn about new products, special deals and e-mail only offers!

 6 People Found This Article Helpful
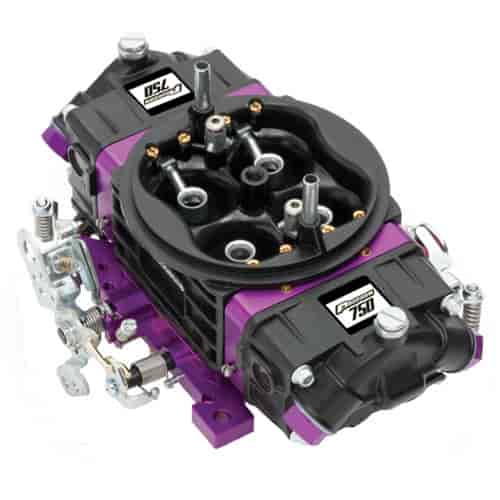

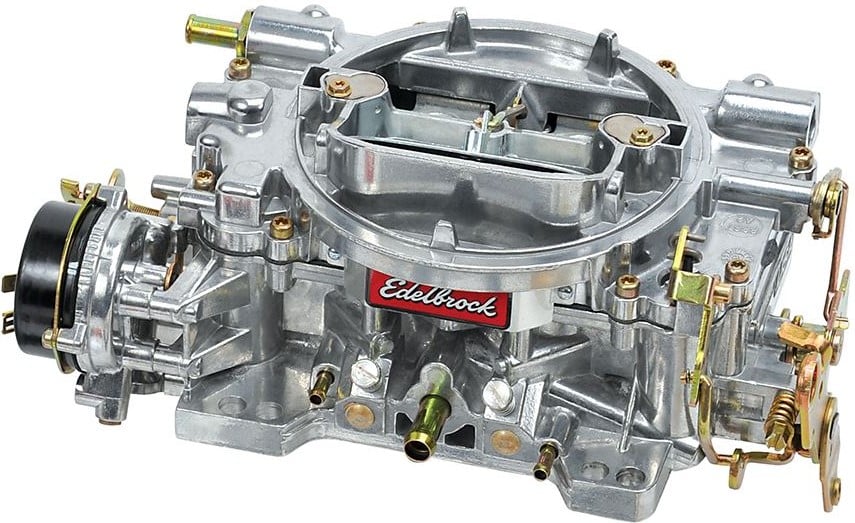
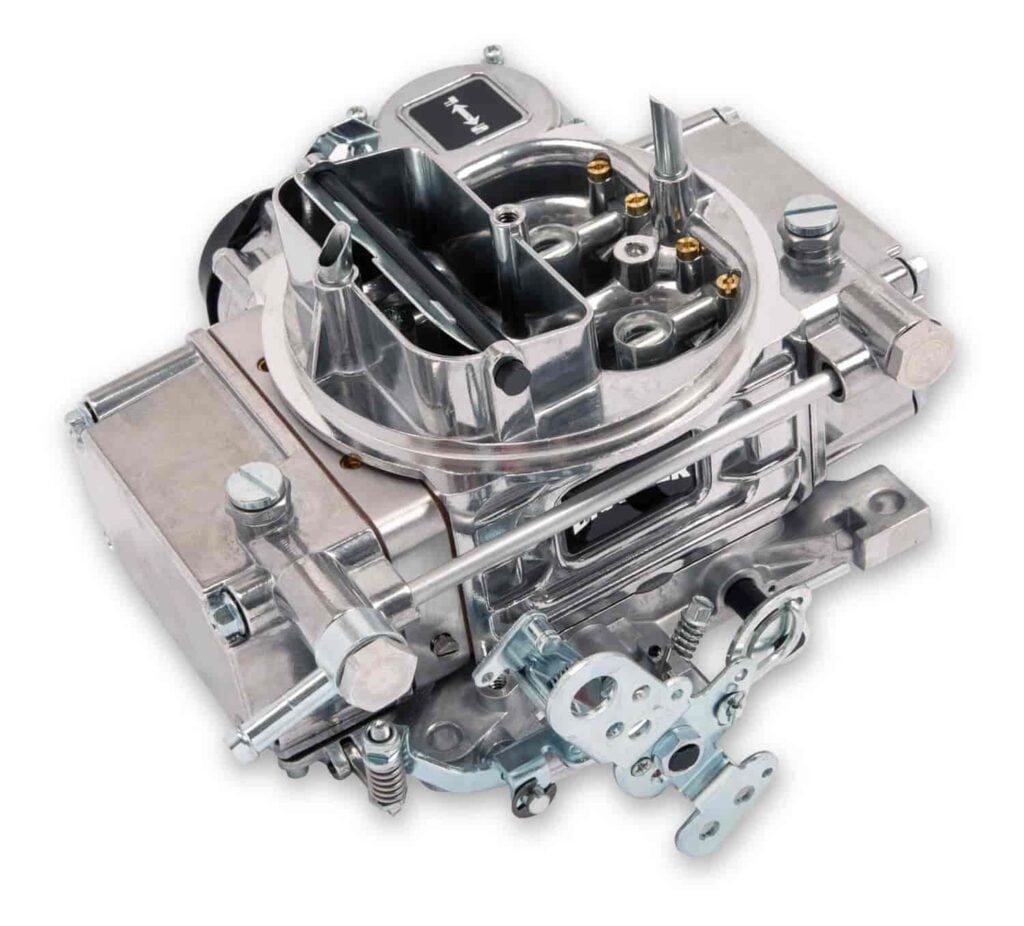
A carburetor is an engine component that controls the amount of air and fuel entering the engine. It does this with driver input via a cable-operated accelerator pedal, opening and closing the throttle butterflies. At idle, the throttle is almost closed, only allowing a small amount of air to enter the engine. If the throttle blades are completely shut, the engine cannot start or run. As the throttle blades open, more air is able to enter the engine and it speeds up, increasing RPMs. Fuel is drawn in with the air through low pressure created from the opening and closing of the valves in the cylinder heads. The fuel enters the carburetor throttle bores from jets and atomizes with the air. The mixture is then drawn into the cylinders where it is ignited in the combustion chamber. Read on to learn how to clean and rebuild a carburetor.
Sign up now to join the JEGS email newsletter and be the first to learn about new products, special deals and e-mail only offers!
Learning how to clean a car carburetor is easy. Begin by spraying the outside of the carburetor with carburetor cleaner. Use a cleaning brush to help remove dirt and corrosion. A fuel system cleaner additive can be used to clean the inside of the carburetor by adding it to a full tank of gas. If there is too much corrosion or dirt present, the carburetor will need to be taken apart, mechanically cleaned, and reassembled with a rebuild kit. In the end, a clean carburetor will maximize its functionality and performance.
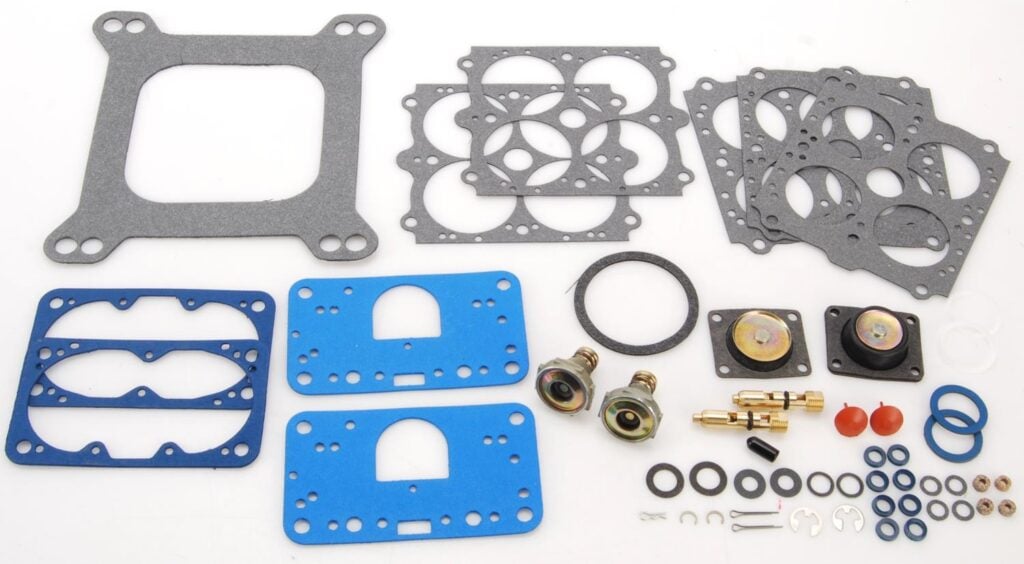
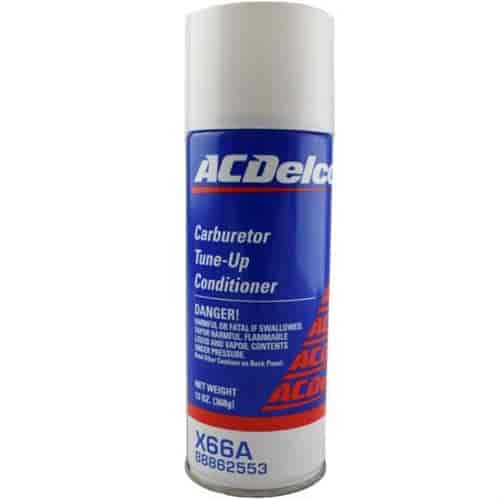

Above: some of the items needed for a carburetor rebuild: rebuild kit, carb cleaner, brushes
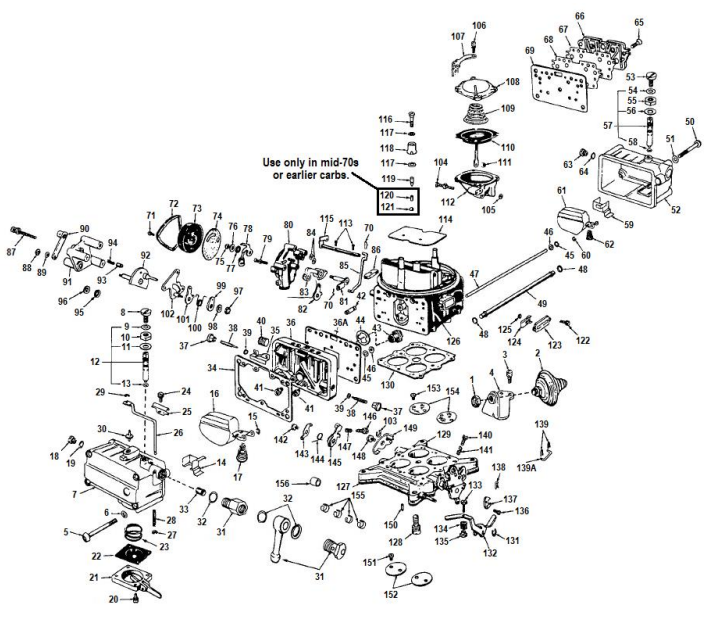
When learning how to rebuild carburetor, a carburetor rebuild kit is recommended for this step as the gaskets and seals will not be able to be reused during reassembly. The steps to rebuild the carburetor will vary depending on the manufacturer and model. For all applications, the first step is to carefully remove the components that will allow you access to the inside of the carburetor following the directions with the rebuild kit. Next, any corrosion or contamination needs to be cleaned out with a soft bristle brush, compressed air, and carburetor cleaner. Confirm there are no clogged jets, channels, or passageways. Confirm the float is properly moving with the needle and seat (Holley and Edelbrock) both when hanging and when up-side-down to (Edelbrock) manufacturer specifications and adjust if needed. If any components look worn or damaged from inspection, replace them. Once everything internally is clean, properly adjusted, and installed, reassembly of the carburetor can take place per the instructions included with the rebuild kit. Once you rebuild carburetor, confirm all of the external fuel, electrical (choke), linkage, and any other connections are properly in place. Also, make sure the carburetor to intake gasket is properly sealed. Then start the engine, and recheck that the idle is between 800-1000 rpms and adjust if needed. Also, check the fast idle setting and match to manufacturer specification. If you had an issue prior to rebuilding a carburetor, and rebuilding it didn’t solve the problem, replacing it with a different carburetor may be an option. However, if a different carburetor does not solve the issue, the problem may not be the carburetor but something else, including internal engine components. JEGS offers a wide selection of carburetors to meet your engine’s needs.
When cleaning and rebuilding a carburetor, it's crucial to prioritize safety to prevent accidents or injuries. Here are key safety precautions to consider:
By following these safety precautions, you can ensure a safer and more effective carburetor cleaning and rebuilding process.




Leave a Reply