Sign up now to join the JEGS email newsletter and be the first to learn about new products, special deals and e-mail only offers!

 4 People Found This Article Helpful
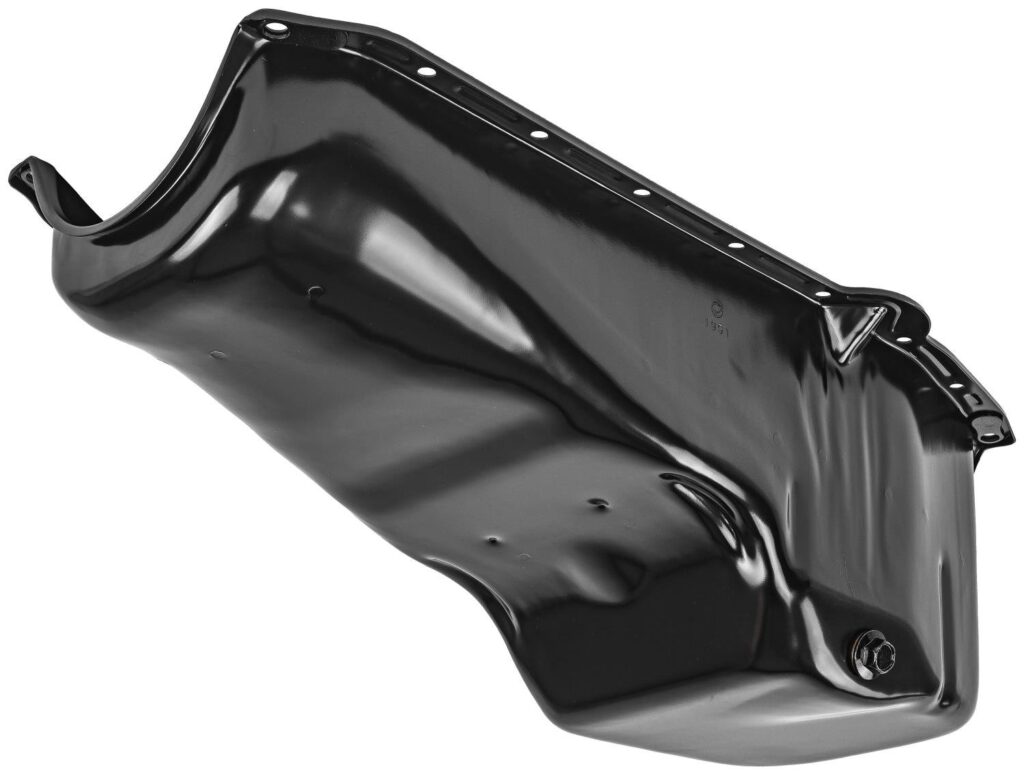

Your engine’s oil system (also known as a lubrication system) is in charge of supplying its moving components with filtered motor oil. Oil coats these parts so they generate less friction while the engine runs, protecting it from overheating.
However, with time, sludge can build up and carbon deposits can form inside your oil system, impacting its ability to supply oil, which can diminish engine efficiency and longevity and damaging components including engine bearings and piston rings. Thankfully, by cleaning the system, a process known as “flushing,” you can clear sludge and deposits and return your engine to peak performance.
To help you keep your lubrication system free of gunk and buildup, this article covers three easy cleaning methods. We’ll also further detail why this service is so important and how it can affect your engine in the long run.
But first, a quick recap of how your engine oil system works so you better understand why keeping it clean should be top priority.
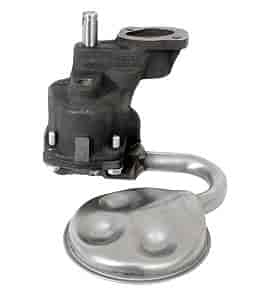
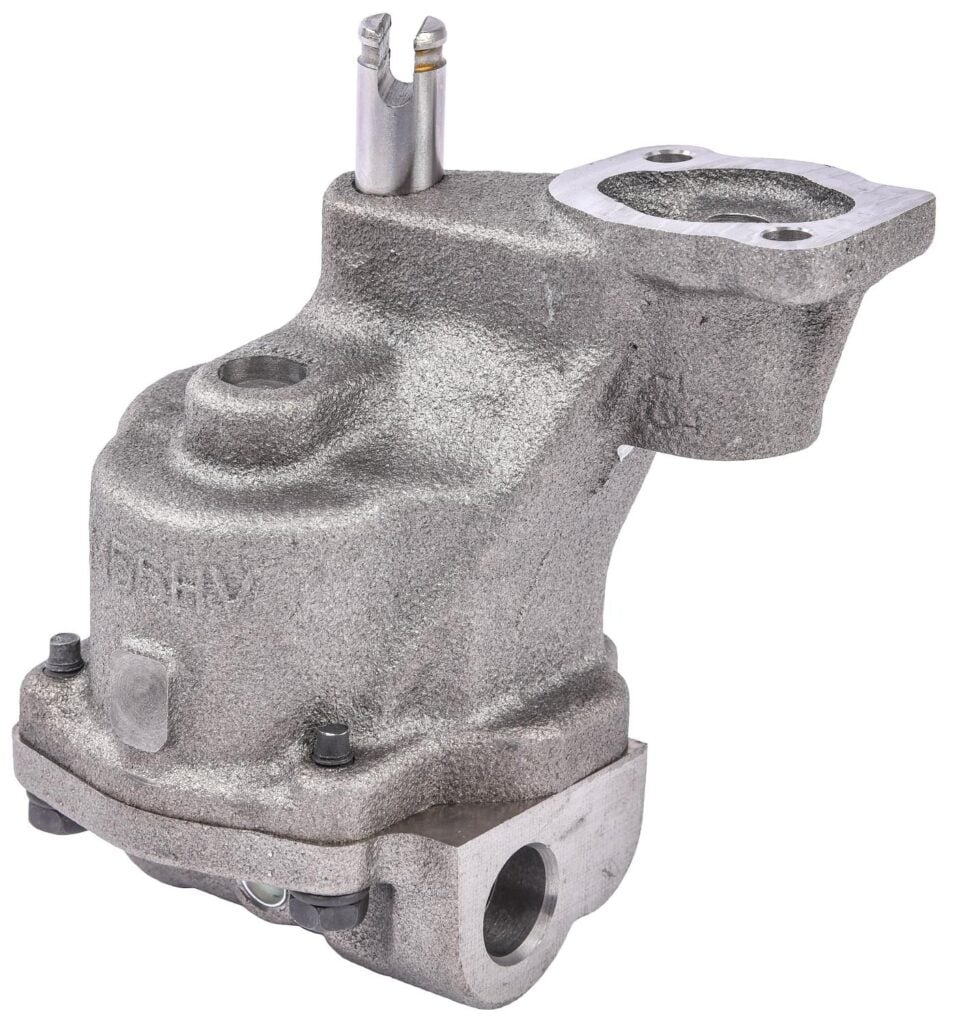
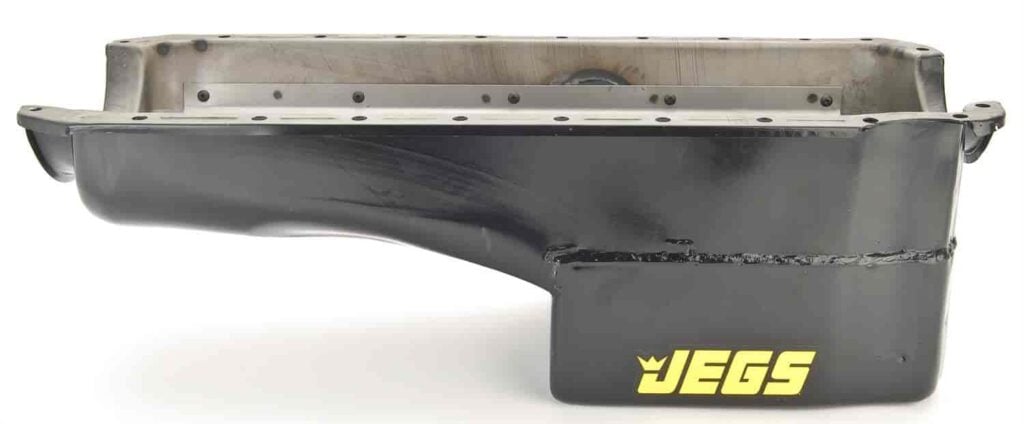
There are two main types of engine oil systems: wet sump and dry sump. No matter your system type, the idea is still the same. Below we'll provide a basic rundown of how these oil systems work:
In both systems, the oil serves three key functions: lubricating moving parts to reduce friction, cooling engine components by absorbing and dispersing heat, and cleaning the engine by holding contaminants in suspension until they can be removed by the oil filter. This continuous flow of oil is necessary for your engine to run efficiently.
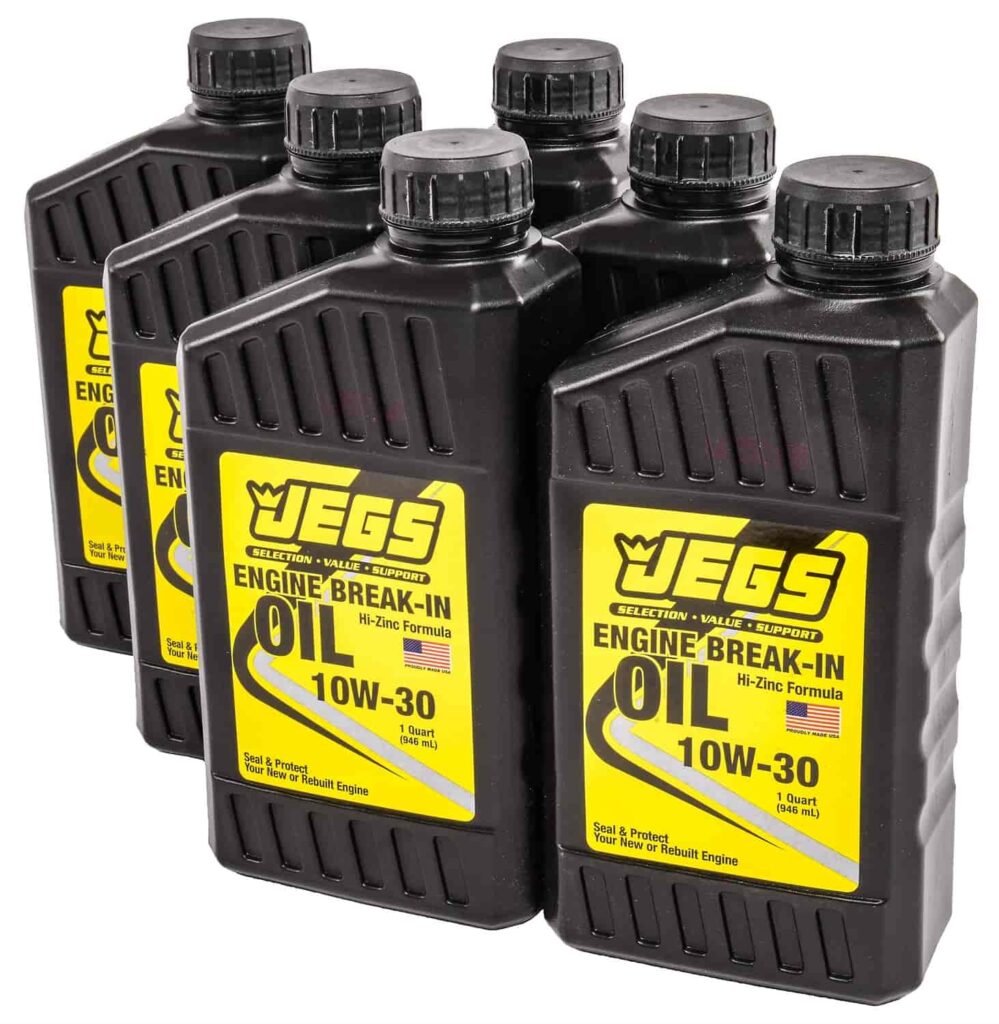
Now that you have a basic idea of how a lubrication system works, let’s review some easy methods for how to clean engine oil using an engine oil flushing additive.
A flushing additive is a specially formulated chemical mix designed to break up and clear away deposits and buildup so oil can flow smoothly. For this compound to work correctly, it must circulate throughout the system.
Note that before using any additives, be sure to consult your vehicle’s owner’s manual to check compatibility. With that confirmed, the below cleaning methods are simple and effective:
The first method involves adding the flushing additive to your engine’s current oil via the cap and then letting the engine idle for a specified period, typically around 10 to 15 minutes. This allows the additive to circulate throughout the engine, dissolving sludge and cleaning out deposits from oil passages. It's a gentle approach that's well suited for regular maintenance.
After idling, turn off the engine, drain the oil, replace the oil filter, and refill with fresh oil.
For a deeper clean, add the flushing additive to your engine oil, then drive your car for a short distance — usually around 5 to 10 miles. This method helps the additive work through the system under normal operating conditions, providing a deeper clean than idling alone.
After driving, allow the engine to cool, then drain the old oil, replace the filter, and add new oil.
In this more direct approach, first drain the old engine oil and remove the old oil filter. Then, add the flushing additive to the engine and fill it with enough new oil to reach the minimum mark on the dipstick. Start the engine and let it idle for 10 to 15 minutes, allowing the additive to scour the interior surfaces.
Finally, turn off the engine, drain the mixture, install a new oil filter, and fill the engine with fresh oil. This method ensures that the cleaning agent directly contacts the internal engine components, offering an unmatched cleaning.
Each of these methods can help maintain your engine's health and efficiency. Again, make sure to follow the flushing additive manufacturer’s instructions and consult your vehicle’s manual before proceeding to ensure compatibility and avoid any potential issues.
Sign up now to join the JEGS email newsletter and be the first to learn about new products, special deals and e-mail only offers!
Maintaining a clean engine oil system is important for the health and efficiency of your vehicle. A well-kept system ensures that motor oil can flow freely and efficiently, providing optimal lubrication to the engine's moving parts. This lubrication is key as it reduces friction and wear, preventing premature engine deterioration.
What’s more, clean oil is better at absorbing and dispersing heat, which helps maintain an ideal engine temperature and prevent overheating.
Contaminants in the oil, such as dirt, metal shavings, and carbon deposits, can hinder these processes if allowed to accumulate. They can cause blockages in oil passages, reducing the oil flow and diminishing the engine's performance.
Without sufficient oil flow, your engine may exhibit certain symptoms, such as:
Besides being inconvenient, these symptoms are also taxing on your engine and can reduce its lifespan.
Now that you better understand the importance of keeping your engine oil system clean, let’s review the long-term effects you’ll enjoy for your efforts.
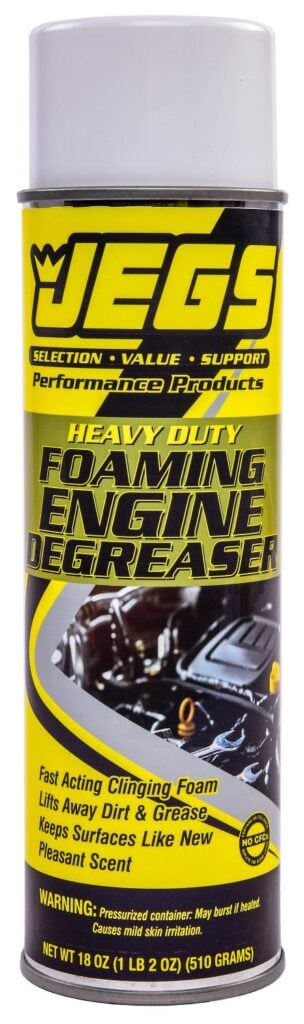
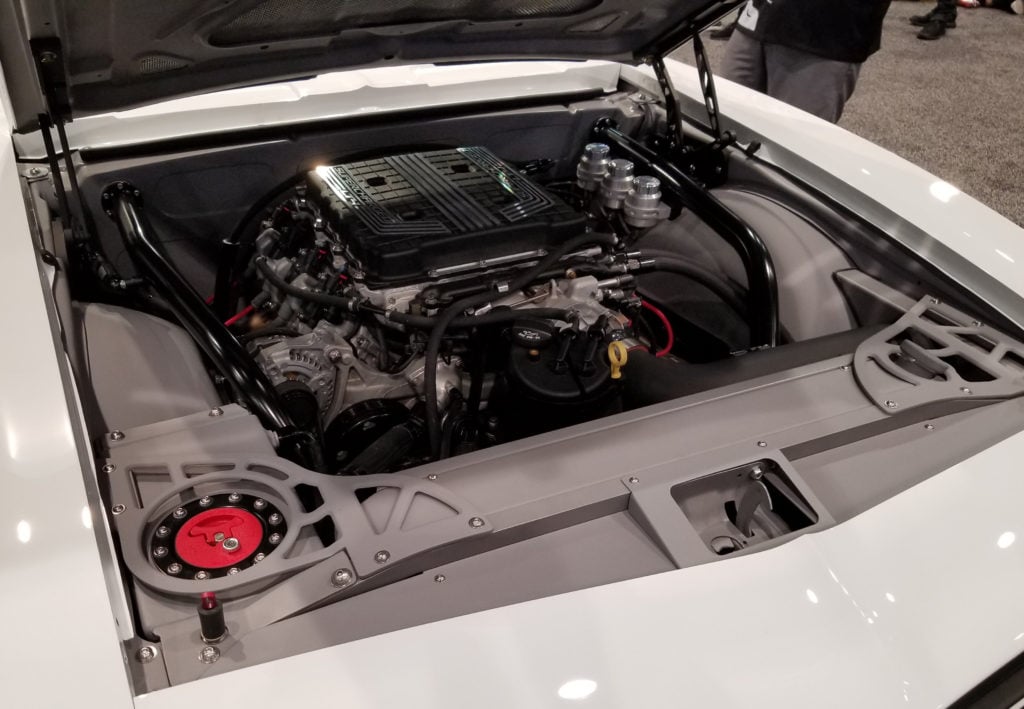
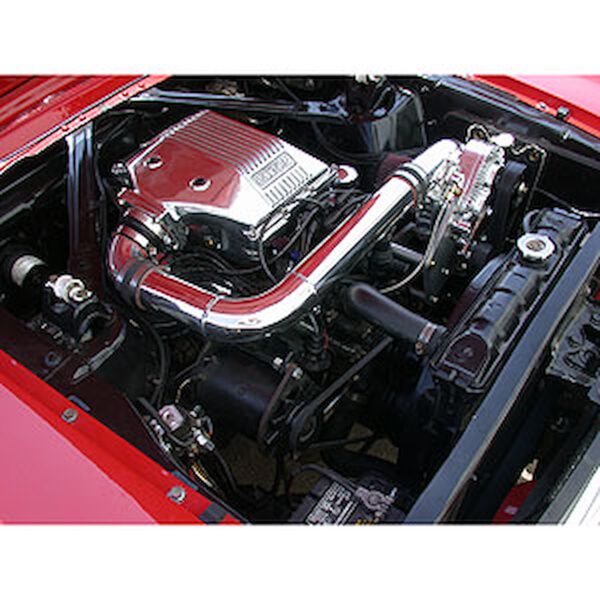
Once your engine's internals are nice and clean, you may want to consider giving your engine bay a good cleaning to match. A clean engine bay not only looks great but can also help in identifying any leaks or issues more easily.
Below, we’ll provide a step-by-step guide on how to clean engine bay safely and effectively:
By following these steps, your engine bay can look as good as new, complementing the internal cleanliness and efficiency you've achieved through oil system maintenance.
And there you have it, a complete breakdown on how to clean engine oil. By keeping your vehicle’s oil system clear of gunk and deposits, it’s sure to run strong for years to come.
For all your automotive needs, consider JEGS, a leading supplier of performance auto parts, including coolant flushing additives. Complete your order online and have your products sent straight to your garage.
Still have questions? Contact our team today.




Leave a Reply