Sign up now to join the JEGS email newsletter and be the first to learn about new products, special deals and e-mail only offers!

 2 People Found This Article Helpful


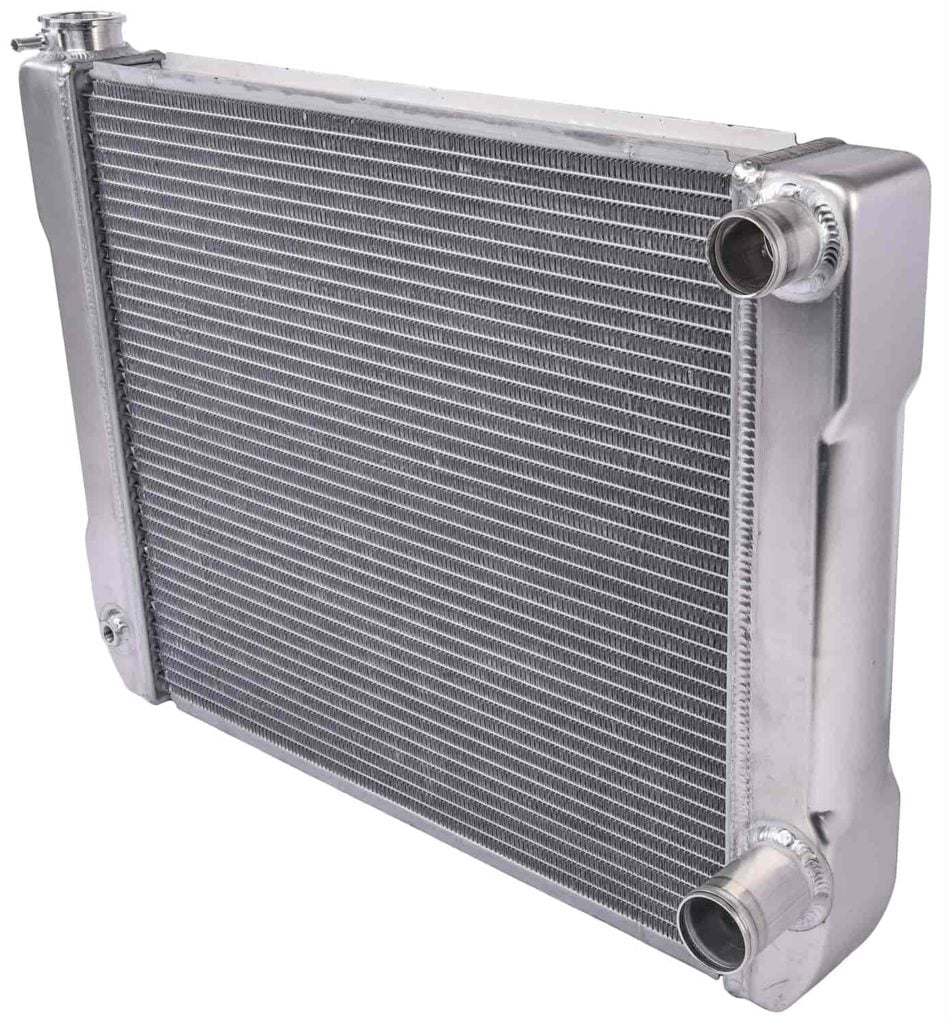
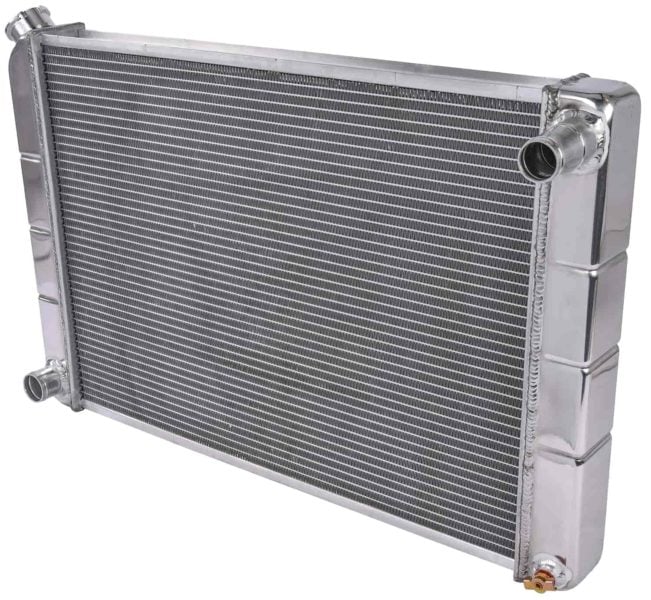
Upgrading to an aluminum radiator is one of the most effective ways to improve cooling performance in a classic car. Many vintage vehicles were designed with smaller copper or brass radiators that struggle to keep modern performance engines cool. An aluminum radiator offers improved heat dissipation, lighter weight, and greater cooling capacity.
Whether you are restoring a muscle car, upgrading a classic truck, or installing a more powerful engine, learning how to install an aluminum radiator correctly helps ensure reliable engine temperatures and long term durability.
Aluminum radiators are widely used in performance builds because aluminum transfers heat efficiently and allows manufacturers to use larger cores with more cooling surface area. This helps reduce engine operating temperatures during hot weather, heavy traffic, or high performance driving.
Modern aluminum radiators are also designed with stronger construction and improved internal flow compared to many factory units.
Manufacturers such as Mishimoto, Be Cool, and Frostbite offer aluminum radiators designed for classic muscle cars and performance vehicles. These radiators are commonly used in restomod builds and LS engine swaps.

Before beginning installation, gather the tools and components required for the job. This usually includes hand tools such as wrenches and sockets, new radiator hoses, hose clamps, and fresh coolant.
In many cases it is also a good idea to replace the thermostat and radiator cap at the same time. Upgrading to high quality silicone hoses from companies such as Mishimoto can improve durability and appearance.
If your build includes electric cooling fans, you may also install a fan shroud or fan kit designed to work with the radiator.
Start by allowing the engine to cool completely. Once the engine is cool, place a drain pan beneath the radiator and open the drain valve or remove the lower radiator hose to drain the coolant.
Properly dispose of old coolant according to local regulations.
Draining the cooling system prevents spills and makes it easier to remove the existing radiator.

Disconnect the upper and lower radiator hoses from the radiator. Remove any transmission cooler lines if the radiator includes an internal transmission cooler.
Next, remove the mounting bolts or brackets that secure the radiator to the core support.
Carefully lift the radiator out of the engine bay. Take note of mounting locations and hardware so the new radiator can be installed correctly.
Inspect surrounding components such as hoses, belts, and fan blades while the radiator is removed.
Before installing the new radiator, verify that it matches the mounting points of the original unit. Many aluminum radiators designed for classic cars are direct fit replacements.
Transfer any necessary components such as rubber isolators or mounting brackets from the old radiator to the new one.
If your radiator includes ports for a transmission cooler or temperature sensors, confirm that all fittings are properly installed and tightened.

Sign up now to join the JEGS email newsletter and be the first to learn about new products, special deals and e-mail only offers!
Lower the aluminum radiator carefully into place and align it with the mounting brackets on the radiator support.
Secure the radiator using the original mounting hardware or the hardware supplied with the radiator. Make sure the radiator sits properly within the mounts without excessive movement.
Proper mounting helps prevent vibration that could damage the radiator over time.
Reconnect the upper and lower radiator hoses using new hose clamps. If the radiator includes transmission cooler ports, reconnect the transmission lines and ensure the fittings are tight.
Install any cooling fan shrouds or electric fan assemblies that are part of your cooling system.
Electric fan kits from companies such as Mishimoto are commonly used with aluminum radiators to improve airflow and cooling efficiency.

Once everything is connected, refill the cooling system with the correct mixture of coolant and distilled water.
Start the engine and allow it to reach operating temperature while monitoring coolant levels. As air works its way out of the system, additional coolant may need to be added.
Check for leaks around hose connections, fittings, and radiator seams.
After installation, monitor engine temperature during normal driving conditions. The aluminum radiator should maintain stable temperatures even during extended idling or warm weather.
If temperatures remain higher than expected, verify fan operation, thermostat function, and coolant flow.
Proper cooling system maintenance helps protect engine components and maintain consistent performance.

Upgrading to an aluminum radiator is one of the most effective ways to improve cooling performance in a classic car. A high quality radiator combined with proper installation ensures reliable engine temperatures during everyday driving and high performance use.
At www.jegs.com, you will find aluminum radiators, electric cooling fans, radiator hoses, and cooling system components from trusted manufacturers such as Mishimoto, Be Cool, and Frostbite.
If you need help selecting the right aluminum radiator for your classic car or performance build, the JEGS Tech Specialists can help you choose components that fit your vehicle and support your cooling needs.



Leave a Reply