Sign up now to join the JEGS email newsletter and be the first to learn about new products, special deals and e-mail only offers!

 2 People Found This Article Helpful

By
Knowing how to jack up a car safely is one of the most important skills for anyone who works on their own vehicle. Whether you are rotating tires, replacing brake pads, installing suspension components, or performing routine maintenance, lifting the vehicle correctly protects both you and your car.
Improper lifting can lead to serious injury or vehicle damage. This guide explains the correct tools, proper lifting points, and safety steps to follow every time.
Before lifting your vehicle, make sure you have the proper tools. A quality hydraulic floor jack rated for your vehicle’s weight is essential. Always use jack stands to support the vehicle once it is raised.
**Never rely solely on a hydraulic jack to hold a vehicle in the air. Jacks are designed to lift, not to support weight for extended periods**
Wheel chocks are also important. They prevent the vehicle from rolling while it is being lifted.
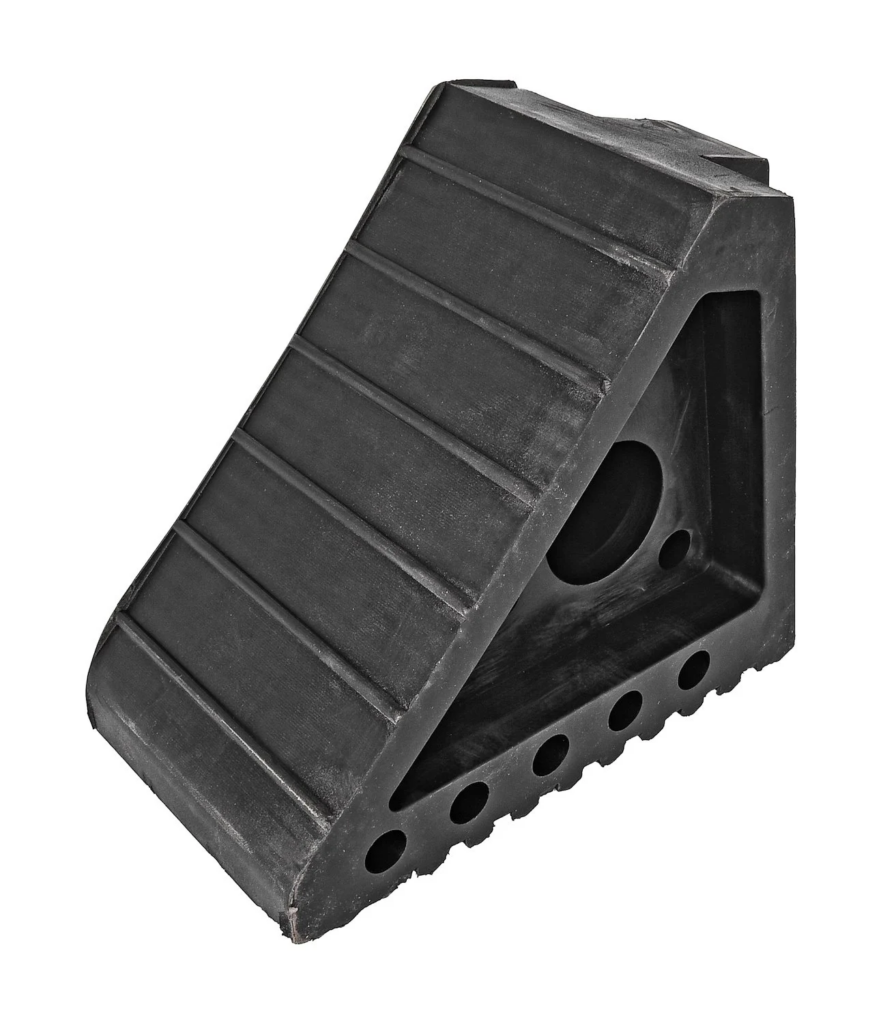
Always jack up a car on a flat, solid surface. Concrete is ideal. Avoid dirt, gravel, or uneven pavement, as these surfaces can cause the jack or stands to shift.
Set the parking brake and place the transmission in park for automatic vehicles or in gear for manual transmissions before lifting.
Most vehicles have designated jacking points located along the frame rails, pinch welds, or reinforced suspension mounting areas. Consult your owner’s manual to confirm the correct locations.
Lifting from incorrect points can bend body panels, damage suspension components, or cause the vehicle to slip.
If you are lifting the front or rear of the vehicle as a whole, use solid structural points such as the front crossmember or rear differential housing when appropriate for your vehicle.
Position the floor jack under the correct jacking point. Pump the jack handle slowly and steadily until the vehicle reaches the desired height.
Raise the vehicle high enough to place jack stands under secure support points. Never crawl under a vehicle that is supported only by a jack.

Sign up now to join the JEGS email newsletter and be the first to learn about new products, special deals and e-mail only offers!
Once the vehicle is lifted, slide jack stands into position under strong structural points such as frame rails or designated stand locations.
Lower the vehicle slowly onto the jack stands by gently opening the jack release valve. Ensure the vehicle’s weight is fully supported by the stands before removing the jack.
Give the vehicle a light push to confirm stability before beginning any work.

Always chock the wheels that remain on the ground to prevent rolling. Keep your body clear of pinch points while raising or lowering the vehicle.
If you are lifting one end of the vehicle, make sure both sides are supported evenly with properly rated jack stands.
Inspect your jack and stands regularly for damage or wear. Using damaged lifting equipment increases the risk of failure.
When you are finished working, place the floor jack back under the lifting point and raise the vehicle slightly to remove the jack stands.
Carefully remove the stands, then slowly lower the vehicle to the ground in a controlled manner.
Once the vehicle is fully lowered, remove wheel chocks and release the parking brake.
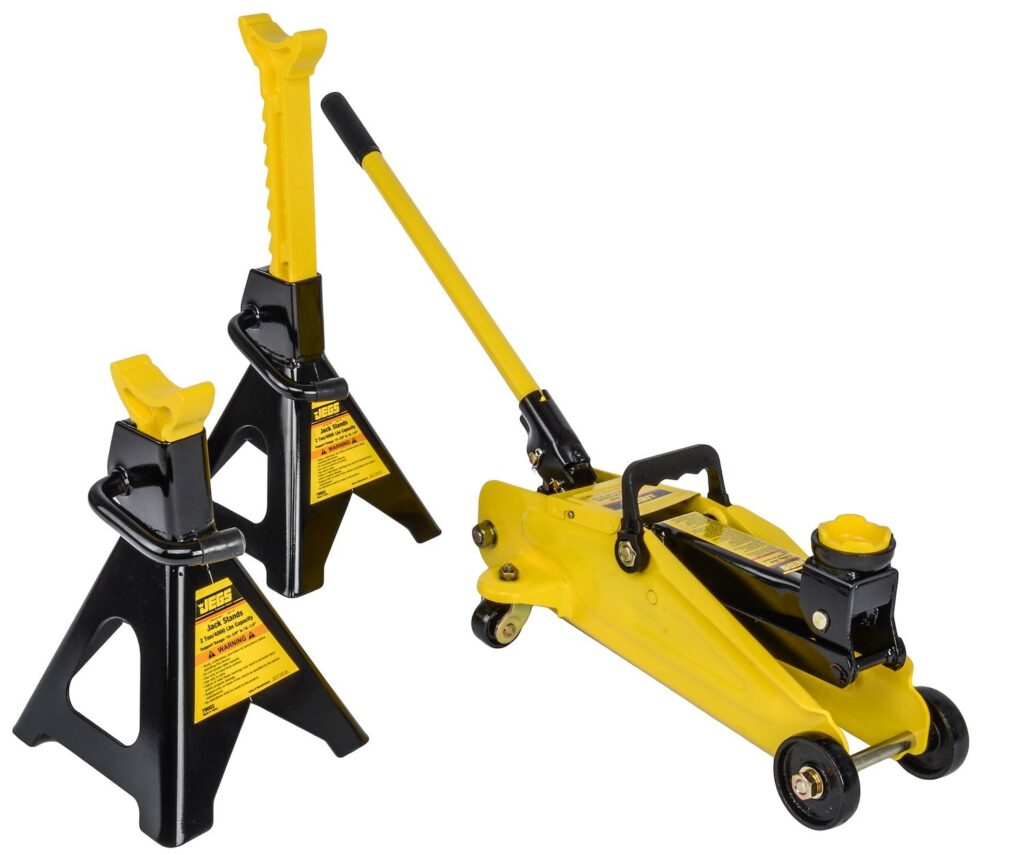
Proper lifting equipment is an investment in safety. A reliable floor jack, sturdy jack stands, and quality wheel chocks make routine maintenance safer and more efficient.
At www.jegs.com, you will find hydraulic floor jacks, heavy duty jack stands, wheel chocks, and garage equipment designed for both home garages and professional shops.
If you need help choosing lifting equipment rated for your vehicle, the JEGS Tech Specialists are available to help you select the right tools for safe and confident maintenance.






Leave a Reply