Sign up now to join the JEGS email newsletter and be the first to learn about new products, special deals and e-mail only offers!

 2 People Found This Article Helpful
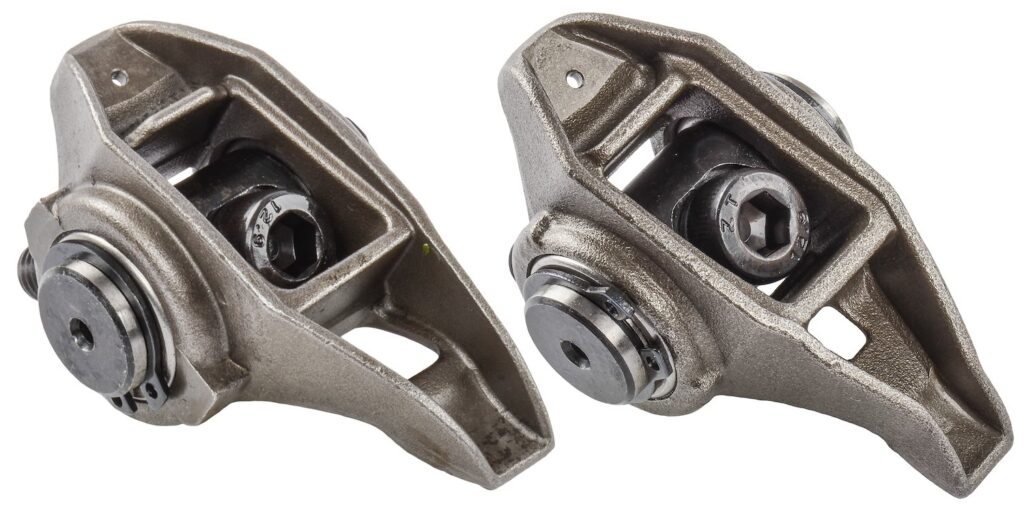

Upgrading or replacing LS rocker arms is a straightforward job, but like any precision engine task, it requires careful attention to detail. Whether you are working on a stock rebuild or installing JEGS roller rocker arms, following the correct torque sequence and procedures is key to success.
In this guide, we will walk you through an LS rocker arm install with step-by-step instructions, highlight the correct LS rocker arm torque specs, and share important tips to help you get the job done right the first time.
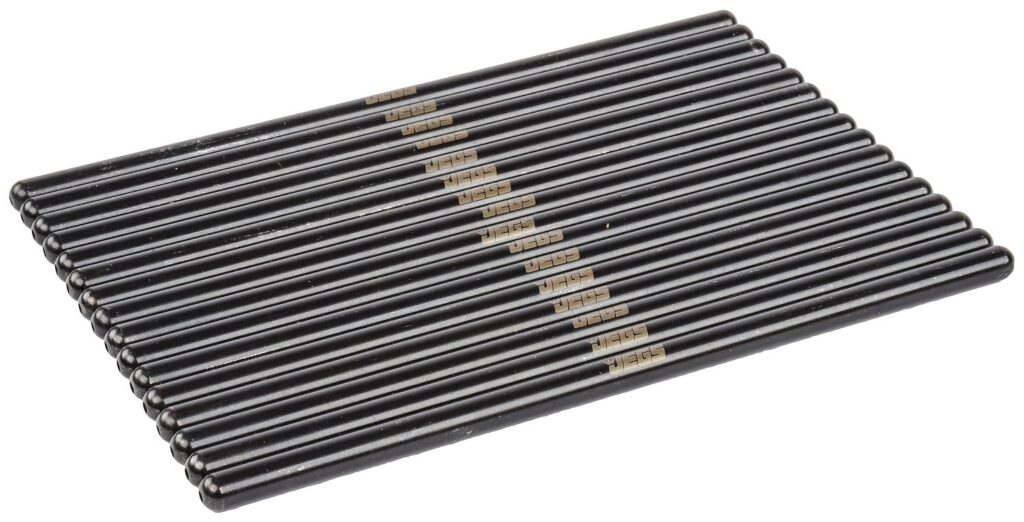
Before you begin, make sure you have the following tools and components ready:


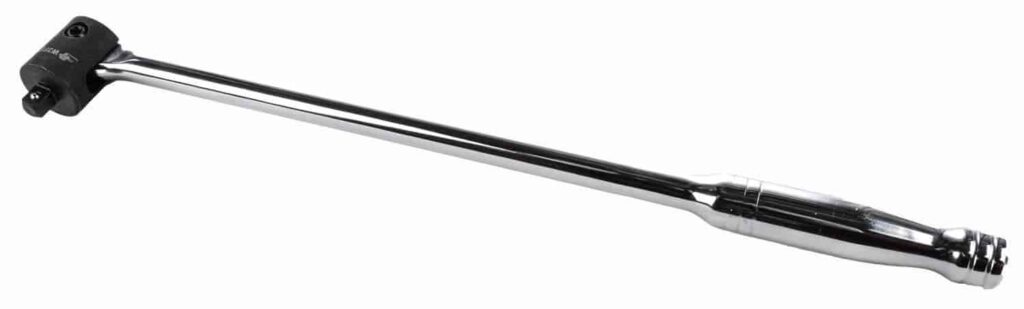
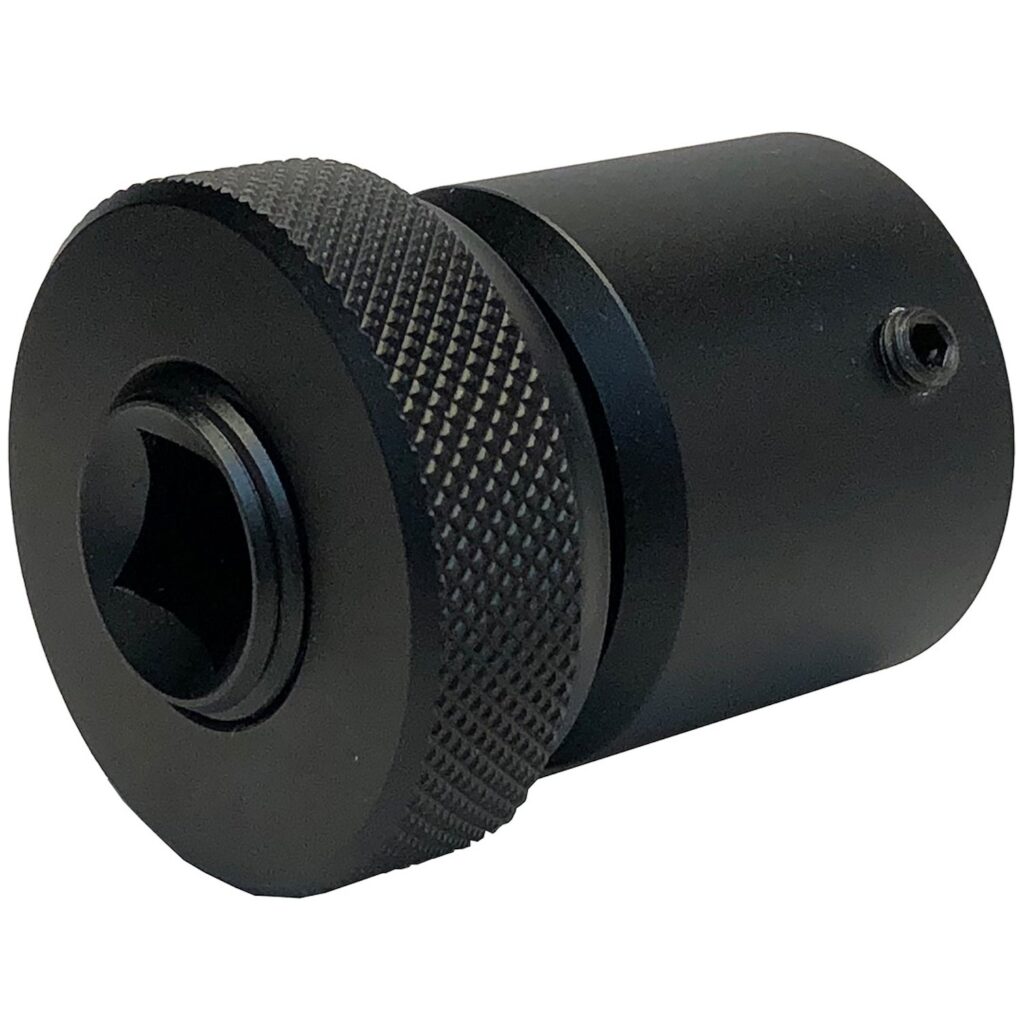

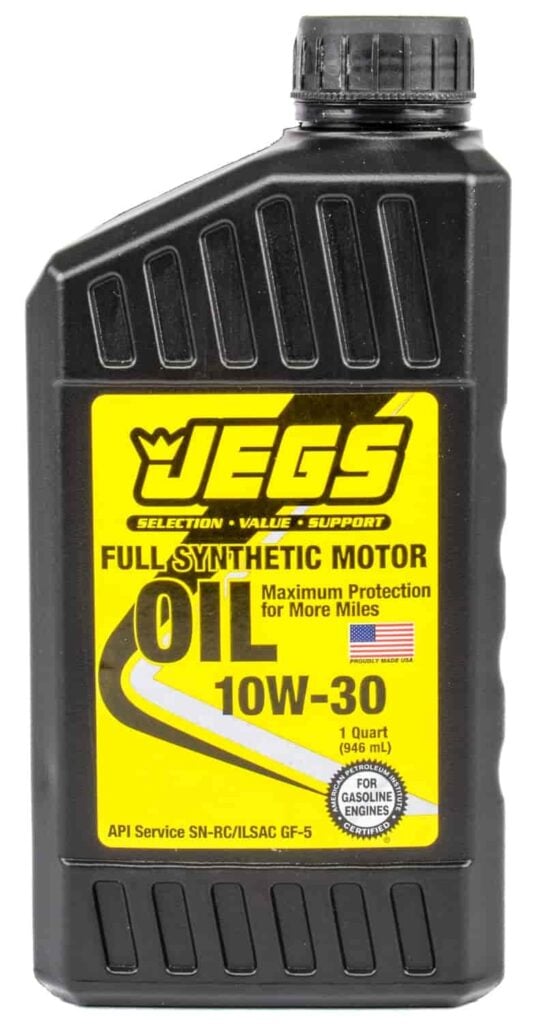

Pro Tip: Use a white marker or painter’s tape to mark each cylinder during the install process. This helps keep track of your progress and prevents skipped steps.
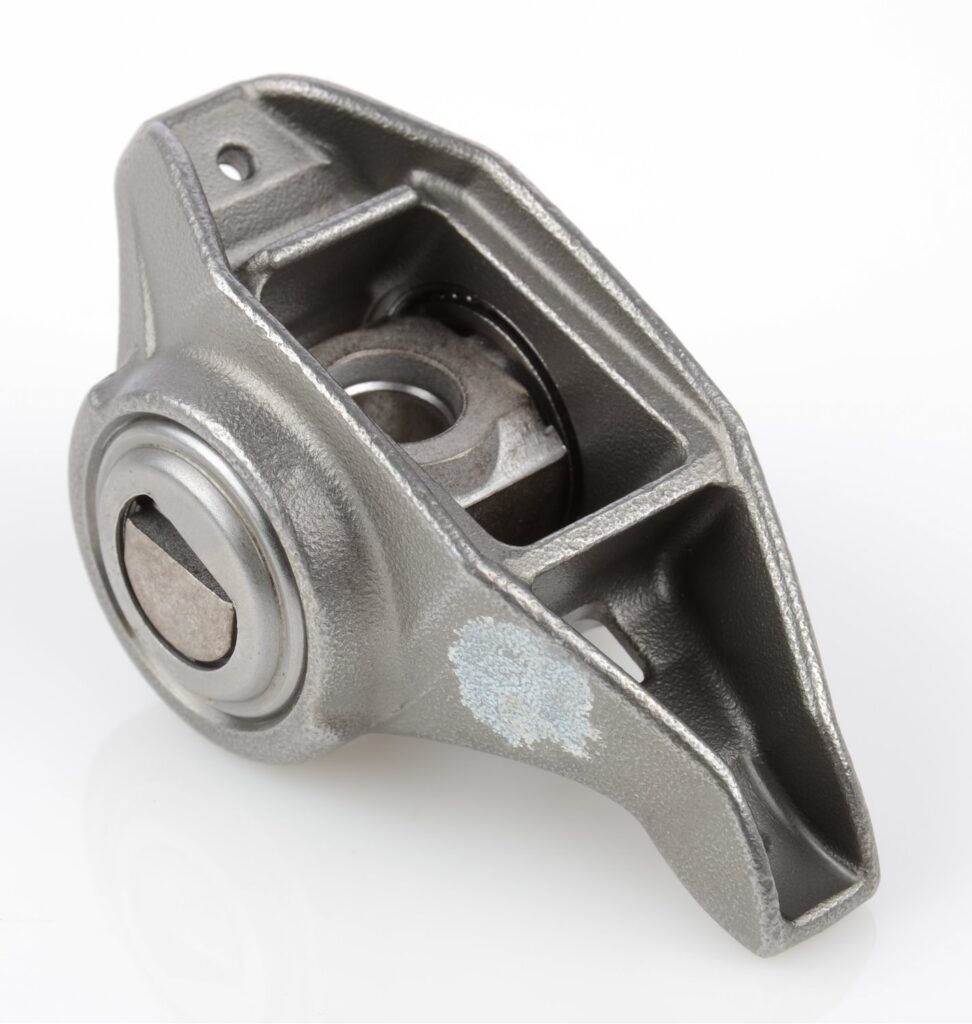
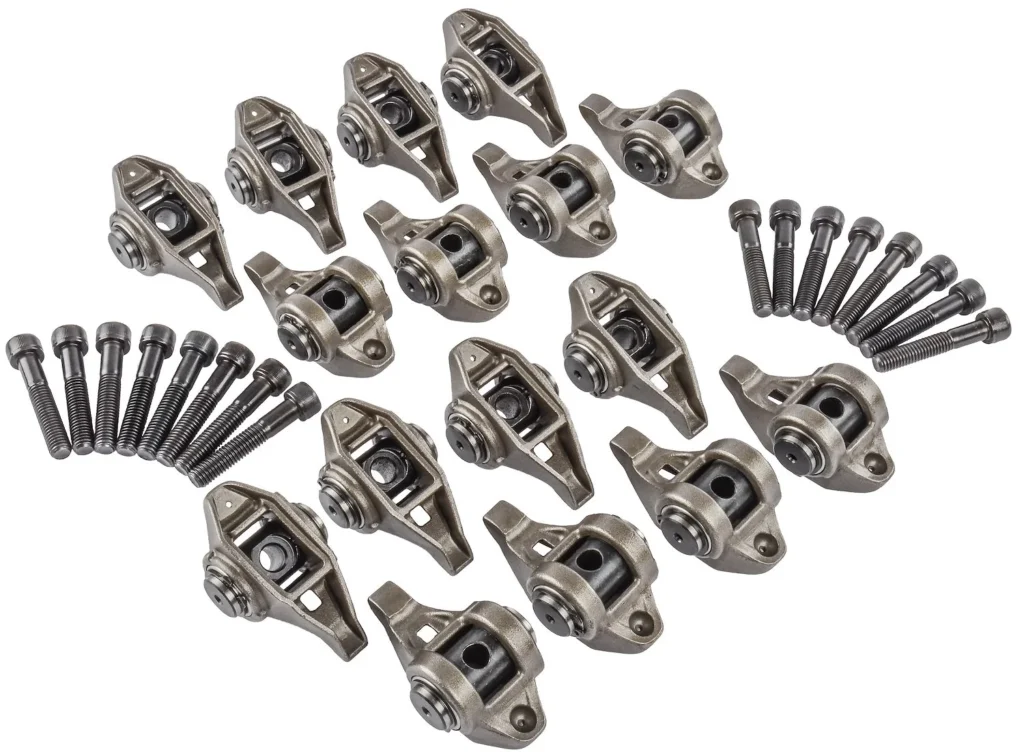
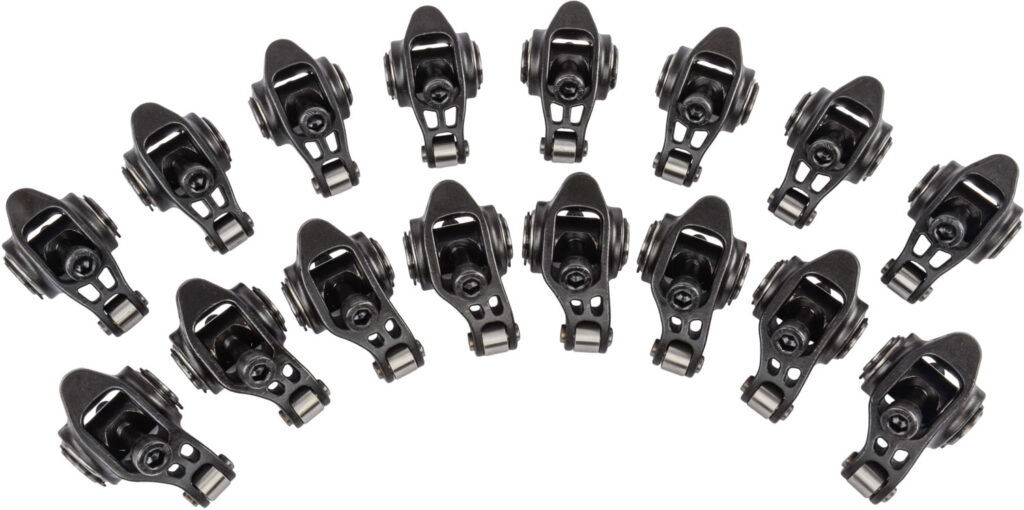
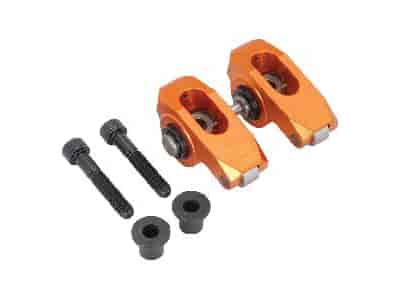
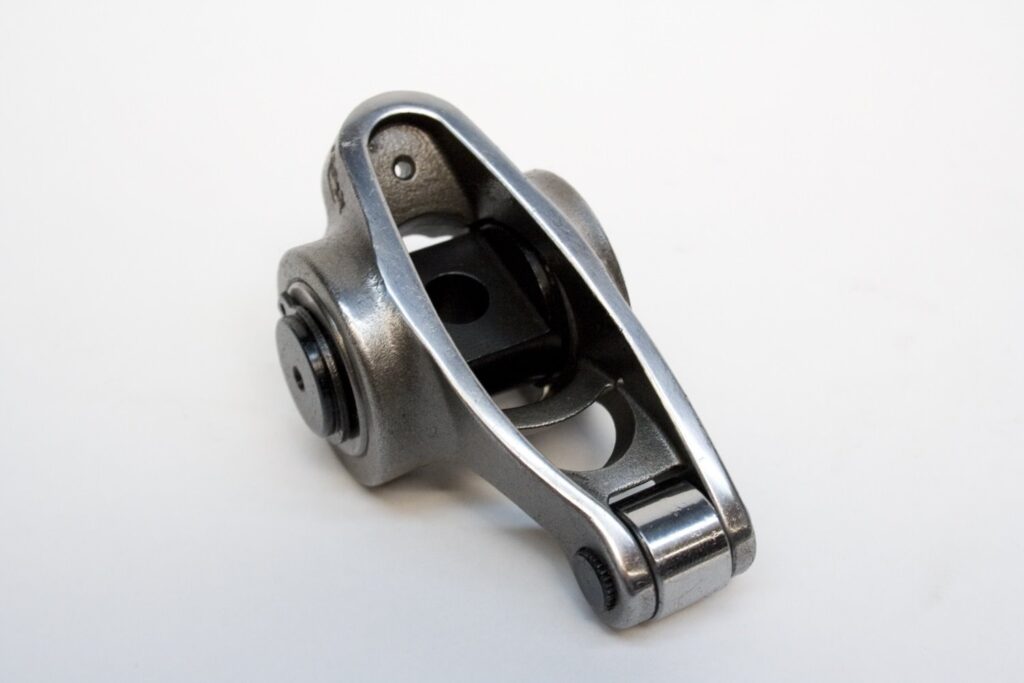
JEGS rocker arms are designed to bolt directly onto GM LS-series cylinder heads without modifications. Here is a quick reference for the correct application:
Straight Design (20950, 20951):

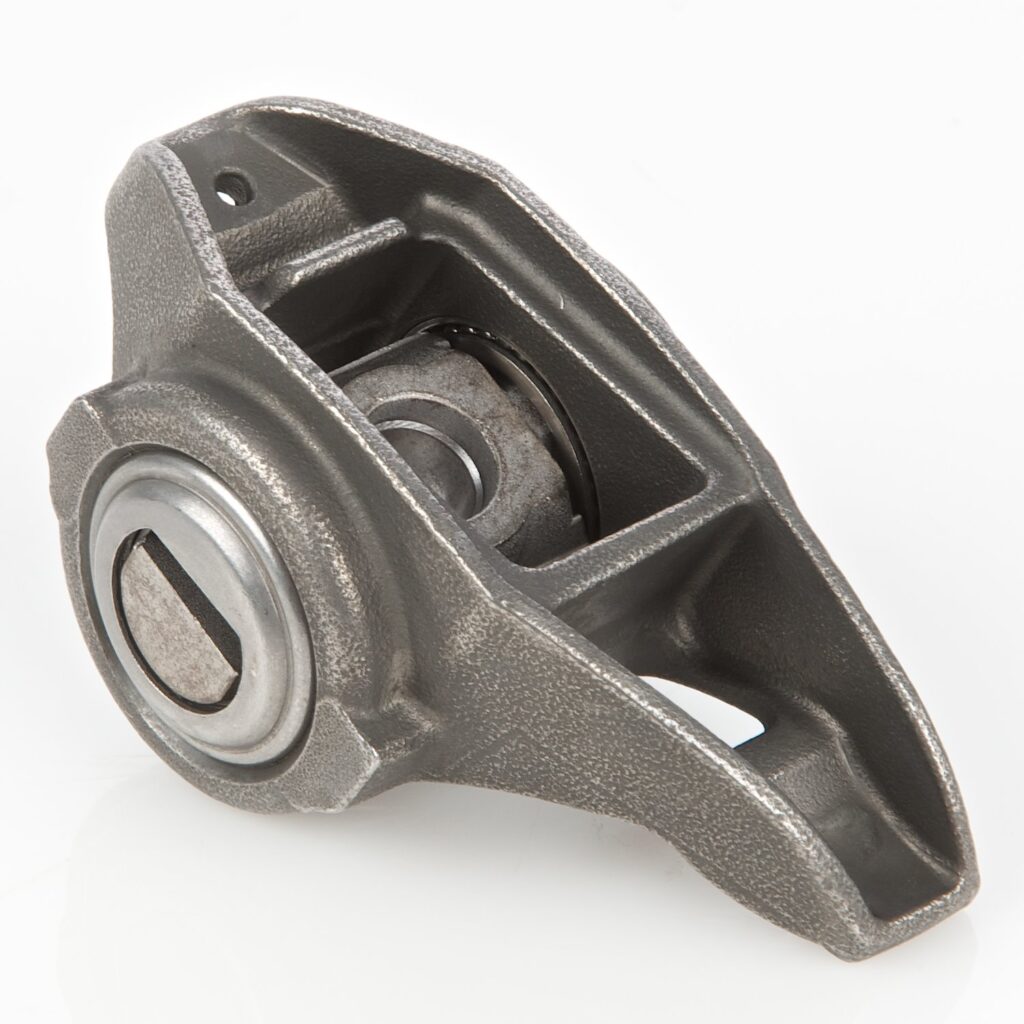
These rocker arms work with stock pedestals and bolts. No pushrod changes, guide plates, or valve cover spacers are needed.
Remove the valve covers and check the condition of the pushrods and rocker arm assembly. Work one cylinder at a time to maintain correct cam positioning and avoid unnecessary tension on the valvetrain.

Turn the engine clockwise until the intake pushrod on cylinder #1 moves fully upward and then just starts to drop. This ensures the exhaust valve is closed and ready for rocker arm installation.

Lightly coat the top of each pushrod and the rocker arm pushrod seat with assembly lube or clean motor oil. Spin each pushrod to ensure it is fully seated in the lifter.
Insert the rocker arm bolt through the trunnion with the flat side facing up. Align the pedestal on the bolt so that the radius matches the underside of the trunnion. Place the U-channel on the cylinder head and install the assembly.
Snug the bolt by hand until lash is removed. Spin the pushrod once more to confirm alignment.
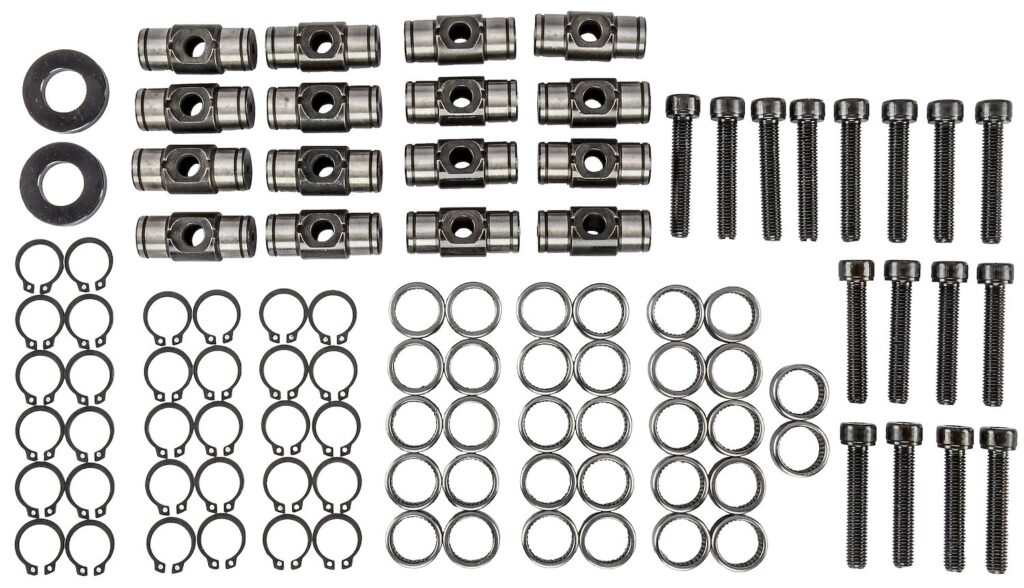
With the rocker arm in position, use a torque wrench to tighten the bolt to 22 to 24 ft-lbs as specified in the LS rocker arm torque spec. It is normal for the last half-turn to feel tight if the lifter is pumped with oil.
This process covers one rocker. Repeat the same procedure for the intake rocker arm once the exhaust valve begins to open.
Sign up now to join the JEGS email newsletter and be the first to learn about new products, special deals and e-mail only offers!
Correct alignment ensures long-term performance and prevents premature wear.
There is no official "crisscross" pattern when torquing LS rocker arms because each rocker is installed individually as the camshaft rotates through its cycle. The correct sequence involves:
This approach helps avoid thread damage, valve lash issues, and improper preload.
To keep your LS valvetrain in top shape:

Installing LS rocker arms correctly is all about attention to detail. With the proper tools and a careful approach, you can complete this upgrade confidently and safely. Following the right LS rocker arm torque specs and sequence not only ensures performance, but also helps protect your engine from premature wear or failure.
Whether you are using JEGS roller rockers or factory-style replacements, make sure you work cylinder by cylinder, verify lifter position, and torque each rocker to spec.
If you have questions during your LS rocker arm install, the tech support team at JEGS is here to help. Call 1-800-345-4545 or explore our full catalog of LS valvetrain components online at JEGS.com.



Leave a Reply