Sign up now to join the JEGS email newsletter and be the first to learn about new products, special deals and e-mail only offers!

 2 People Found This Article Helpful


Traction bars are one of the most effective upgrades for improving rear tire grip on leaf spring equipped vehicles. They help control axle wrap, reduce wheel hop, and improve consistency during hard acceleration. Whether you are launching at the drag strip or putting power down on the street, properly installed traction bars can make a noticeable difference.
This guide explains what traction bars do, how to choose the right style, and how to install them correctly. Following these steps helps ensure better traction, improved drivability, and long term reliability.
On leaf spring vehicles, hard acceleration causes the rear axle to rotate against the springs. This axle wrap can lead to wheel hop, broken parts, and poor traction.
Traction bars limit axle rotation by transferring load into the chassis. This keeps the tires planted and allows power to reach the ground more efficiently.
They are commonly used on classic muscle cars, trucks, and street and strip builds with leaf spring rear suspensions.
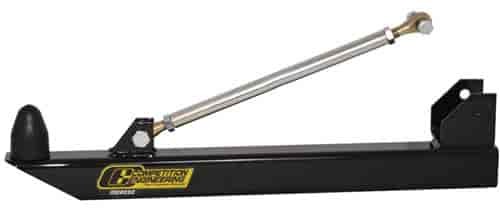
Before installation, it is important to understand the type of traction bars you are working with.
Slapper bars are a simple and affordable option. They use a rubber snubber that contacts the spring eye under acceleration.
They are easy to install and effective for mild to moderate power levels.
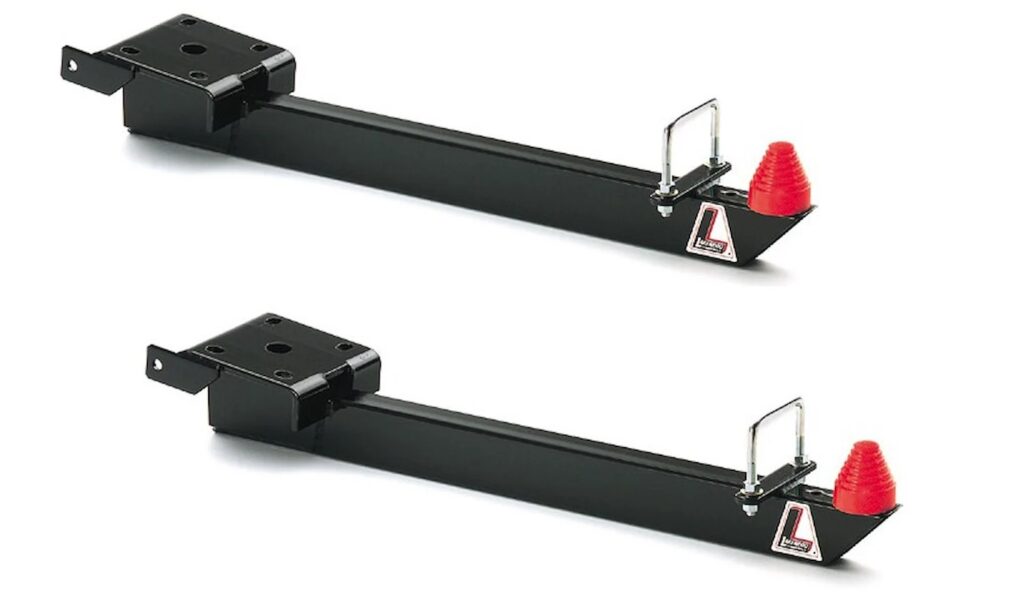
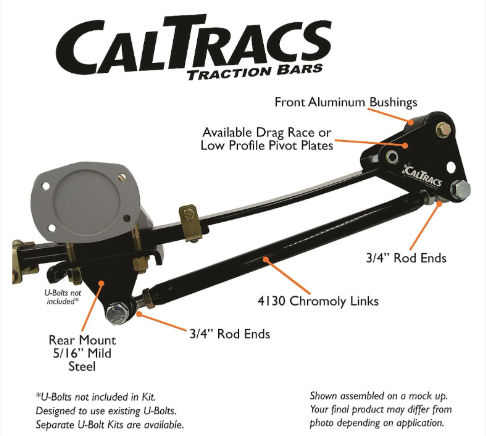
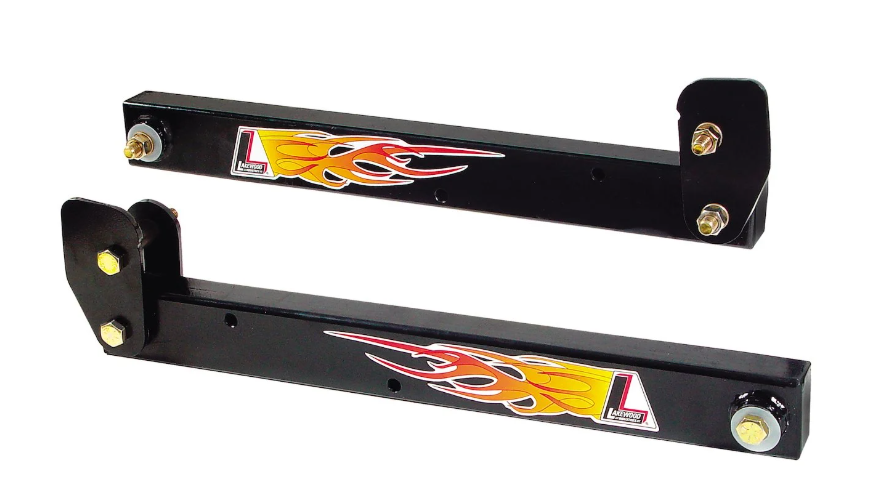
CalTrac style traction bars use a pivoting link system to apply force to the front spring eye. They offer better adjustability and performance compared to slapper bars.
These are popular in drag racing and higher horsepower applications.
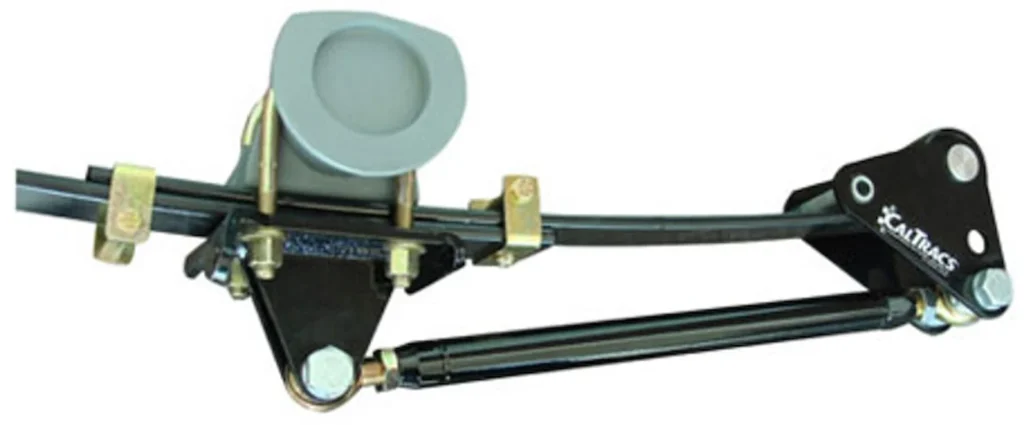
More advanced setups exist, but this guide focuses on traditional bolt on traction bars designed for leaf spring vehicles.
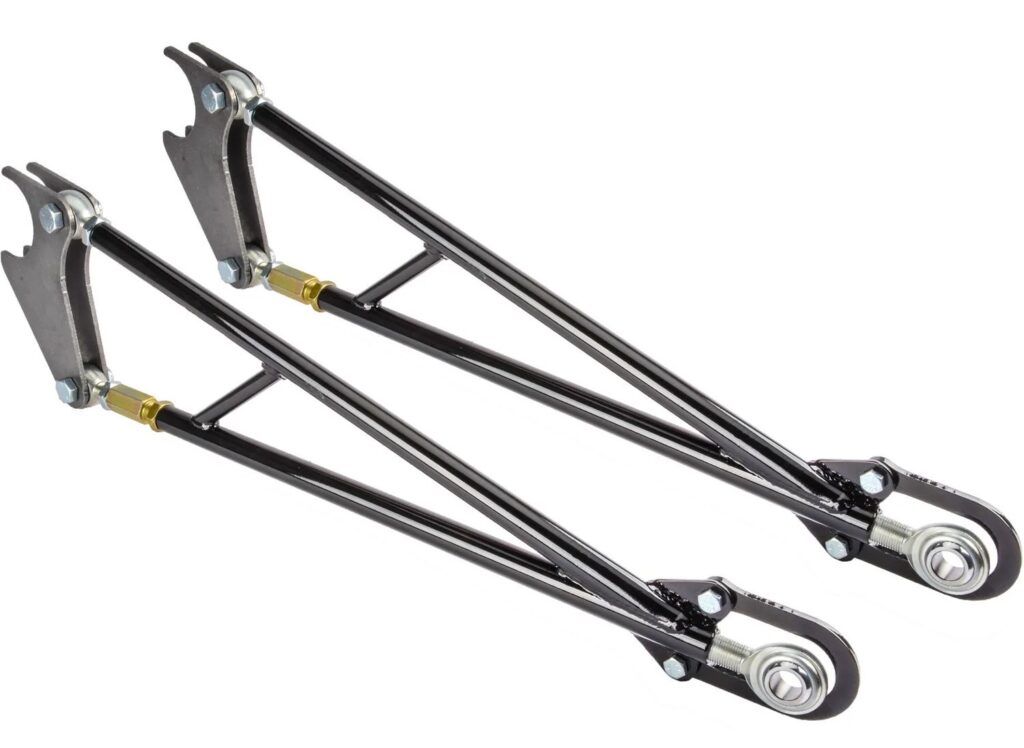
Having everything ready before starting makes installation easier.
Common tools and supplies include:
Always follow the instructions included with your specific traction bar kit.



Sign up now to join the JEGS email newsletter and be the first to learn about new products, special deals and e-mail only offers!
Park the vehicle on a level surface and set the parking brake. Chock the front wheels for safety.
Raise the rear of the vehicle using a floor jack and support it securely with jack stands under the frame. Let the rear axle hang naturally unless the manufacturer specifies otherwise.
Remove the rear wheels if needed for access.


Before installing traction bars, inspect the leaf springs, bushings, U bolts, and mounts.
Worn or damaged components can reduce the effectiveness of traction bars and lead to poor results. Address any issues before continuing.


Hold the traction bars in place to understand how they will mount. Most kits attach near the axle housing and extend forward toward the front spring eye.
Verify clearance around exhaust components, brake lines, and fuel lines.
Proper positioning ensures the bars function correctly and avoid interference.
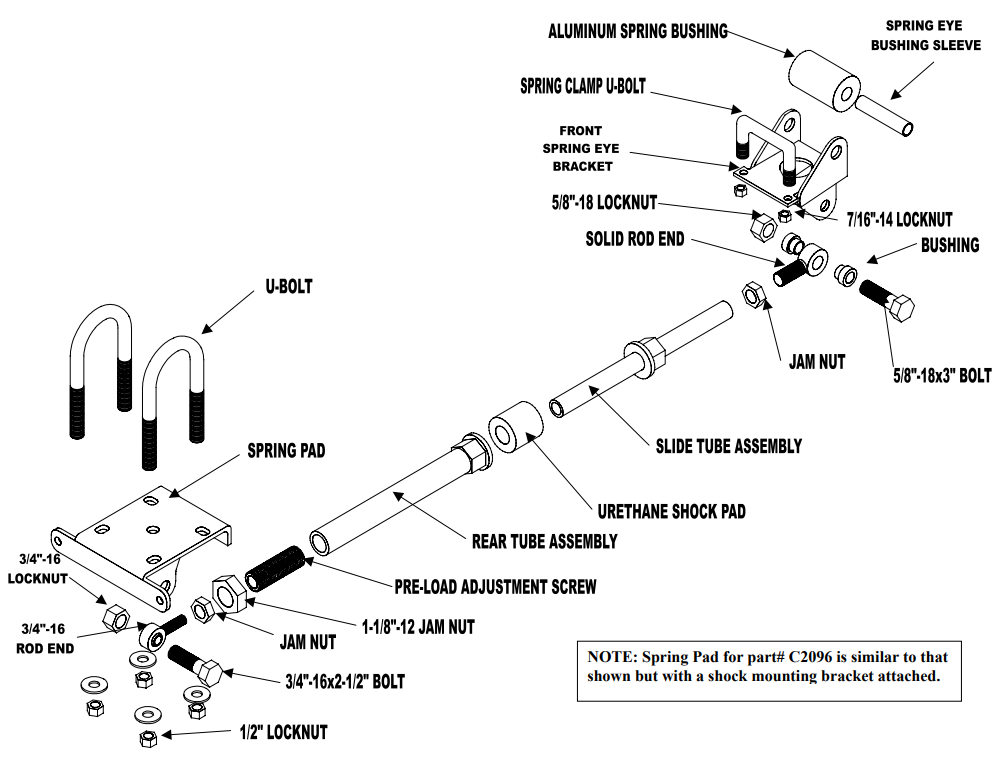
Attach the traction bars to the axle using the supplied brackets or U bolts.
Do not fully tighten hardware at this stage. Leaving fasteners slightly loose allows adjustment during final alignment.
Ensure brackets sit square and evenly on the axle housing.
Attach the front of the traction bar to the designated mounting point. This may be the front spring eye bolt, a pivot bracket, or a frame mount depending on the design.
Follow manufacturer torque specifications and verify correct orientation.
This connection is critical for proper load transfer.

Many traction bars include adjustment points. Set initial adjustment according to manufacturer recommendations.
For adjustable systems, a neutral or baseline setting is usually best for first testing. Avoid aggressive preload until baseline performance is established.
With the traction bars properly positioned, tighten all hardware to the specified torque values.
Double check that nothing binds or contacts surrounding components throughout suspension travel.
Reinstall the rear wheels if removed. Lower the vehicle to the ground and remove jack stands.
Bounce the rear suspension slightly to settle components before final inspection.
Visually inspect the installation and confirm all fasteners are secure.
Take the vehicle for a careful test drive. Start with light acceleration and gradually increase throttle to evaluate traction improvement.
Listen for unusual noises and recheck hardware after the first drive.
Traction bars often require fine tuning.
Helpful tips include:
Patience leads to better performance and consistency.
Avoid these common issues:
Correct installation prevents damage and improves results.
JEGS carries a wide selection of traction bars and suspension components for classic muscle cars, trucks, and street and strip builds.
With trusted brands and vehicle specific options, JEGS makes it easy to find the right setup for your application.
Installing traction bars is a straightforward upgrade that delivers real performance benefits. By controlling axle wrap and improving rear tire grip, traction bars help you launch harder and drive more confidently.
Following a proper step by step installation process ensures the bars work as intended and last over time.
Explore traction bars and suspension upgrades at www.jegs.com and take control of your rear suspension the right way.



Leave a Reply