Sign up now to join the JEGS email newsletter and be the first to learn about new products, special deals and e-mail only offers!

 2 People Found This Article Helpful
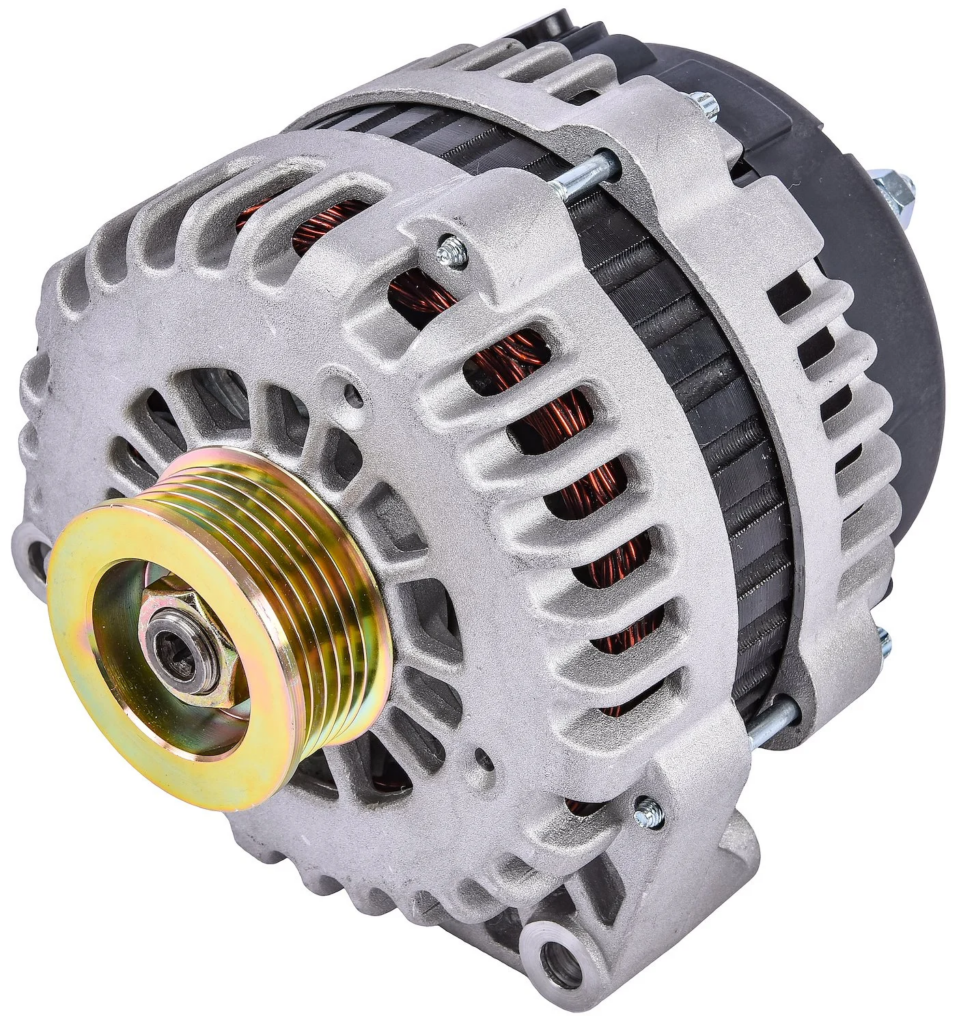

If your battery keeps dying, your headlights dim at idle, or your vehicle struggles to start, the alternator may be the problem. The alternator is responsible for charging the battery and powering electrical components while the engine is running. When it fails, you can quickly end up stranded.
Knowing how to test an alternator helps you confirm the issue before replacing parts. This guide explains the symptoms of a bad alternator and how to test it using basic tools.
The alternator converts mechanical energy from the engine into electrical energy. It charges the battery and supplies power to systems such as ignition, fuel injection, lighting, cooling fans, and audio equipment.
If the alternator is not producing enough voltage, the battery will drain and electrical performance will suffer.

Before testing, watch for common warning signs. These include a battery warning light on the dashboard, dim or flickering headlights, slow power windows, weak blower motor output, or a dead battery after driving.
In some cases, you may hear a whining noise from the engine bay caused by worn alternator bearings.
These symptoms can also be caused by wiring issues or a weak battery, so testing is important.
A digital multimeter is the most reliable tool for testing an alternator. It allows you to measure battery voltage with the engine off and while running.
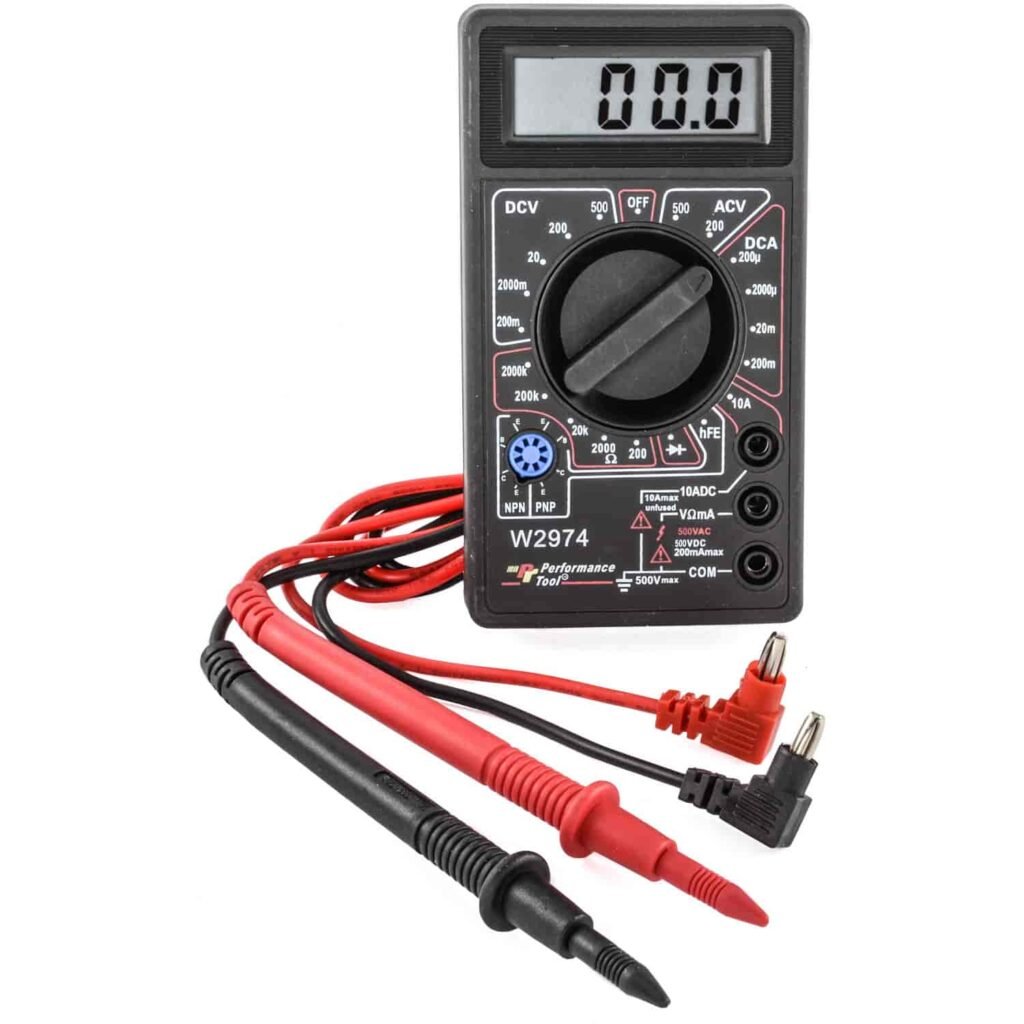
Make sure the battery terminals are clean and secure before testing.

Start by turning off the engine and all accessories. Set your multimeter to measure DC voltage.
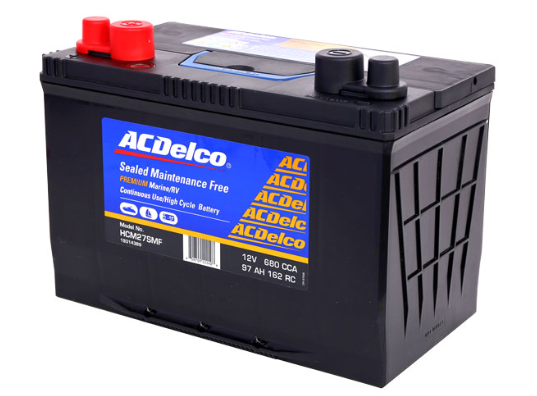
Place the red lead on the positive battery terminal and the black lead on the negative terminal. A fully charged battery should read around 12.6 volts. If the reading is significantly lower, the battery may be weak or discharged.
A low battery reading does not automatically mean the alternator is bad, but it gives you a baseline.
Sign up now to join the JEGS email newsletter and be the first to learn about new products, special deals and e-mail only offers!
Start the engine and let it idle. Measure the battery voltage again using the same method.
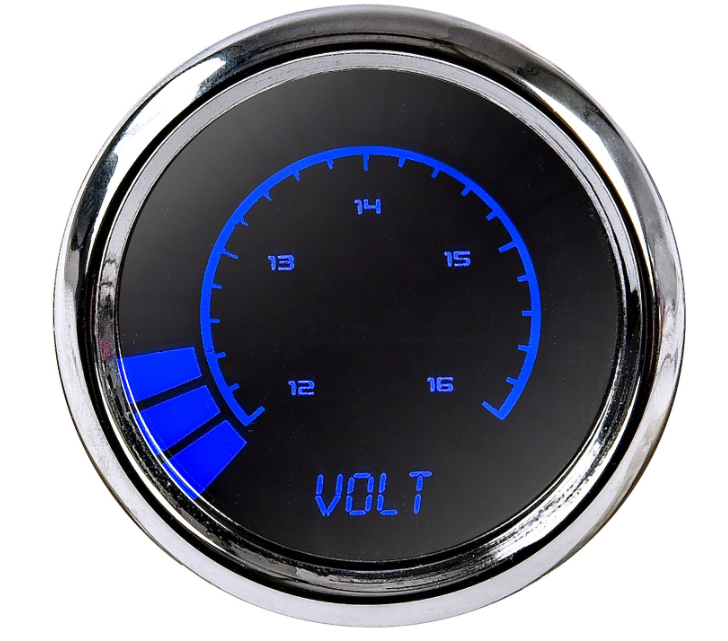
A properly functioning alternator should produce between 13.5 and 14.5 volts at idle. This indicates the alternator is charging the battery.
If the voltage remains near 12 volts or drops, the alternator may not be charging correctly.
With the engine running, turn on headlights, blower motor, and other electrical accessories. Measure voltage again.
The voltage should remain above 13 volts in most cases. If it drops significantly under load, the alternator may be weak or failing.
Before replacing the alternator, inspect the wiring. Loose or corroded battery cables can prevent proper charging. Also check the serpentine belt for proper tension and condition, as a slipping belt can reduce alternator output.

If testing confirms low charging voltage and wiring is in good condition, replacing the alternator is often the solution. Choosing the correct amperage rating is important, especially if you have added high draw accessories such as electric fans, upgraded audio systems, or performance ignition components.
Higher output alternators are available for performance builds that require additional electrical capacity.

A properly functioning alternator keeps your vehicle reliable and prevents unexpected breakdowns. At www.jegs.com, you will find replacement and high output alternators designed for street, off road, and performance applications.
If you need help selecting the correct alternator for your vehicle or determining the right output level for your electrical demands, the JEGS Tech Specialists are available to help you choose the best option for your build.
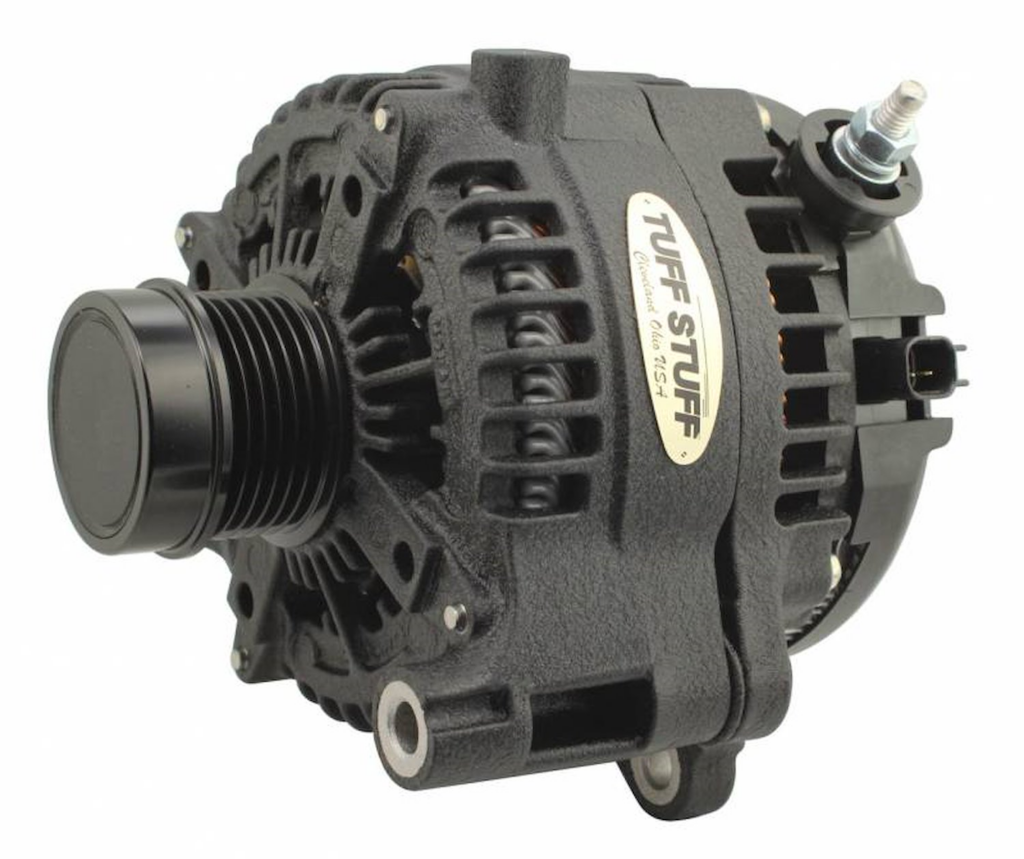

I need a 200 amp alternator, please let me know 🙏

Hi Gerardo, thanks for reaching out! We carry a variety of 200-amp alternators, and the correct one will depend on your vehicle and engine setup. If you can provide the year, make, model, and engine size, we can help narrow down the right option. One of our JEGS Techs would also be happy to help you find a compatible 200-amp alternator and answer any additional questions at 1-800-345-4545.



Leave a Reply