Sign up now to join the JEGS email newsletter and be the first to learn about new products, special deals and e-mail only offers!

 2 People Found This Article Helpful


Installing a battery disconnect switch is a smart upgrade for any vehicle or boat. Whether you are looking to reduce battery drain, prevent theft, or improve safety when working on your electrical system, a properly installed disconnect switch can help. In this guide, we’ll walk you through everything you need to know, including how to wire a battery disconnect switch, how to install one with an alternator, and specific tips for marine applications.
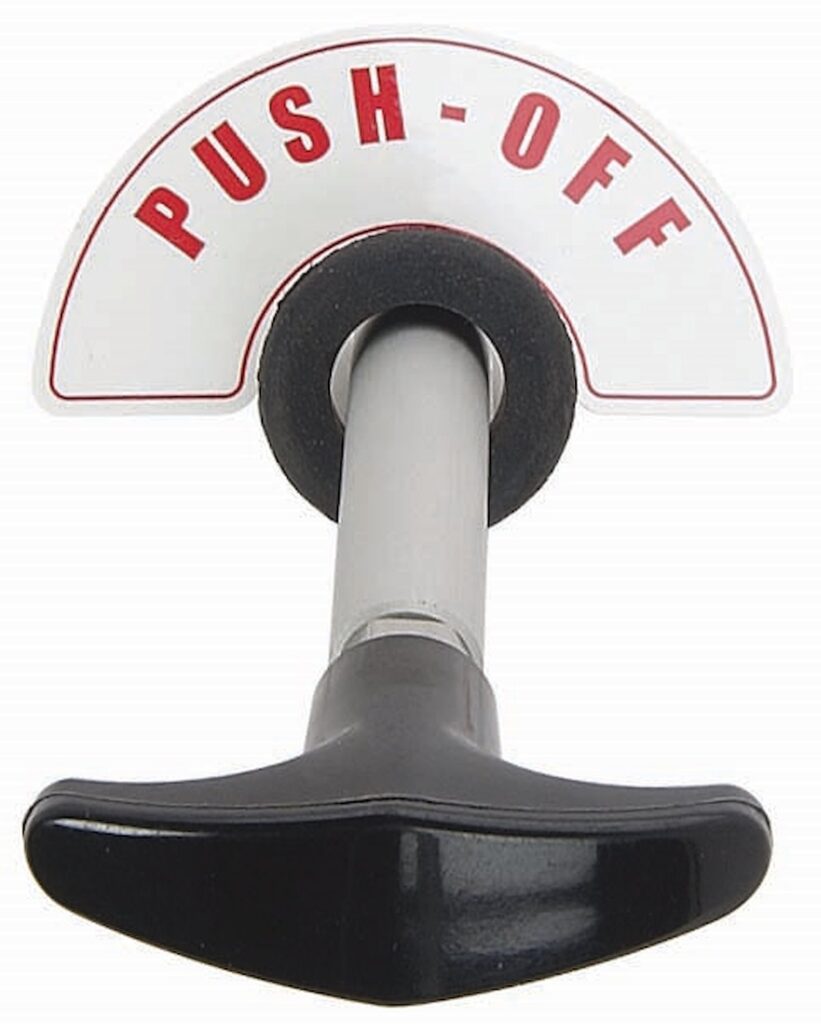
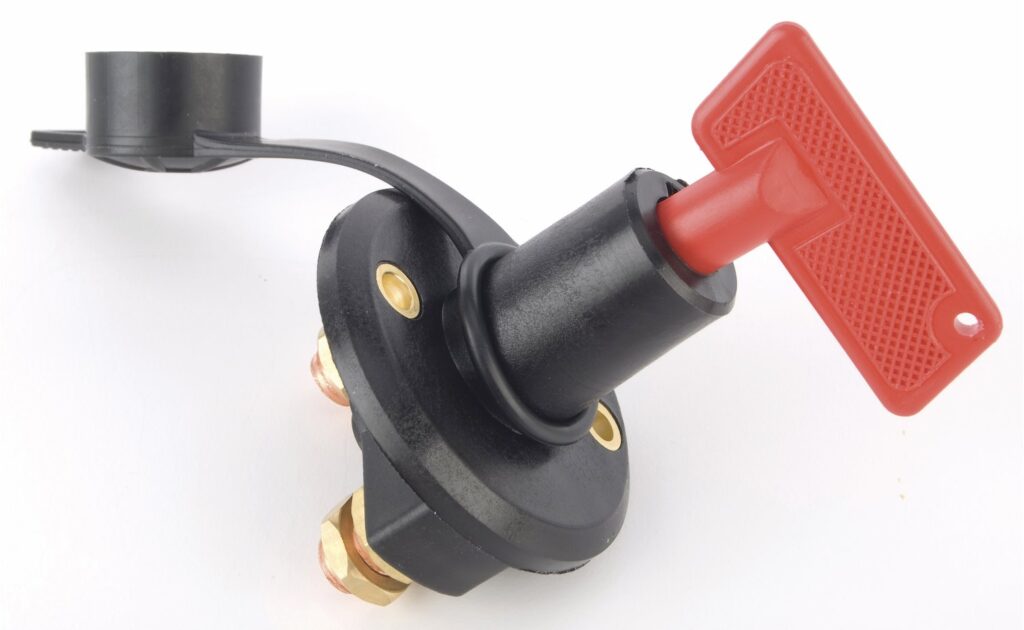
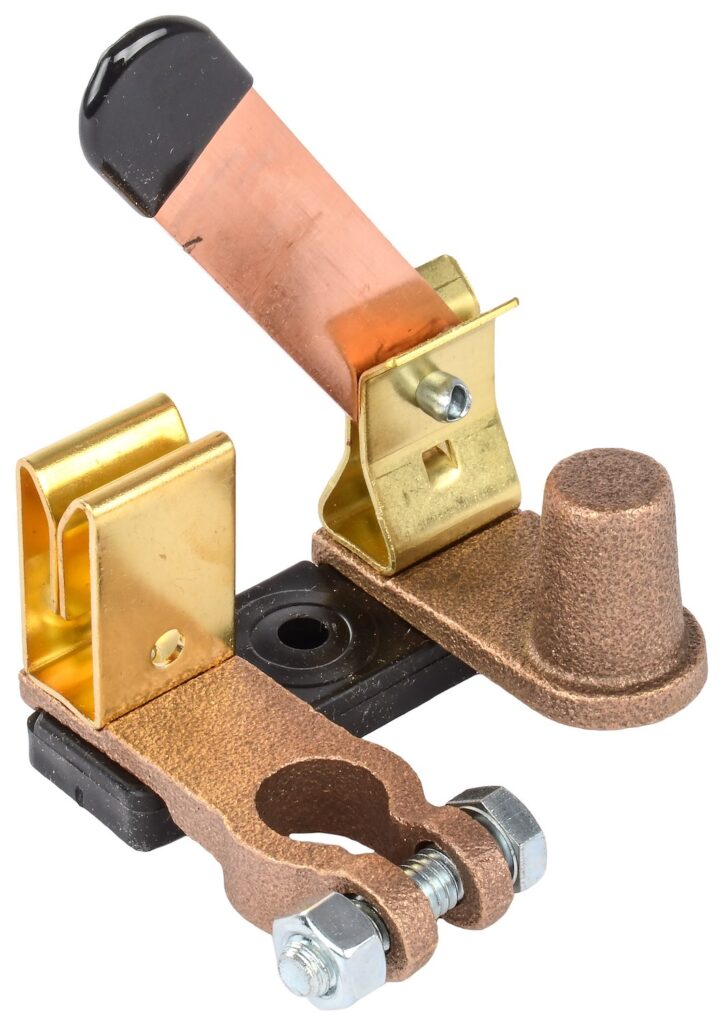
A battery disconnect switch allows you to manually disconnect the battery from the rest of your electrical system. This is useful for long-term storage, reducing the risk of electrical fires, and preventing unwanted battery drain. Many designs feature a twist knob or push-pull mechanism for simple operation.
Disconnect switches can be installed on either the positive or negative terminal, but most common installations place it on the negative side to interrupt the ground path.
JEGS offers several types of battery disconnect switches, including:
Each version is easy to install with basic tools and can be used in cars, trucks, race vehicles, RVs, and marine setups.

When installing a battery disconnect switch in a vehicle with an alternator, you want to ensure proper disconnection without damaging the charging system. Follow these steps for a clean and effective installation.


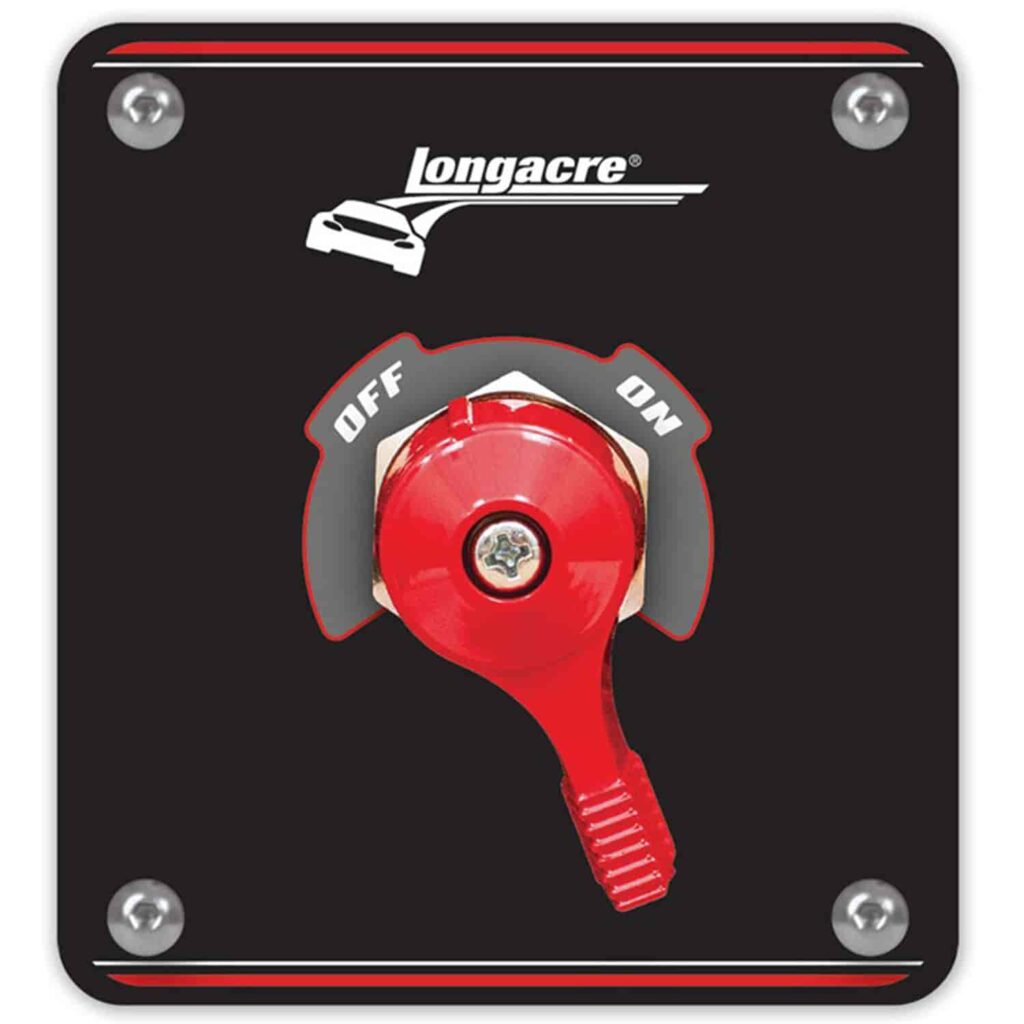
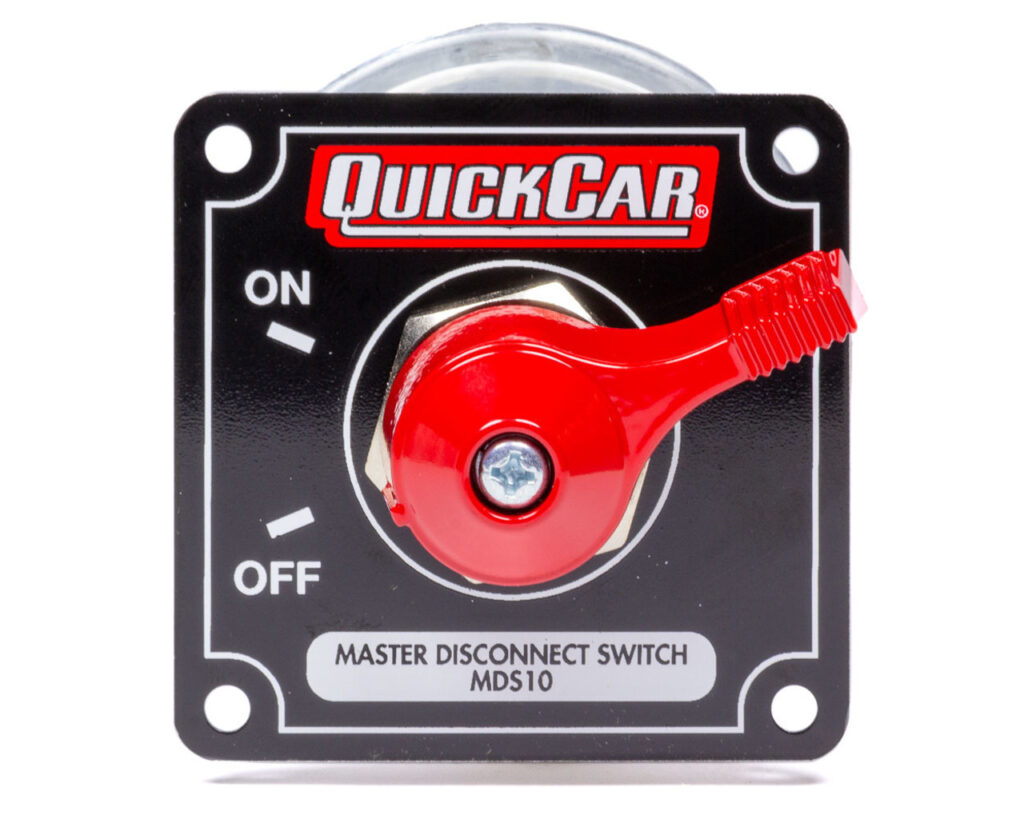
Important Note for Racing Applications: If your vehicle uses a push/pull battery disconnect switch and the engine does not shut off when activated, the alternator is likely backfeeding power to the ignition system. To fully disable the engine, the alternator output must be routed through the switch, or a secondary ignition cut-off circuit must be used. This is a common issue on drag and road race cars using high-output alternators and HEI ignition systems. Check your specific switch instructions or contact JEGS tech support for help configuring a kill-safe setup. Not all disconnect switches are designed to break both battery and alternator circuits, so double-check your wiring layout and switch specs before race day.
Sign up now to join the JEGS email newsletter and be the first to learn about new products, special deals and e-mail only offers!
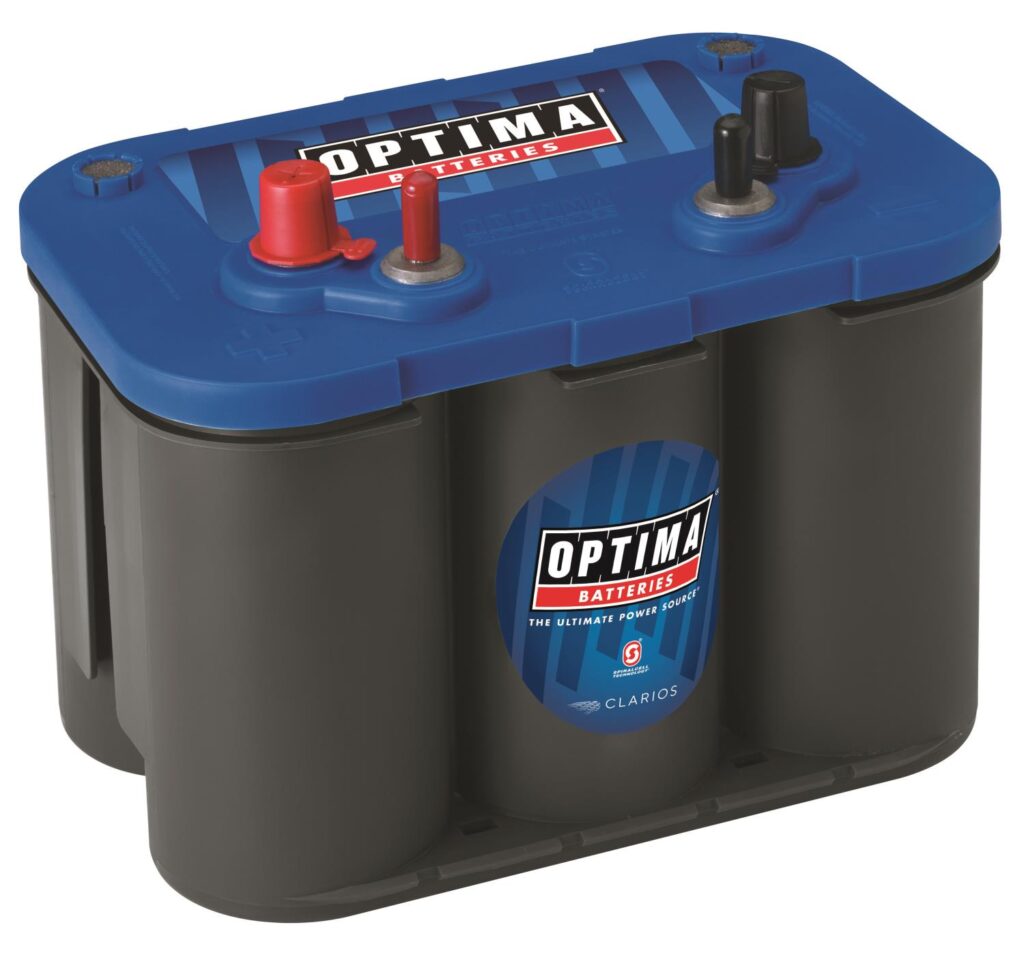
Marine applications follow a similar installation process, but there are a few additional considerations:
Never install a disconnect switch in a confined, poorly ventilated space. Battery gases can be explosive, and proper ventilation is essential.
Regular inspection and maintenance will ensure your disconnect switch continues to work properly:
Battery disconnect switches are intended to be used with the engine off. Trying to cut power while the vehicle is operating can result in electrical system damage or safety hazards.
Choosing the right battery disconnect switch depends on your specific application:
Whether you are learning how to wire a battery disconnect switch for theft protection, installing one alongside an alternator, or outfitting your boat with a reliable cut-off system, JEGS has the parts and tech support you need. Our selection includes top and side mount disconnects, fused bypass options, and complete remote shutoff kits.
For additional assistance or to find the best product for your application, contact the JEGS Tech Team or explore our full catalog online at JEGS.com. We are here to help with your next installation and keep your build safe, secure, and easy to maintain.

reading your instructions for push pull rod . at track if something happens pushing in rod in rear of car should kill engine for safety our switch tech guy pushed in and kept running. ours is set with positive cables do we just need to swap the 2 cables from the posts on switch?? thanks

Thanks for your question, Jim! This is a great safety concern and something we see often at the track.
If your battery disconnect switch is wired on the positive side but the engine continues to run when the rear-mounted push/pull rod is activated, the likely issue is alternator backfeed. This means the alternator is still powering the ignition system even though the battery is disconnected, which is a common problem if the alternator output wire is not routed through the disconnect switch.
Swapping the two cables on the back of the switch will not solve this issue unless you’re changing which circuits are being interrupted. To fully shut off the engine when the switch is pulled, you need to:
Wire the alternator output through the disconnect switch (so the alternator can no longer send power to the rest of the car), or
Use a disconnect switch that includes an alternator cut circuit or auxiliary contact to shut down the ignition or fuel system.
If you’re running a one-wire alternator, the solution may be as simple as running that output wire through the main kill switch. For more complex systems, you might need a separate relay or ignition interrupt circuit that cuts power to the coil or ECU.
We recommend verifying the wiring diagram for your specific switch model, especially if you’re using a remote push/pull style like the JEGS 10370 or 10372. We’ve updated the blog with a note about alternator backfeed to help clarify this scenario.
If you need wiring advice specific to your setup or switch model, contact us at 1-800-345-4545 and speak to a JEGS tech support specialist — we’ll help you get it track-ready and safe.



Leave a Reply