Sign up now to join the JEGS email newsletter and be the first to learn about new products, special deals and e-mail only offers!

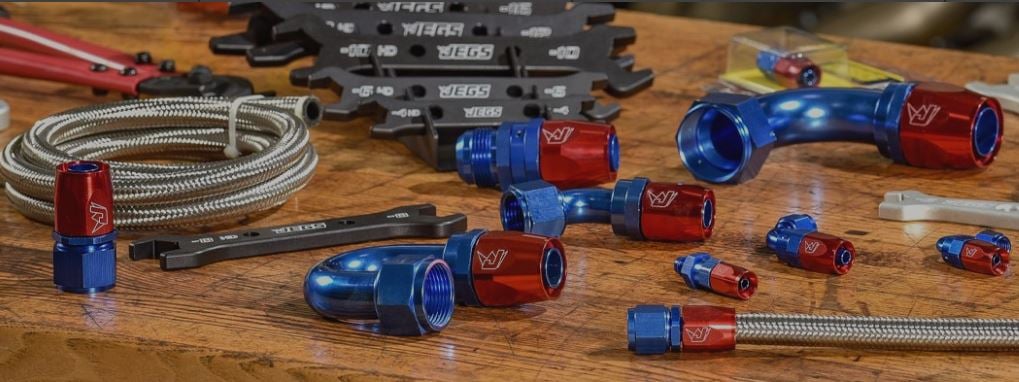
If you are shopping for AN fittings and hoses for the first time, it can be very difficult to navigate yourself through the wide range of their types and sizes. What’s more, specialized tools are available to assemble the tubing, which can make understanding the assembly process and AN tubing in general even more difficult.
Thankfully, in this guide, you’ll learn all there is to know about AN hoses and fittings but also about tools and assembly.
As fuel line sizes, and tubing in general, differ across makes and models, it’s useful that AN hoses are offered in so many sizes (and also that the tubing can be easily customized using the various AN fittings).
Even though it doesn’t look like it at first glance, the sizing system is easy to understand. Every number after the dash in the AN hose size counts as 1/16”. AN-2 thus means that the inner diameter (ID) of the hose is 2/16” or 1/8". Similarly, AN-10 is 10/16” or 5/8". Below you can find a complete AN hose size chart:
| Hose Size (AN) | Hose ID (inches) | Hose OD (inches) |
| AN-2 | 1/8" | 11/32" |
| AN-3 | 3/16" | 13/32" |
| AN-4 | 1/4" | 7/16" |
| AN-6 | 3/8" | 9/16" |
| AN-8 | 1/2" | 11/16" |
| AN-10 | 5/8" | 13/16" |
| AN-12 | 3/4" | 15/16" |
| AN-16 | 1" | 1-5/16" |
| AN-20 | 1-1/4" | 1-5/8" |
For a thorough understanding, here’s also an AN fitting size chart for both female and male connections:
| AN Size | Thread Size (Female) | Thread Size (Male) | Hose Inner Dimension |
| 4AN | 7/16"-20 | 7/16"-20 | 0.220" |
| 6AN | 9/16"-18 | 9/16"-18 | 0.340" |
| 8AN | 3/4"-16 | 3/4"-16 | 0.440" |
| 10AN | 7/8"-14 | 7/8"-14 | 0.560" |
| 12AN | 1-1/16"-12 | 1-1/16"-12 | 0.690" |
| 16AN | 1-5/16"-12 | 1-5/16"-12 | 0.880" |
Assembling AN tubing requires a few tools. Of course, you’ll need to make sure that you have the right sizes and types of AN hoses and fittings. Besides that, you will need the following:

The bench-mounted vise or a hose assembly tool such as the Koul Tool can prove to be especially useful if you are doing extensive tubing work but are not necessary.
Sign up now to join the JEGS email newsletter and be the first to learn about new products, special deals and e-mail only offers!
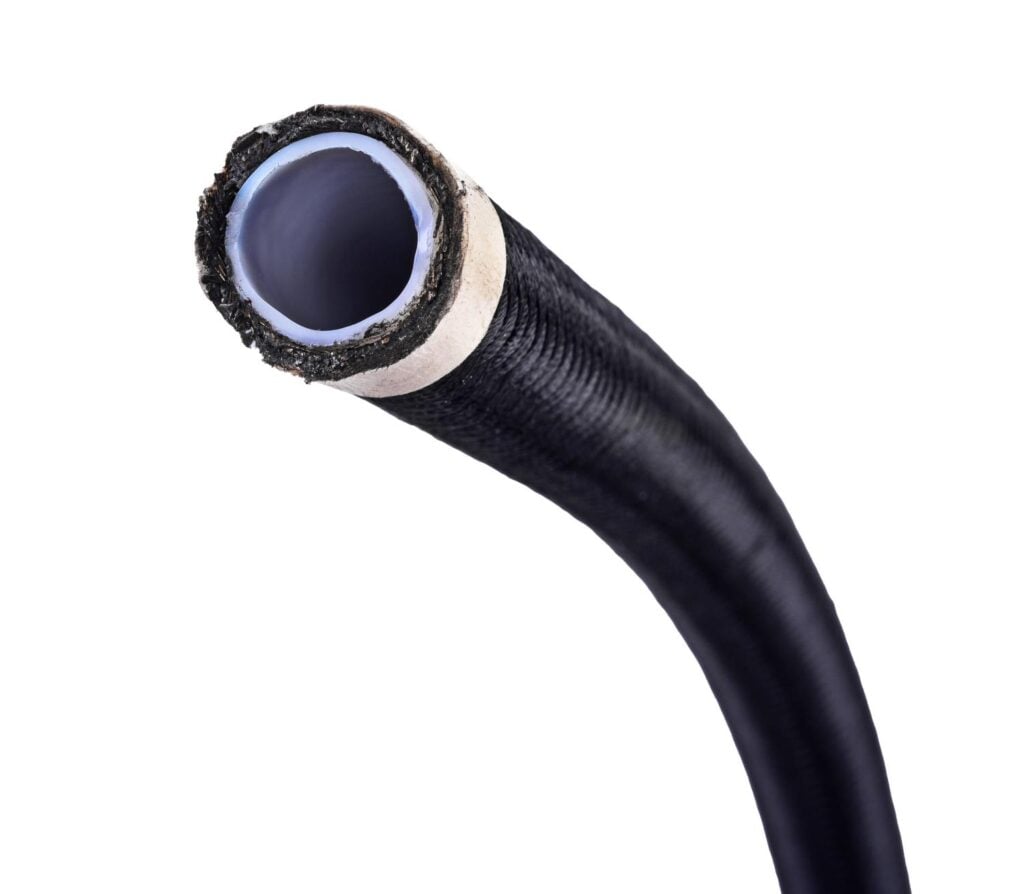
Not only that AN hoses come in various sizes, but they also differ in their type. Based on the specific application, the hoses can have the inner lining made of either rubber or Polytetrafluorethylene (PTFE), also known as Teflon. On the outside, the hose can have either a smooth covering from rubber or a steel braided mesh for improved durability. Some hoses also come with a nylon braid. Choosing a proper type of inner lining is crucial, as some fluids can degrade materials. For example, high pressure fluids such as power steering, transmission, and brake fluid should only be running through PTFE hoses. There are also special Push-Lock hoses, which are specifically designed for easier installation but should only be used in low-pressure systems such as carbureted fuel, engine oil, coolant, vacuum, etc.
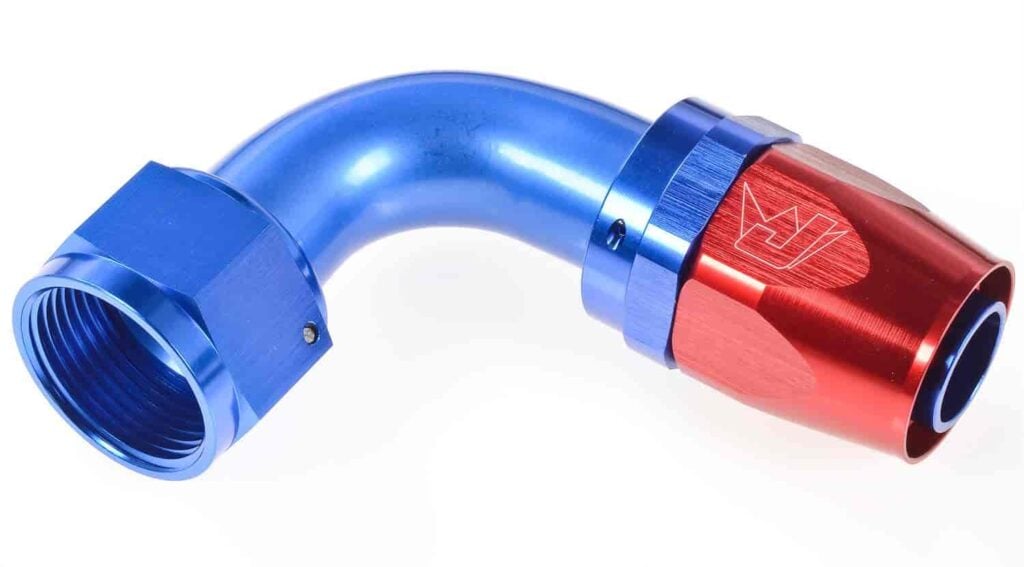
When it comes to AN fitting adaptors, you should mainly know that they come in a wide variety of angles to make routing of the hoses easier. Typically, angles of 30, 45, 60, 90, 120, 150 and 180 degrees are available.
There are also some special types of AN fittings, such as a bulkhead fitting. These are meant to pass hoses through panels, maintaining a sealed connection on both sides. There are also union fittings, that can be used to connect two hoses of the same size. On the other hand, if the hoses you need to connect are of a different size, you can use a reducer fitting. Lastly, if you need to pass fluids through multiple lines, you might want to make use of the tee fittings, which can be used to divide flow.
Now that we have cleared up the theory behind AN hoses and fittings, we can move on to the final step - the assembly. The procedure is the same whether you’re building an oil line, reworking your car’s fuel lining, or anything else for that matter.
First, you need to measure. Determine the length of the hose that you need and carefully consider its routing. Making the lining too long can decrease the performance of the finished system. Moreover, bends that are too sharp may restrict flow through the tubing, just like pinched hoses due to improper routing. Once you’ve thought all of this through, cut the required length of the hose using either a utility knife or a specialized hose cutter. In case you’re working with stainless steel braided hoses, an angle grinder will be your best option. Make sure the cut is level because an even mating surface with the AN fitting is crucial.
Next, you need to connect the AN socket to the hose. Apply forward pressure towards the socket while turning the hose clockwise. Keep pushing until the hose reaches the back of the threads inside of the socket. Keep in mind that braiding can get damaged rather easily, so be gentle with nylon- or steel-braided hoses. The process of connecting the socket is quite simple, but it can be even simpler if you have specialized tools on hand. A “Koul Tool” can be very helpful if you are doing some extensive tubing work but it is not a necessity.
Then, you’ll need to prepare the AN fittings by lubricating them. Apply oil or any lubricant that you have handy to the threads of the fittings and also the inside of the hose. This will make connecting the fitting and the hose easier and ensure a secure fit. Otherwise, you might risk damaging the hose during assembly, apart from making the work more difficult for yourself.
An extra step that can help you ensure a tight and leak-free fit of the tubing is to mark the position of the hose against the socket with a piece of masking tape or a marker. It will help you see whether the hose was pushed out of the socket nut during the next step, which could result in leaks.
As the next step, using a dedicated AN wrench, or an equivalent-sized wrench, tighten the AN fitting into the hose end socket nut. At the same time, apply upward pressure on the hose to make sure it does not slip out as you tighten the fitting. That’s it!
Now you’re done with the installation but you should still check the finished product for any faults. An obvious thing to do is to check the hose depth insertion point that you have marked with the masking tape or marker. If the hose was pushed out, you need to redo the process once more. You should also clean the assembled AN hose of any debris. You can simply blow some pressurized air through the hose. You don’t want dirt or metal particles getting inside your oil or fuel system.
Looking for fittings, tools, or AN hoses? We’ve got what you need at JEGS. Explore high-quality AN products to complete your fluid routing project in no time with parts from popular brands, and the expertise of our in-house team.


Leave a Reply