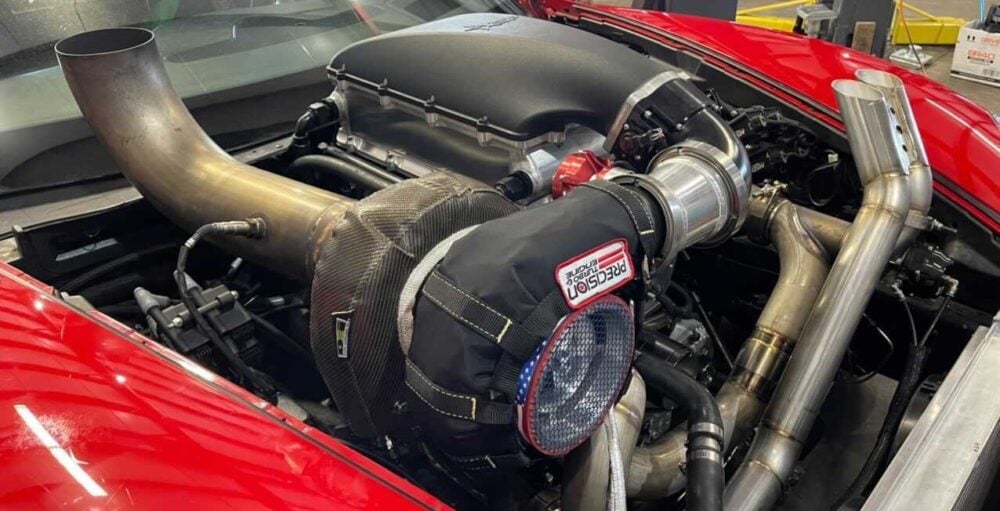
Your vehicle's exhaust system evacuates the spent gases of combustion once they've been ignited and done their work. However, due to the process of ignition causing a colossal amount of heat, it’s natural for the exhaust pipe to get hot. Like really hot. On high-performance cars that see sustained high loads and engine speeds on the track, you might even catch a glimpse of certain exhaust components glowing red. Even in your regular daily driver, the exhaust generates a significant amount of heat.
Typically, exhaust heat from an average engine in an economy car or non-performance car driven under regular conditions isn’t enough to necessitate heat wrap. Yes, the exhaust will get hot under use, but the heat will be manageable, and the flow of air within the engine compartment and beneath the vehicle will typically keep things in check.
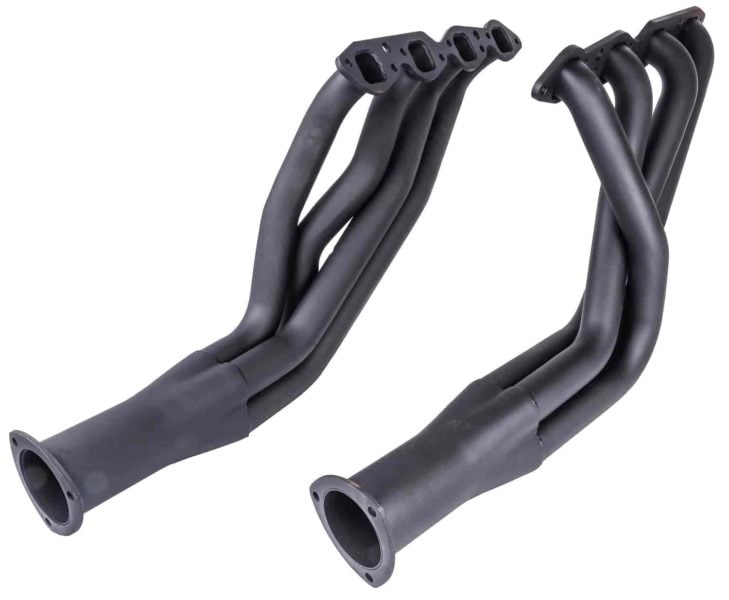
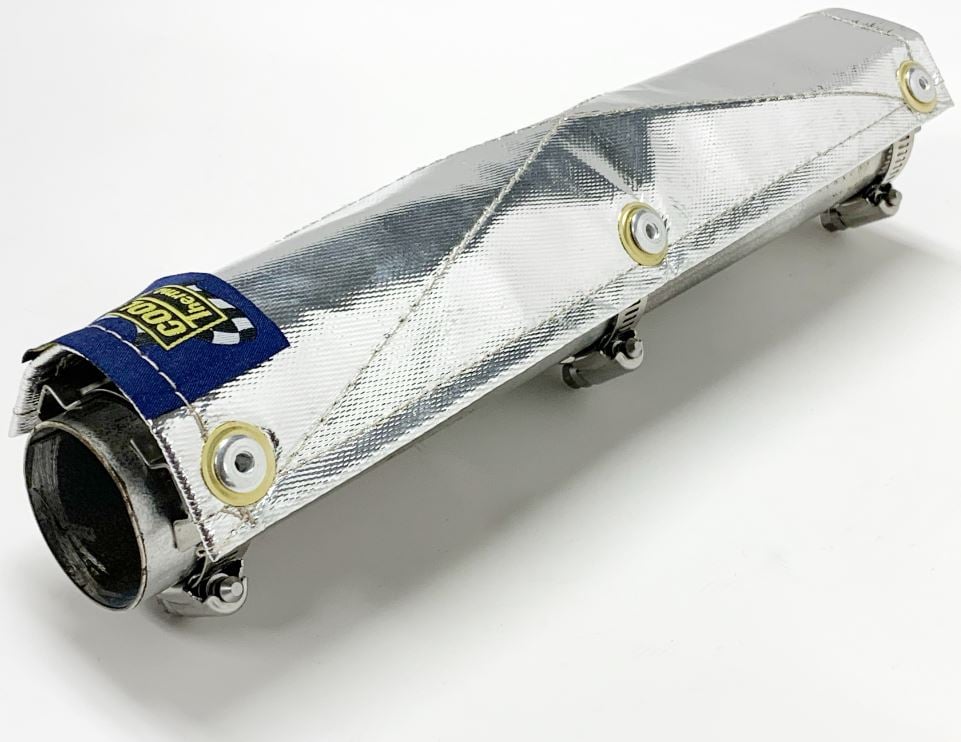
However, when you start dialing up the performance, your engine will also make more heat. While beefing up your cooling system is a great idea, the cooling system only cools the engine. It doesn’t do anything for the exhaust components such as the manifold, downpipes, catalytic converter, muffler, and such. If things get too hot, it can cause heat damage to components in your engine bay, such as wires and hoses. That’s why we tend to see an exhaust heat shield wrap installed on high-performance cars or those that have been souped up.
Looking for exhaust components, including exhaust heat wrap? No worries, we’ve got everything you need. Just check out this section on our website and we’ll get you started.
What Are the Benefits Of Heat Wrap?
The major benefit of an exhaust heat wrap is that it protects your delicate engine bay components from excessive heat. Wires and hoses, for example, tend to be made of rubber or contain plastic, and an excessively hot exhaust can cause damage to these important components over time. You don’t want a hose or wire to be burned through, after all.
If your engine is breathing incoming air from within the engine bay, as the majority of engines tend to do when paired with a shorter air intake, higher engine bay temperatures mean that your engine is pulling in hotter air. However, you want it to pull in air that’s as cool as possible, for the best efficiency and the most power. How can you do this? An exhaust wrap is a great way.
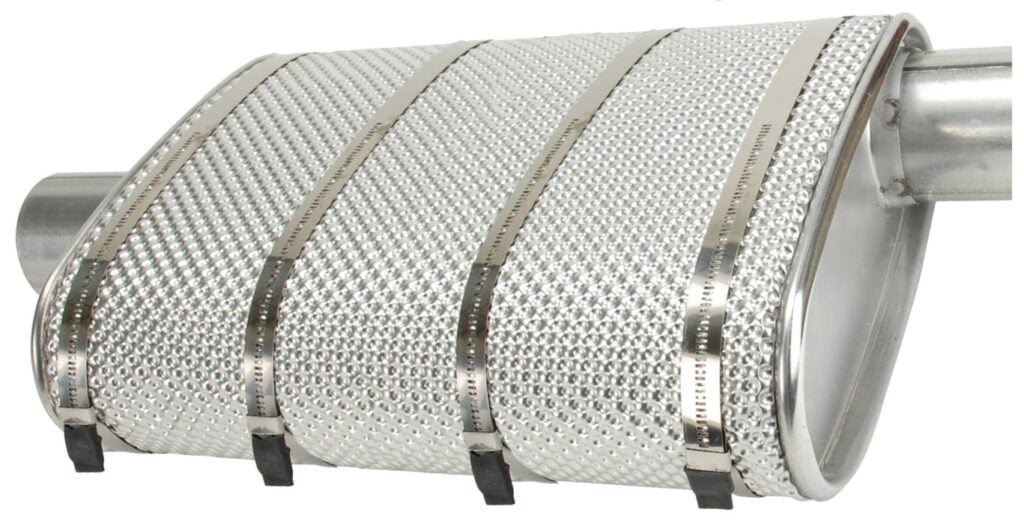
Exhaust heat wraps also achieve more efficient heat transfer away from your engine bay, and they do this through two principles. The first is insulation, by keeping the exhaust heat within the inside of the exhaust system. Typically using insulating materials such as fiberglass, you can actually reduce your under-hood temps by as much as 50% with a good exhaust wrap.
The other principle is thermodynamics, keeping the gases hot so that they move faster through the exhaust system. This effect is called scavenging, and it helps draw more fuel and air into the combustion chamber for the next cycle.
List of What You Will Need to Install Heat Wrap
Installing an exhaust wrap is surprisingly easy if your exhaust manifold and exhaust pipes are relatively accessible. If you’re unsure on how to do so, it’s always best to leave the job to a trained professional at a workshop. However, if you feel you’re up to the task, here’s what you’ll typically need.
- Plenty of exhaust wrap. You can’t easily gauge how much you need, so it’s always best to take a measurement, and then triple it. Remember that you’ll have to overlap each layer of wrap by at least half, so that’s effectively using double the original estimated quantity. We at JEGS can help you gauge how much wrap you’ll need.
- Some water, the purpose of which will become clear when we start installing the wrap.
- A helper, as you’ll need an extra pair of hands for tighter areas.
- Some tape for temporary fitment.
- Zip ties for temporary fitment.
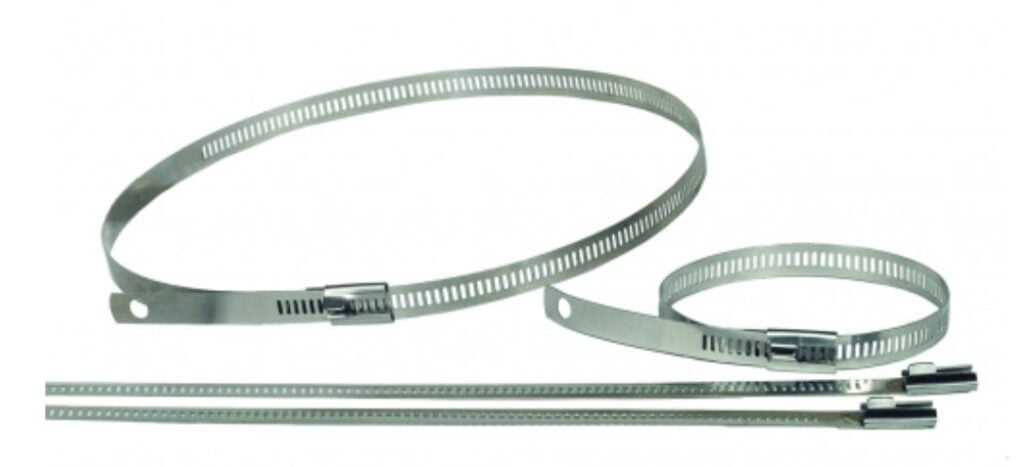
- Steel ties for permanent fitment.
- A sharp knife or similar implement for cutting the wrap, as well as for cutting tape and zip ties.
How to Install Heat Wrap
Grab a piece of wrap and start wrapping. Start at one end of the exhaust component, for example if it’s the exhaust manifold, start at the engine side and work your way down. You’ll want to overlap the wrap by approximately half its width on each turn to ensure a proper fit, and make sure that it’s not getting kinked or pinched. Likewise, ensure that there are no gaps at corners or bends where heat can soak through.
As you reach an intersection or end section, use some tape or zip ties to temporarily secure the wrap in place. This is important as you’ll eventually be securing it with steel ties, but you don’t want to waste those just yet. Many DIY installers find a better way to install it when they’re doing the second or third section, and using a zip tie ensures that you can simply cut the tie and re-do the previous sections.
Take your time, and ensure there are no gaps or openings where the exhaust pipe is exposed. Once satisfied, install steel ties as recommended and tighten them properly.
Tips and Tricks to Know
Here are some tips to make your wrapping job that little bit easier.
- Soaking your exhaust wrap in water before installing it can make it a little easier to curl and bend around the pipes. You might want to spray it first, and if more water is required, use a small can or bucket.
- Take your time, don’t rush it, and estimate a few hours to complete the job. There’s nothing more frustrating than rushing through, only to find gaps in the first few sections.
- Enlist the help of a buddy who can hold the wrap in place for you, help guide it from another angle, and keep it secure while installing the ties. You can wrap solo, but it’s not recommended for beginners.
Watch a YouTube video on installing exhaust wraps before starting the job yourself. It’s always good to see someone else do it and learn from them.
Everything Exhaust And More At JEGS
Jeg Coughlin saw a lack of aftermarket parts in the market, so he formed JEGS in 1960. Since then, JEGS is now run by the second generation of the Coughlin family, and offers an excellent array of maintenance and performance parts for discerning enthusiasts.
Whatever you choose, we’ve got competitive pricing and all applicable warranties to back it up. Check out JEGS, and join millions of customers who are grateful to Jeg Coughlin for what he’s created.