Sign up now to join the JEGS email newsletter and be the first to learn about new products, special deals and e-mail only offers!

 124 People Found This Article Helpful
Key Takeaways
JEGS Tech Specialist
Pete Mitchell
You may have come across AN fittings and AN hose assemblies in your search for automotive aftermarket parts and performance components. But have you wondered what an AN fitting is? Perhaps you've got some AN fittings and are unsure about installing AN fittings. In this article, we'll explain what AN fittings are, what you need to start, what you need to know beforehand, and the step-by-step instructions to ensure proper AN fitting installation.
You'll also find an AN fitting size chart, what the dash numbers mean, and how to measure the fittings you already have.
Whether you're looking for AN fittings for your vehicle, or unsure which ones will fit, just talk to our team of specialists and they'll help you find what's best. With a comprehensive range of AN fittings and hose assemblies to choose from, you're in good hands at JEGS.
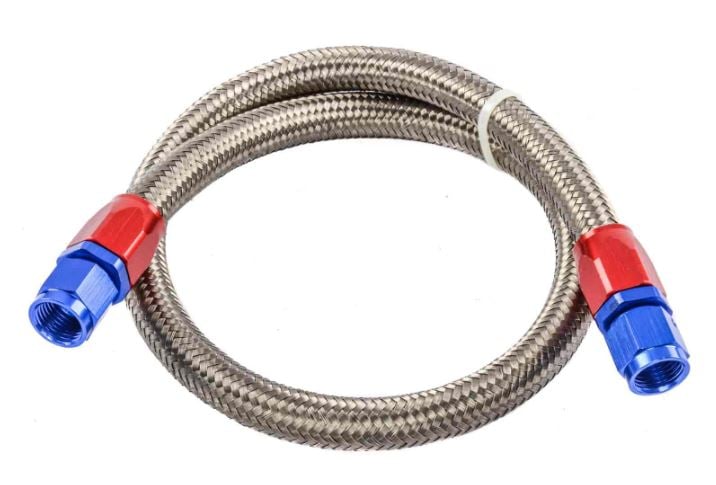
AN Fittings, or Army-Navy Fittings are a type of fitting used to connect flexible and/or non-flexible hoses together in a variety of applications, including automotive use. The name AN Fittings came about during World War II, when the US Army and the US Navy agreed upon a joint standard size specification for fittings, to ease mechanical and engineering work across the two branches, and streamline production of spare parts for the war effort.
Today, AN fittings are used across a wide variety of segments, including automotive, aerospace, aeronautic, marine, industrial and of course, military. They are designed to perform under high stress environments and to extremely tight tolerances. AN fittings are designed for a variety of thread sizes, typically ranging from -4 to -24 in irregular steps.
Keep in mind that AN fittings use a standard 37-degree flare for their sealing surface. Hence, you cannot couple an AN fitting to a different flare-type fitting, as it will result in leaks. Instead, you've got to choose an appropriate adaptor in case you need to couple an AN fitting to another type.
This can also be needed if you're coupling different hose diameters together, which is where AN union and reducer fittings come in.
AN's 37° flare isn't interchangeable with 45° SAE flare fittings, and NPT pipe threads seal on their tapered threads instead, so use an adapter between them. If you're running hard line, here's how to flare tubing for 37° and 45° fittings.
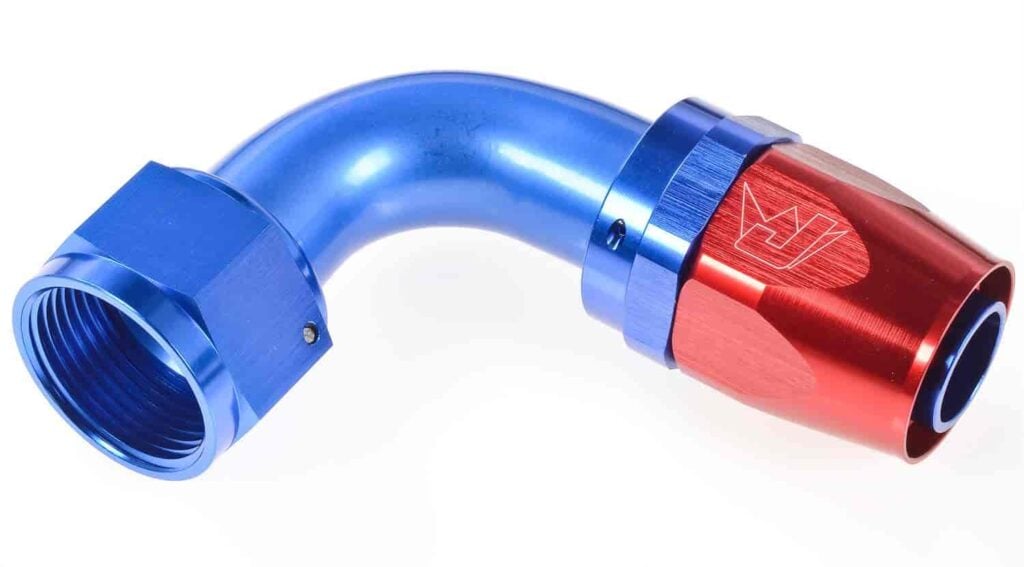
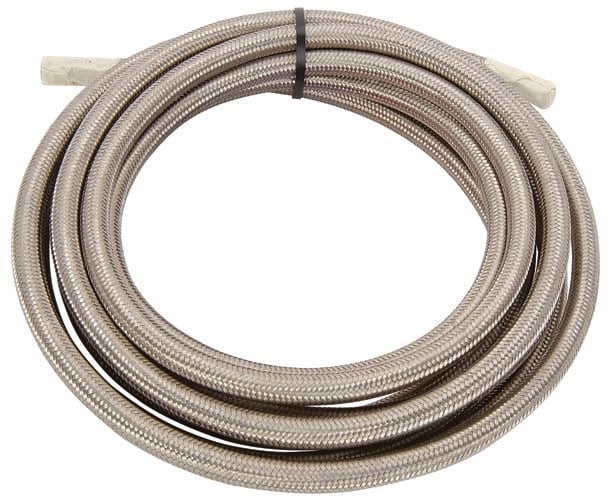
You'll need a few things at hand to start building a hose assembly with AN fittings. These include:
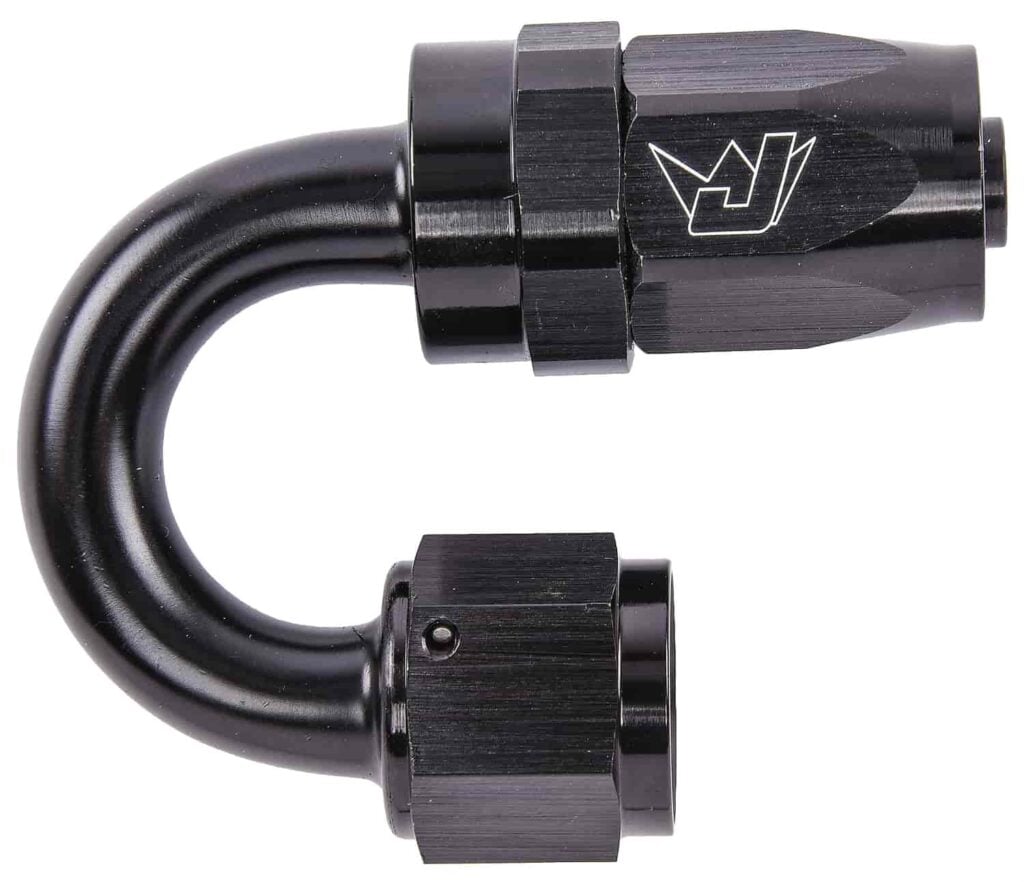
JEGS Black AN Hose End Fittings
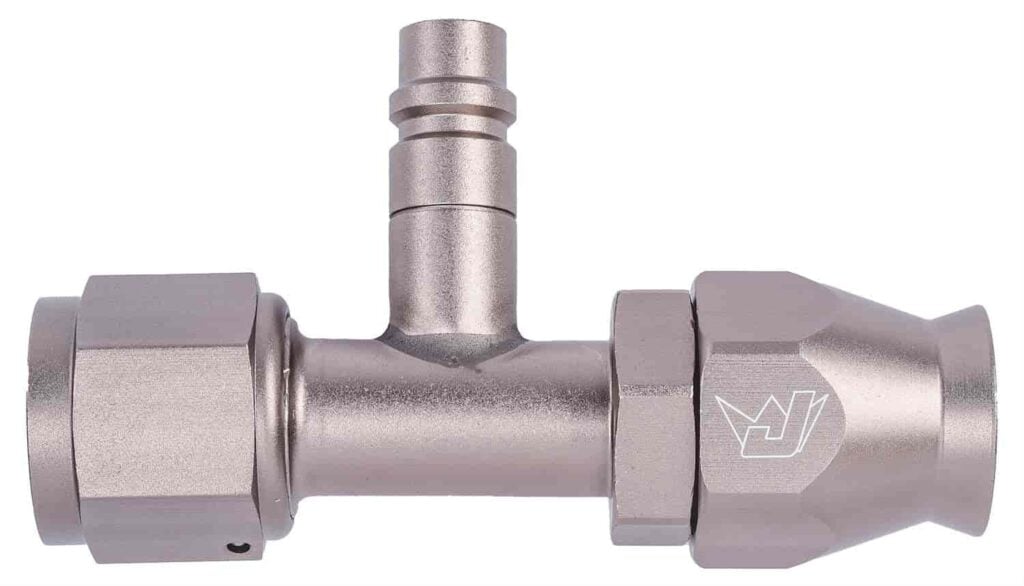
JEGS PTFE-Lined Hose and Hose Ends
Earl's AN Swivel-Seal Hose End Fittings
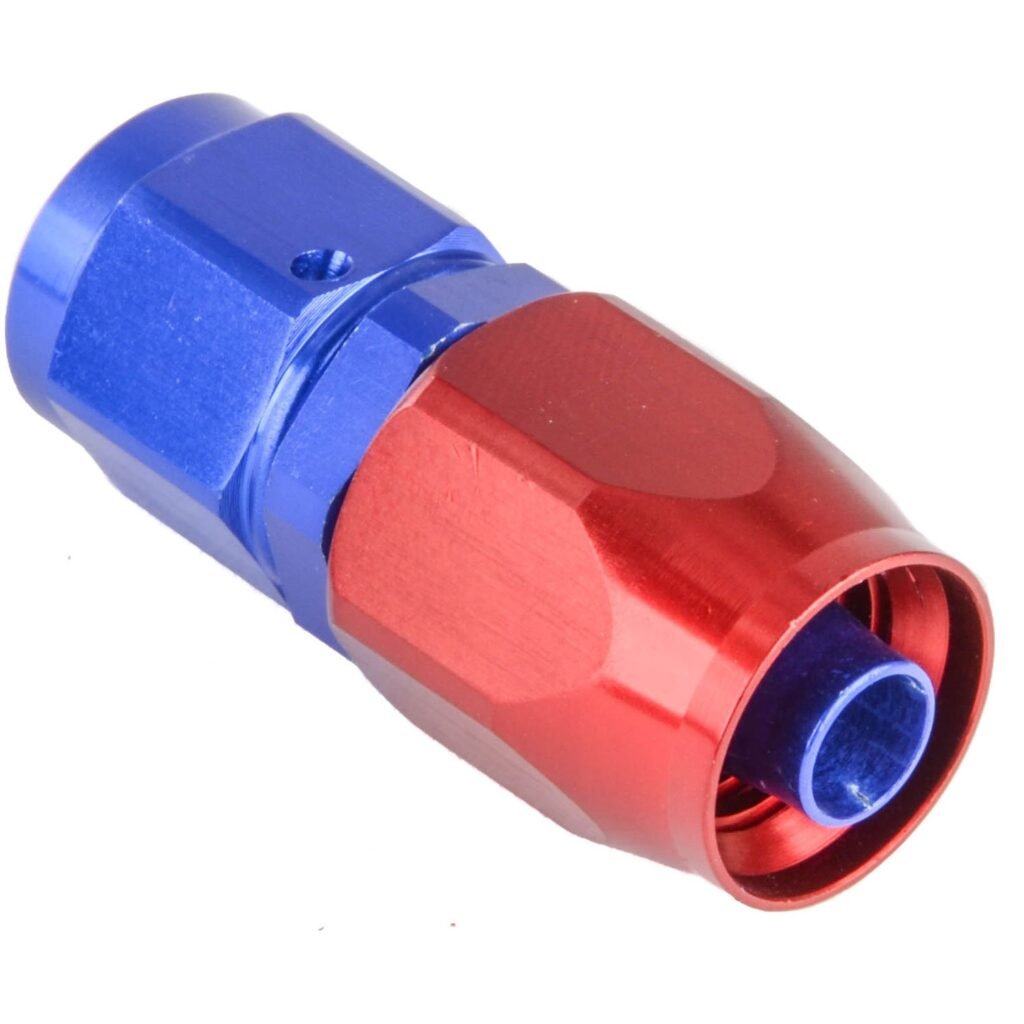
Russell Red/Blue AN Hose End Fittings
Sign up now to join the JEGS email newsletter and be the first to learn about new products, special deals and e-mail only offers!
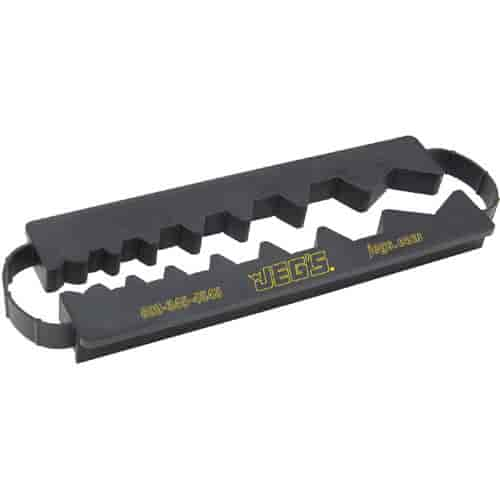
Want to know a few things about AN fittings? Here's some prudent information.
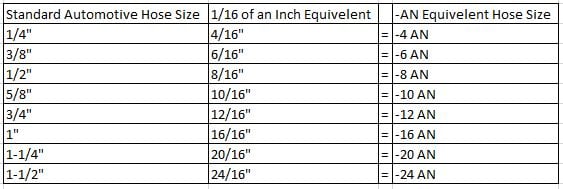
The below chart shows how AN size is determined. The number for the AN size is the nominal tube outside diameter (and nominal hose ID) in sixteenths of an inch. For example, a -6 AN fitting means it is 6/16 of an inch, which simplifies to 3/8".
Note that there are AN sizes missing from the chart that may be available (but with far less options to choose from than those on the chart) but are not part of the AN "standard" the performance automotive aftermarket follows. These include -5,-7,-9,-11,-13,-14,-15,-17,-18,-19,-21,-22,-23.
Use this AN fitting size chart to match dash size, tube OD, and SAE thread size (-5 is included for reference, though it's non-standard).
| AN Size | Fraction | Nominal Tube OD | SAE Thread (UNF) |
|---|---|---|---|
| -3 | 3/16" | 0.188" | 3/8-24 |
| -4 | 1/4" | 0.250" | 7/16-20 |
| -5 | 5/16" | 0.312" | 1/2-20 |
| -6 | 3/8" | 0.375" | 9/16-18 |
| -8 | 1/2" | 0.500" | 3/4-16 |
| -10 | 5/8" | 0.625" | 7/8-14 |
| -12 | 3/4" | 0.750" | 1-1/16-12 |
| -16 | 1" | 1.000" | 1-5/16-12 |
| -20 | 1-1/4" | 1.250" | 1-5/8-12 |
| -24 | 1-1/2" | 1.500" | 1-7/8-12 |
AN fitting size chart: dash size, tube OD, and SAE thread size for common -3 through -24 AN fittings.
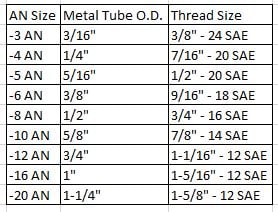
The easiest way to size an AN fitting is by its threads. Use calipers to measure the male thread OD (or the female thread ID), then match it to the SAE Thread column in the chart above. For example, a male thread that measures about 9/16" is a -6.
Don't size by the hose. Hose ID varies by hose type and brand, so the thread is the most reliable reference. The same goes for hard line fittings and tube nuts.
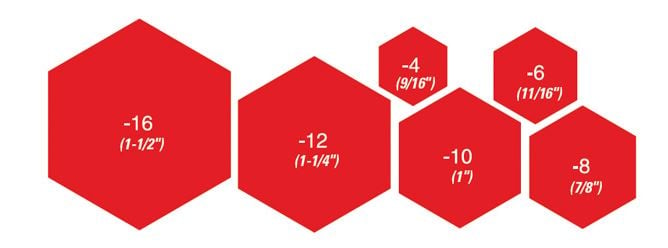
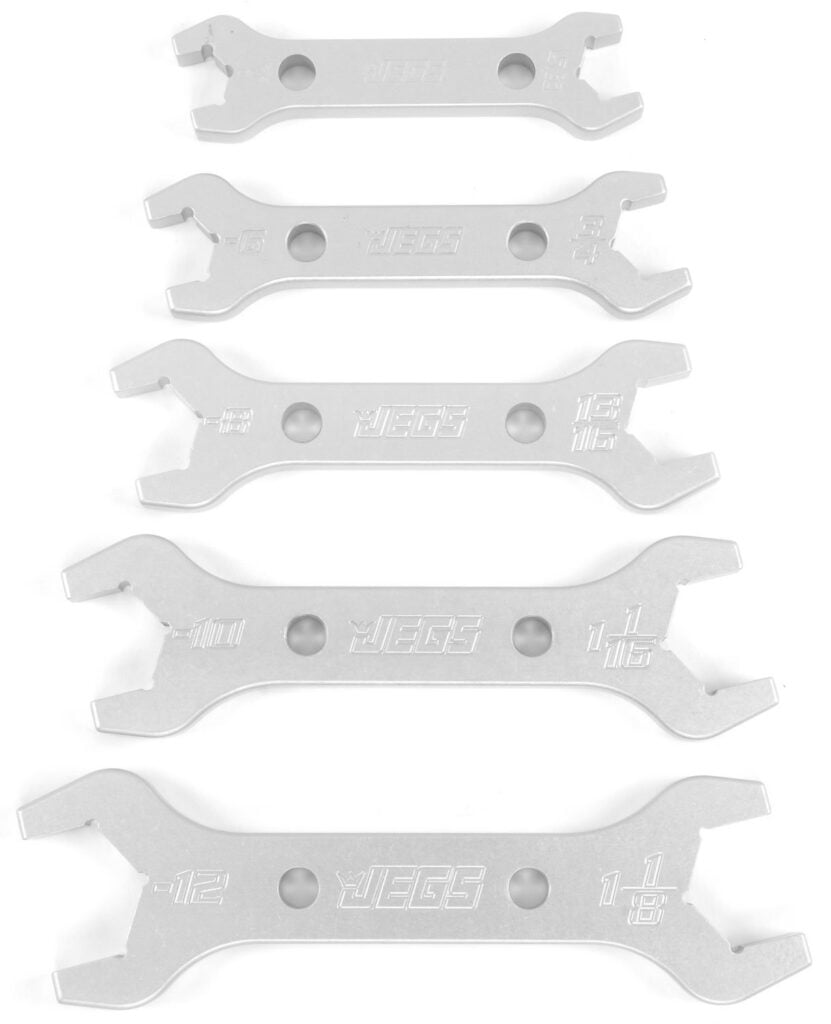
The above chart shows the wrench size that will fit the AN fitting nut. It is recommended to use aluminum wrenches as the softer material will scratch the anodized surface much less than a standard steel wrench.
Most leaky AN lines come down to a few avoidable mistakes. Here's what to watch for:
The right hose and fitting combo depends on what's flowing through the line and how much pressure it sees. Here's a quick way to choose:
You'll find these hose and fitting styles from Earl's Performance Plumbing, Russell, Fragola Performance Systems, and Aeroquip hose and fittings at JEGS.
Plumbing a fuel system? Start with our fuel line fittings and hose, then grab general AN fittings for the rest of the system. If you're doing a swap, our LS fuel line installation guide walks through the full setup.
Once you know your dash size and have the right tools and garage equipment, building a leak-free AN line is a straightforward afternoon project.
No matter what kind of fitting you're looking for, we at JEGS are bound to have it in stock. Since 1960, when our founder Jeg Coughlin started the company, we've been providing an excellent range of products for automobile aficionados and enthusiasts. We pride ourselves on exceptional customer service, offering all applicable warranties, and ultra-competitive prices. With JEGS, you're extremely unlikely to go wrong, and millions of satisfied customers over our six-plus decades of existence will testify to that. Why not join the community?
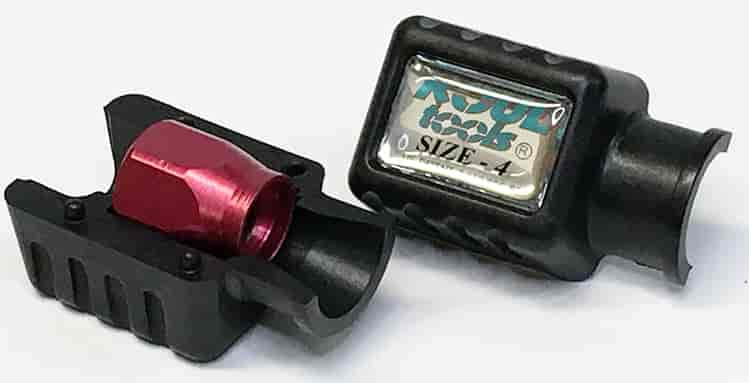
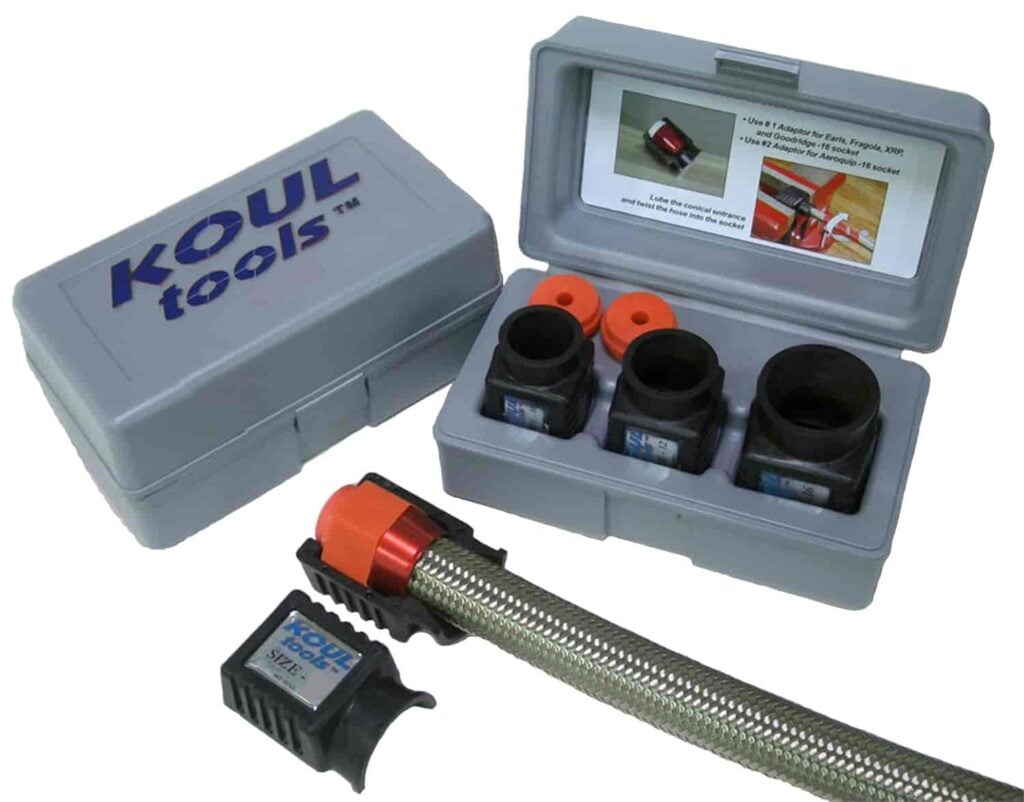
Koul Tools Hose Assembly Tools
JEGS Vise Jaw Protector for AN Hose Ends
JEGS Hose & Fitting Assembly Kit
Shop All Fluid, Oil, and Fuel Line Fittings
It's the nominal tube OD in sixteenths of an inch, so a -6 fitting is 6/16", or 3/8". Get the full breakdown in AN fittings and hose sizes explained.
A -6 AN fitting uses a 9/16-18 thread and matches 3/8" tube. If you're choosing between -6 and -8 for fuel, check fuel line size vs. pressure drop first.
Not directly, because AN seals on a 37° flare, so you'll need an AN-to-NPT or AN-to-inverted-flare adapter. Our guide to choosing hose and fittings for transmission cooler lines covers picking the right adapter.
No, a bench vise and an aluminum AN wrench will get the job done. A Koul Tool from our hose and tube tools makes seating the hose easier and protects your hands.
Check the tape mark to make sure the hose didn't push out, then pressure test the line with a pressure test kit before you install it.