When it's time to work on vehicle brakes for the first time, many ask, "How hard is it to change brake pads?" The answer to this question primarily depends on the year, make, and model of vehicle. It is also dependent on the skills, knowledge, tools, and ability of the person performing the repair. In most cases, changing brake pads is fairly simple.
Are Brake Pads Universal?
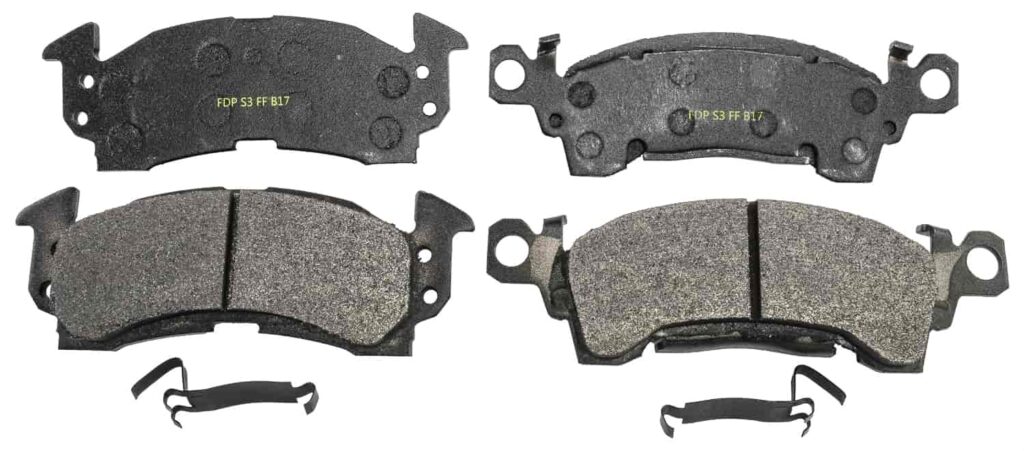
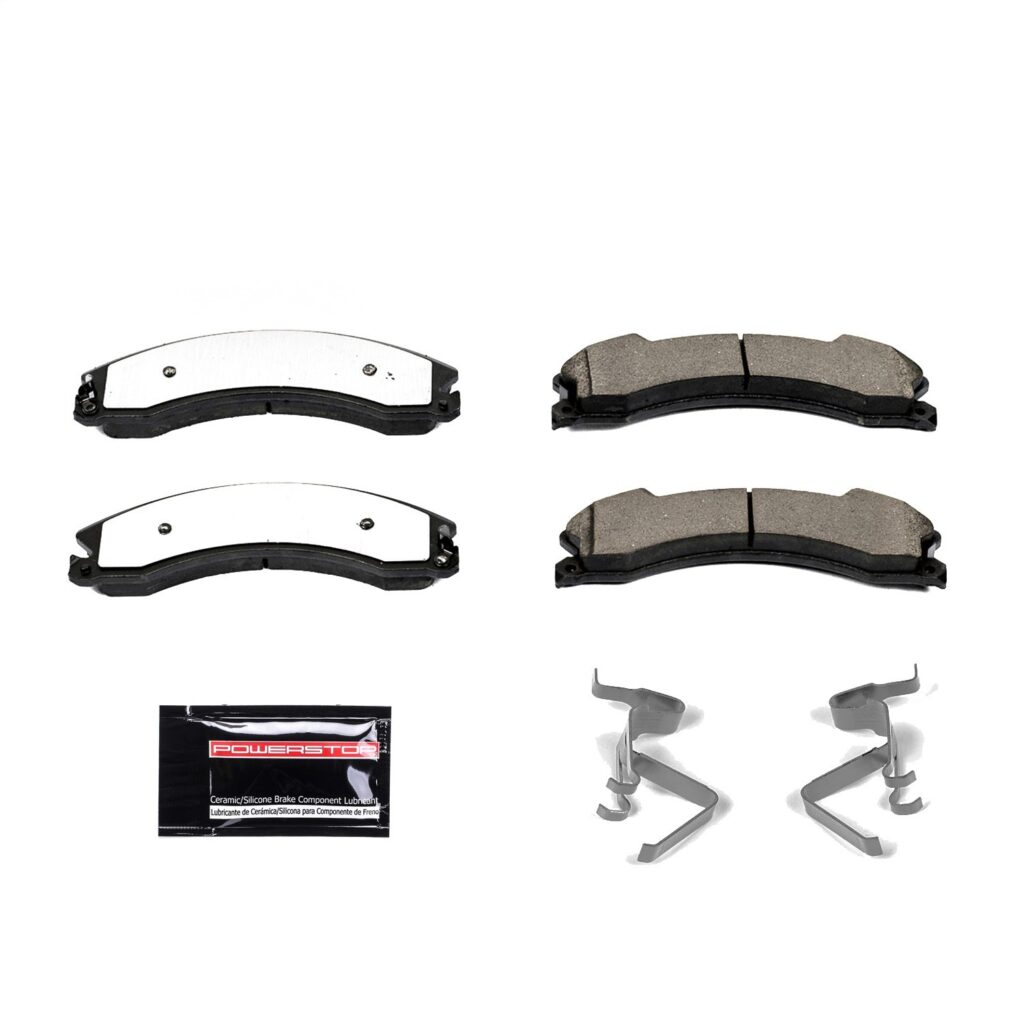
Unless you have a custom brake system on a race car or hot rod, the brake pads for your vehicle are not universal and are application specific. With different size brake rotors and brake calipers, depending on the car or truck, the pads need to be the correct shape and dimensions in order to properly fit and provide the best performance. For example, specific 2012-2022 Nissan, GM, and Chevy pickup applications use the same brake pads, which will not fit any other vehicles. There are types of brake pads which fit a larger number of vehicles, such as the 052 series, spanning many vehicles between 1968-2002. However, you must confirm the year, make, model, and brake system of your vehicle for proper fitment and performance.
JEGS Newsletter Signup
Sign up now to join the JEGS email newsletter and be the first to learn about new products,
special deals and e-mail only offers!
Thank you for signing up!
How To Change Brake Pads
The instructions on how to change your brake pads will change, depending on the vehicle year, model, and make. However, the following list contains the most common steps required along with tips for changing brake pads:
Raise the vehicle safely off the ground enough to allow removal of wheel and tire assembly as well as brake components.
Remove the front or rear wheel and tire assembly from one side only. This allows you to reference the other side should there be an issue.
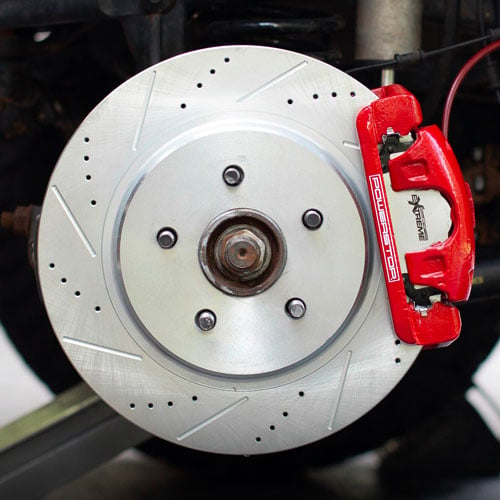
Locate the brake caliper and remove the mounting bolts, allowing the caliper to be lifted off the brake rotor.
Remove the brake pads from the caliper. There are different mounting possibilities including clips, pins, friction, and others.
The caliper then needs to be carefully suspended out of the way to avoid damage to the brake hose.
Confirm the new brake pads match the original brake pad backing plate dimensions. If there are shims or clips required, attach them to the backing plates.
Using a brake caliper piston tool, compress the piston back into the caliper to allow room for the new pads which are thicker. The piston will either push or screw/thread back in place. Be aware that this pushes brake fluid back through the system and into the master cylinder reservoir. Check the reservoir to ensure fluid doesn't leak (it will damage paint and other finishes) or cause the reservoir to become overfilled.
Clean the brake caliper with brake cleaner. Lubricate the bolts, which allow the caliper to float and evenly clamp the brake pads over the rotor.
Install the brake pads into the caliper.
Reinstall the brake caliper over the rotor and torque the mounting bolts to the proper specification from the repair or service manual for your specific vehicle.
Reinstall the wheel and tire assembly torquing the lug nuts to the proper sequence and specification from the repair or service manual for your specific vehicle.
Repeat the steps for the other side.
When steps for both sides have been completed and the surface is checked for loose tools, parts, and hazards, the vehicle can be safely lowered to the ground.
Follow the break-in process for the brake pads per the manufacturer's instructions. This usually involves driving the vehicle at certain speeds and applying the brakes at different pressures to allow the brake pads and rotors to bed in together.