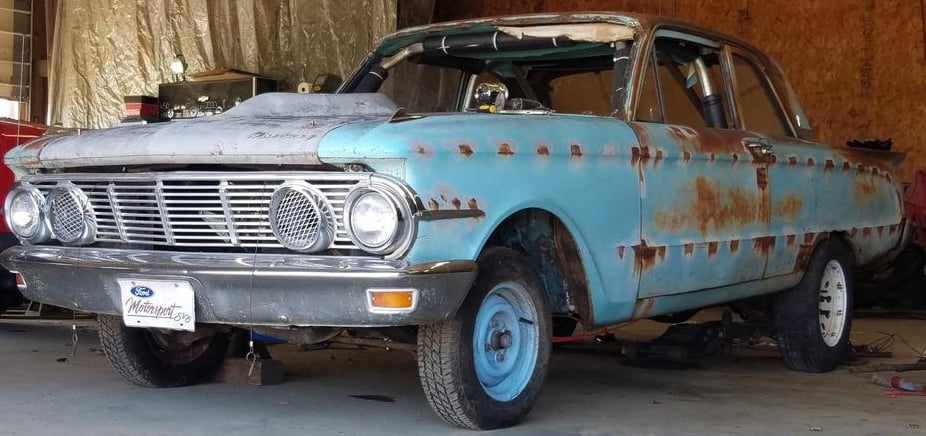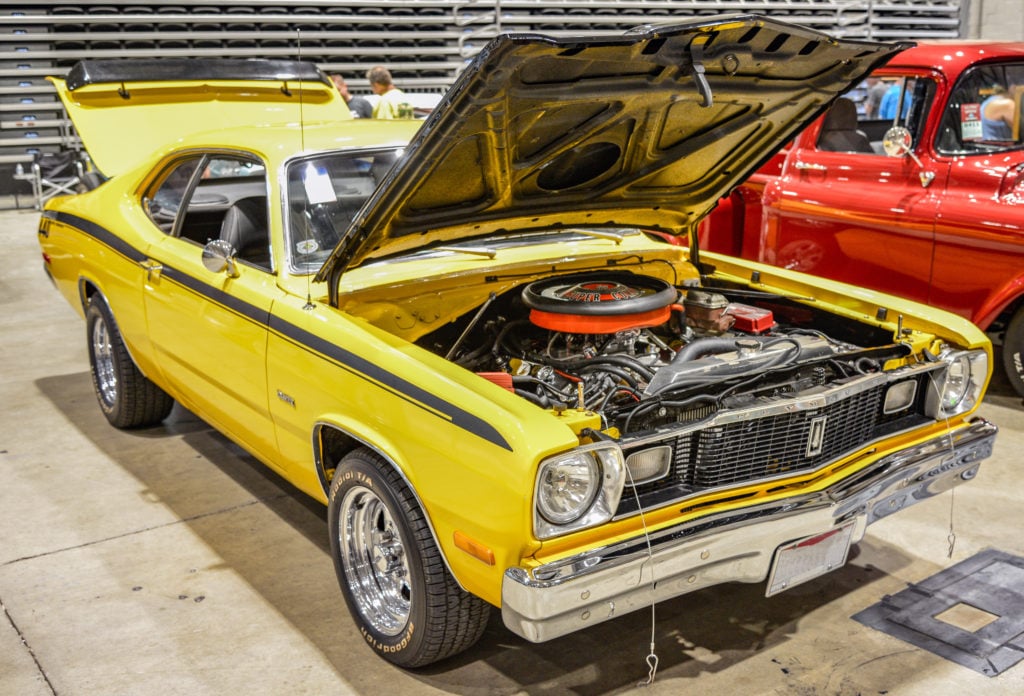
There is an unexplainable joy you feel after finally buying the classic car you want to restore. It probably looks rough and needs some serious attention everywhere, but it’s going to be 100% you when it’s all done. When that newlywed-style feeling wears off, it’s time to get started on rebuilding your classic car… but where do you begin?
Settle in for a process that’s likely to take you months—probably years—before you have a finished project on your hands. And it’s going to be more expensive than you think, no matter how good the condition is before you get started.
This is an outline of what to expect as you rebuild your first classic car, and it’s by no means exhaustive.
Lay Out Your Plan
It isn’t time to tinker under the hood, take the wheels off, or even disconnect the battery (if there is one). The result you want is only going to come about if you plan out how you’re going to execute it.
Create a budget
Unless you found and bought one of the rarest classic cars for sale, it’s all but guaranteed to be much less costly than the rebuild you’re undertaking if you do it right. Before you plan the parts you’re going to buy and scheduling time in a paint booth, determine just how much money you’re willing to spend on your new passion project. Maybe it’s $10,000 this year and another $15,000 over the next three years. Whatever it is, you can better plan your build when you know where your money is coming from and how much you can afford.
List the steps you’re expecting
With your budget in mind, realistically lay out what you want to do with your classic. Is it a bone-stock restoration, or are you laying in a crate engine and beefing up the drivetrain? Does the body need replacement panels, and will the interior need to be upholstered or fully replaced? Remember, its future value can be affected significantly if you go in a direction other than stock and it doesn’t have widespread appeal.
List out as many steps as you think you’ll have to complete, then begin estimating their cost. A bit of advice: set aside one-third of your budget for unexpected costs that will assuredly arise along the way.
Find a home for your build
Whether it’s a few months or a few years, your classic car isn’t going anywhere for a while. Choose a spot where you can work on it as you find time, and where it won’t interfere with the rest of your life. If you have a shop with a lift, that’s ideal.
Find the Best Tools
Even if you’re an accomplished mechanic, you’re going to need more tools to completely rebuild classic cars. You’ll likely need tools and equipment to work on classics that aren’t used as often on modern vehicles like pullers, a brake line flare kit, a tube bender, and stud extractors.
Here are a few more suggestions:
- To move your car around when it’s mid-build, dollies are great to have.
- A parts washer can help clean up grease-laden components quickly.
- Cutting blades and discs are necessary – lots of ‘em.
- A welder is a must.
- A media blaster makes body prep much easier.
- Drill bits, extraction tools, and a tap and die set are crucial.
Naturally, JEGS is the best place to find all the tools you need to build your classic car from the moment you turn the first bolt.
Step-By-Step Process
Your process will heavily depend on how in-dept the rebuild is. Let’s assume the basics without any huge mods. And fundamental to the stages here is documentation, both for the ability to reflect on your experience in the future and reference to help get it done.
Disassemble the car
Remove the interior components as carefully as you can including the seats, the carpeting, door panels, dashboard, glass, and wiring harnesses. Store and label all your parts in an organized fashion whether or not you’re using them later.
Remove the engine and tranny
Whether you plan to rebuild or replace the engine and transmission, take them out of the chassis. Of course, drain the fluids first and mark your fuel, wiring, and vacuum connections at both ends. If you’re changing the axles, now’s the time to pull those too.

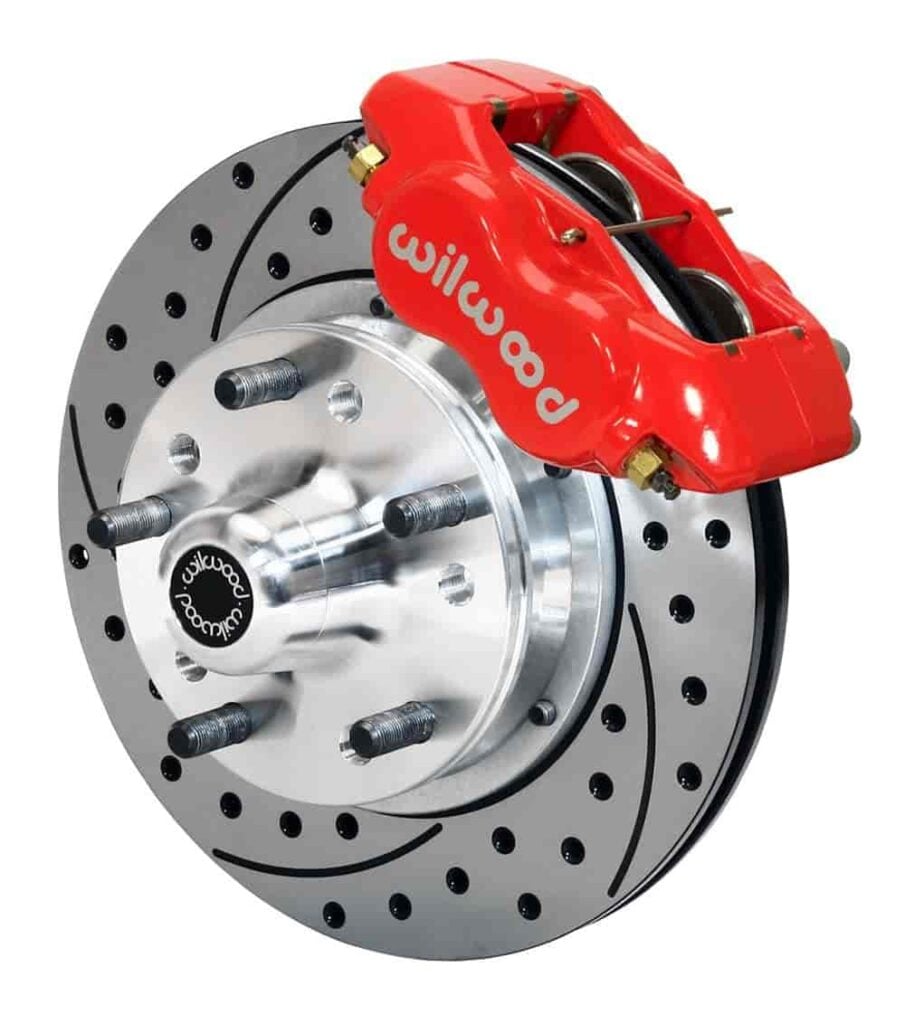
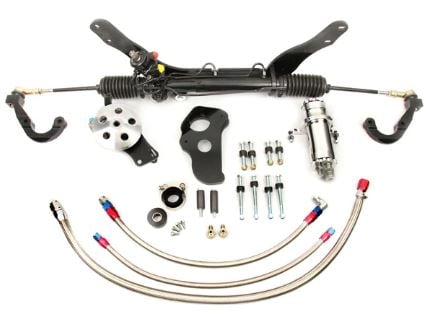
Strip the brakes, suspension, and steering parts out
You’ll be rebuilding or replacing all of these components. Remove the steering rack, the control arms and steering knuckles, and the brake lines.

Remove exterior trim and panels
This includes headlights, signal lenses, mirrors, door spears, and so on. They need to come off for refinishing, and it’s a good idea to find out now if you need to replace them due to broken fasteners.
Order your parts
List out the parts you need and place an order at JEGS so they’re on hand as you need them. For your budget, order parts in stages if necessary.
Refinish the body
A number of variables come into play here. If your modding your fenders, tubbing the rear wheels, or adding a body kit, that’s all in above and beyond the basics. Here’s where you’re going to repair rust, weld in patches, smooth any dents or wrinkles, and otherwise fix up the exterior. Once that’s ready—and no lie, it’s one of the longest processes you’ll do—get your paint job done.
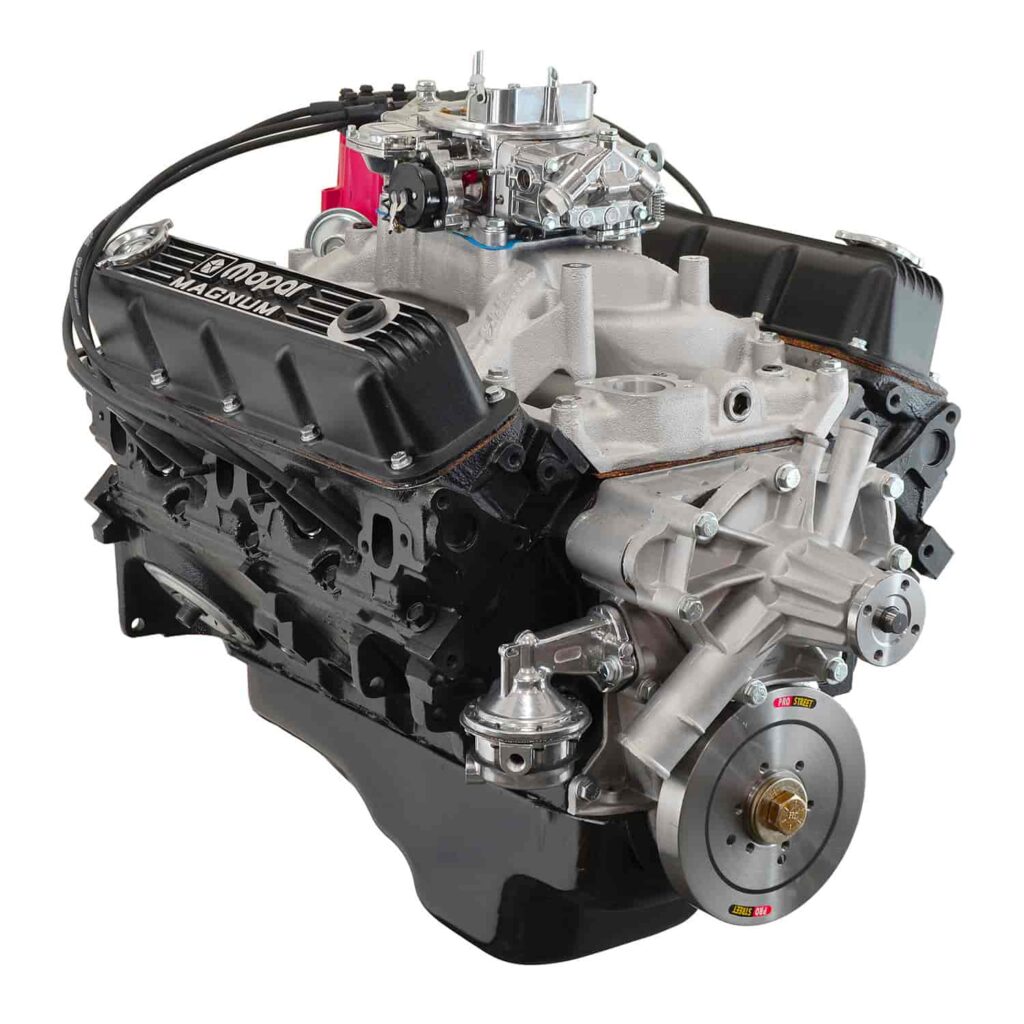
The Engine
At some point in the build, usually after the bodywork is done and it’s ready for paint, you need to figure out what to do with the engine. A rebuild can keep the car as close to original as possible, which is important for a rare, numbers-matching model. But if you want more power, you can either mod the engine by increasing the compression, adding stroke, injecting more fuel, adding a supercharger, or even nitrous.
What many classic car owners choose instead is a crate engine that’s brand new, has a warranty, and upgrades many of the aspects of the original to modern standards. Some are fuel-injected for better fuel control and tuning, and it’s a fast way of increasing your horsepower and torque.
Regardless which direction you go, get your power plant in order.
Reassemble
With the engine chosen and the body painted, assemble your classic car. It’s easier said than done, and it’s painstakingly time-consuming work.
- Install the drivetrain so you have a rolling chassis.
- Assemble your new brakes.
- Install the suspension and steering components.
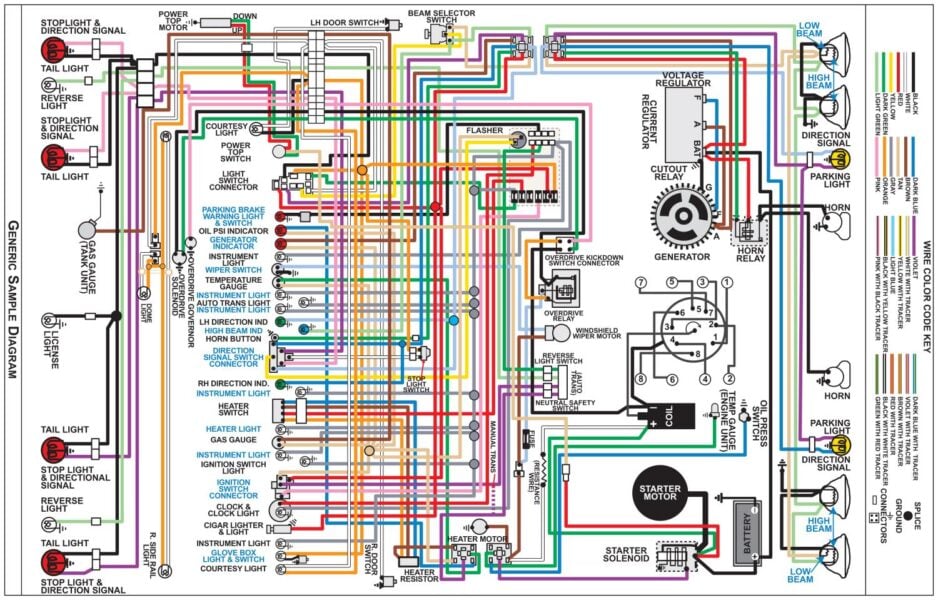
- Fit your wiring harnesses throughout.
- Install the carpet, interior, and the glass, using new seals.
- Install your engine and transmission followed by the exhaust system.
- Add the exterior trim and lights.
- Get it running, get an alignment, and work out the kinks.
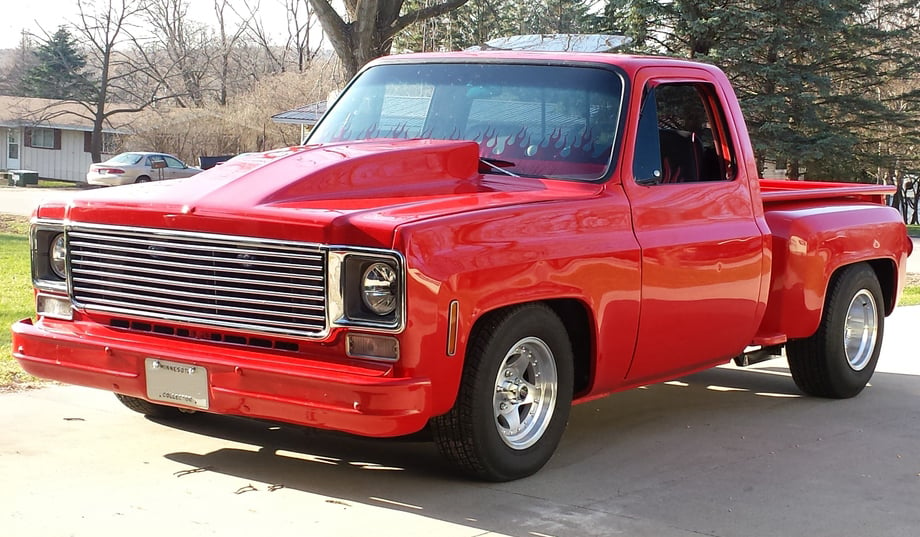
Get Driving!
Now that your build is complete, it’s time to enjoy it. Find a local "Cars and Coffee" group to cruise and hang out with. Participate in car shows and swap meets. Use the excuse of “breaking in the engine” to take a road trip. It’s a car, and it’s meant to be driven.
Whether it’s your first classic car build or you’re a seasoned DIYer, you’ll find your automotive tools, performance parts, and everything else you need for the job at JEGS. Shop online for top-quality products that make any restoration job faster, better, and easier.