Welcome to our spark plug replacement guide, which covers everything you need to know to successfully swap out your vehicle’s old plugs for new ones.
We’ll first explain how spark plugs work and what they do for your engine. Then, we’ll reveal which tools you’ll need in your toolbox and how to change spark plugs using them. Finally, we’ll share some tips to help ensure the best experience possible.
Ready to get started? Let’s dive in.
How Spark Plugs Work
While small, spark plugs play one of the most important roles in a car: producing the spark that powers the engine.
Most vehicles have four to eight spark plugs, one for each cylinder. Their primary job is to introduce a spark into the combustion chamber to ignite the air-fuel mixture.
This controlled ignition causes a rapid expansion of the gasses, which pushes the piston down, turning the crankshaft and, ultimately, the vehicle's wheels.
The spark must occur at just the right moment in the engine cycle for optimal power and fuel efficiency. Any delay or misfire can lead to decreased performance, reduced mileage, or even potential engine damage.
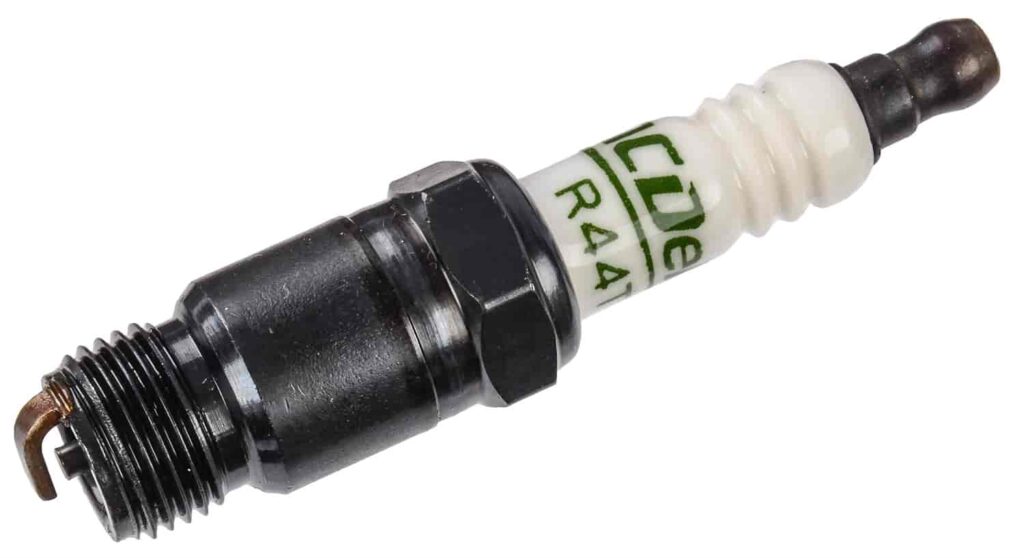
Several types of spark plugs exist, including iridium, platinum, copper, double platinum, and more.
Depending on which type you choose, as well as your vehicle, the conditions you drive in, and your driving habits, spark plugs can last anywhere from 20,000 to 100,000 miles before needing to be replaced.
As for signs and symptoms of a needed replacement, some of the most common include:
- Sluggish acceleration
- Cylinder Misfires
- Rough engine idle
- Reduced fuel
- Starting troubles
- Engine knocking
If you’re experiencing any of the above, you’ll need to confirm if it’s your spark plugs and, if so, replace them as soon as possible. The rest of this guide will cover how to change spark plugs, regardless of whether you’re new to engine maintenance or a professional mechanic.
Which Tools Do I Need to Replace My Spark Plugs?
- Spark Plug Socket/Extension: This specialty spark plug tool features rubber inserts that grip around plugs, which makes replacement easier and safer as they move less while handling. You may also need a socket extension for hard-to-reach plugs, depending on your engine's design.

- Ratchet Wrench: Essential for spark plug removal, a ratchet wrench uses a gear-driven mechanism allowing continuous rotation. This means you won't need to reset your grip when turning the plug. When paired with your spark plug socket, it ensures precise handling in tight engine spaces.

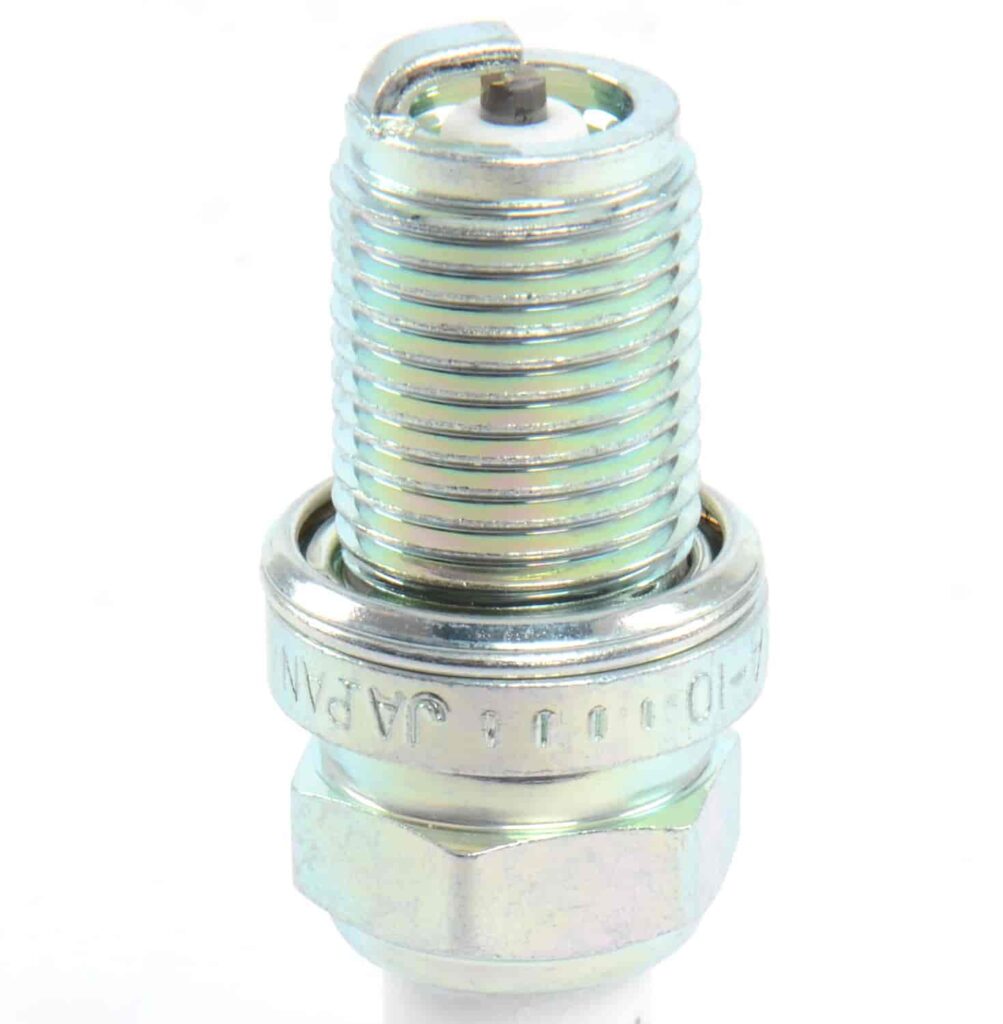
- Feeler Gauge: This tool features thin metal strips of varying thicknesses that can be used to measure the gap between a spark plug's electrode and tip. You can compare the gap measurement to the manufacturer's recommendations and correct it if needed.

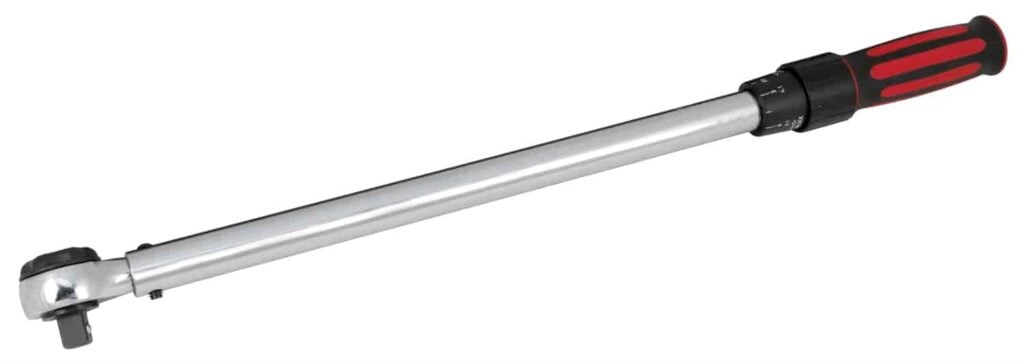
- Torque Wrench (Optional): While not required, a torque wrench is very convenient as it allows you to tighten each plug to the manufacturer's precise torque specification without having to worry about over or under-torquing.
- Rubber Gloves (Optional): You don't need rubber gloves for spark plug replacement, but they are perfect for shielding your hands from grime and grease that can stain clothing and upholstery and would otherwise have to be scrubbed off later.

Steps to Change Spark Plugs in a Car
Below, we’ll share step-by-step instructions for spark plug replacement. Just make sure to also review the section after, as we’ll reveal some additional tips to consider for a hassle-free experience.
Step 1: Preparation and Safety
Before starting, park your vehicle in a safe, level location, away from any potential hazards. Turn off the ignition and let the engine cool, as working on a hot engine increases the risk of burns and can lead to complications with part removal. Once safe, open the hood.
Given that spark plugs are electrical components, consider wearing rubber gloves. Then, as a further safety precaution, disconnect the battery’s negative terminal. To access the spark plugs, remove the air cleaner assembly and any components blocking access to the spark plugs.
Step 2: Locate the Spark Plugs
The position of your vehicle’s spark plugs depends on its design. Generally, four-cylinders have spark plugs located in a row on the top or side of the engine. In contrast, V6 or V8 engines typically have their plugs evenly spaced on both sides.
If you’re having difficulties finding your car's spark plugs or aren’t sure how many it has, consult your owner’s manual.
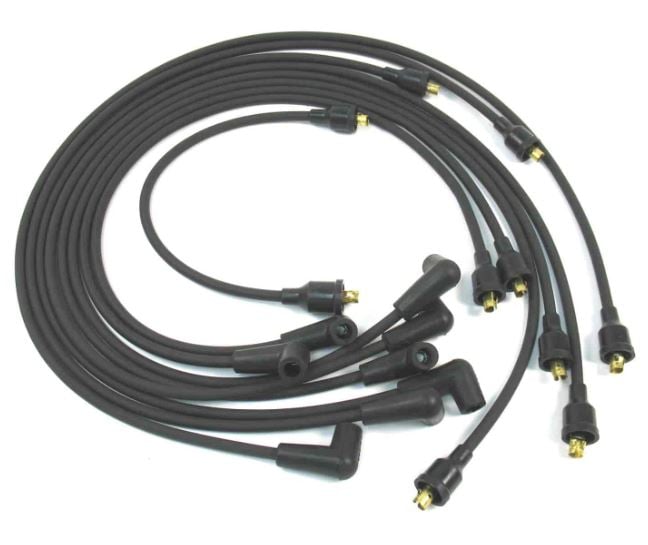
Step 3: Remove the Spark Plug Wires
When replacing spark plug wires and ignition coil connectors, you'll need to have a gentle touch. Forceful or hasty removal can lead to stripped threads or other damages.
You must also be attentive to the order in which you remove spark plug wires, which will be vital when installing the new plugs.
Step 4: Clean the Area of Debris
Before removing the old spark plugs, ensure the surrounding area is free from dirt, debris, or other contaminants. Use a clean cloth or a small brush to wipe away any loose particles so they don't fall into the cylinder once the spark plugs are out.
Step 5: Remove the Old Spark Plugs
With your spark plug socket and ratchet wrench, begin the removal. If your vehicle's spark plugs are especially hard to reach, consider using a socket extension to make things easier.
Step 6: Verify the Gap and Insert the New Spark Plugs
Using your feeler gauge, ensure the gaps between the spark plug's tip and central electrode match the manufacturer's specifications found in your owner's manual (typically 0.024-0.071 inches). Even pre-gapped plugs need checking, as improper gaps can cause engine misfires or reduced power.
Use your spark plug socket and ratchet wrench when installing. Just be cautious to avoid over-tightening, or you might strip the thread or break the plug. If a problem is felt when installing plugs, carefully clean the threads with a thread chaser, to avoid stripping or cross-threading of threads in the cylinder head.
On the other hand, under-tightening can lead to the plug working itself free over time. If available, consider using a torque wrench to achieve the right tightness without the risks.
Step 7: Finish Up
With the new spark plugs installed, carefully reattach the spark plug wires or ignition coil connectors in the correct order. Make sure they fit snugly without any gaps or wiggle room.
Next, reinstall the air cleaner assembly and any components you may have removed earlier. Ensure every part is secured and no tools or debris have been left in the engine bay. Then, reconnect the battery's negative terminal and close the hood.
Before driving, start the engine and let it idle for a few minutes, listening for any unusual sounds or irregularities. If the engine sounds and runs well, take the vehicle for a short test drive, paying attention to its performance.
If everything feels all right, congratulations: you've successfully changed your spark plugs.
Helpful Tips to Consider When Changing Your Spark Plugs
- Allow Time for Cooling Down: Change spark plugs when the engine is cold to minimize the risk of thermal expansion damage, such as a broken plug or stripped threads. Ideally, allow your engine to cool for 30-60 minutes before beginning.
- Avoid Over-Torquing and Cross-Threading: Be cautious during installation to not over-torque and cross-thread the spark plugs. Such mistakes can induce pre-ignition, jeopardizing the plugs and the cylinder crown. Initiate by hand-threading for accurate alignment and adhere to the provided torque specifications.
- Inspect for Signs of Engine Problems: When replacing spark plugs, examine each for signs of oil or fuel. These residues can hint at issues like deteriorating piston rings, malfunctioning fuel injectors, or compromised valve seals.
- Consider Greasing and Lubrication: You can also add dielectric grease inside a plug’s boot during installation to protect against misfires and simplify future removal. Moreover, applying anti-seize lubricant to the plug threads can deter binding in the cylinder head. Just note some manufacturers advise against lubricants due to possible over-torquing.
- Organized Reinstallation: For a smooth reinstallation, note the sequence in which you remove your spark plug caps or connectors. Using colored tape or numbered labels for better organization can be invaluable. By maintaining this order and placing them sequentially, you expedite the process and eliminate any risk of misconfiguration.
- Apply Rust Dissolver: For spark plugs that are rusted and stuck, consider applying a rust dissolver around the plug's base and letting it sit for several hours, which can break the rust down. Just be careful when handling this chemical, and consider opening a window.
JEGS: For All Your Automotive Needs
And there you have it, a full rundown on how to change spark plugs, as well as a few tips to ensure the replacement goes smoothly.
Timely replacement not only ensures optimal engine performance but can also extend the life of your vehicle, and with the right tools and knowledge, a DIY approach can save you money and offer a rewarding sense of accomplishment.
If you haven’t yet ordered your replacement parts, or if you still need a spark plug tool or two, consider ordering online at JEGS, a leading supplier of performance automotive parts.
Still have questions? Contact our team today. Otherwise, feel free to complete your order online and have your products sent straight to your door.