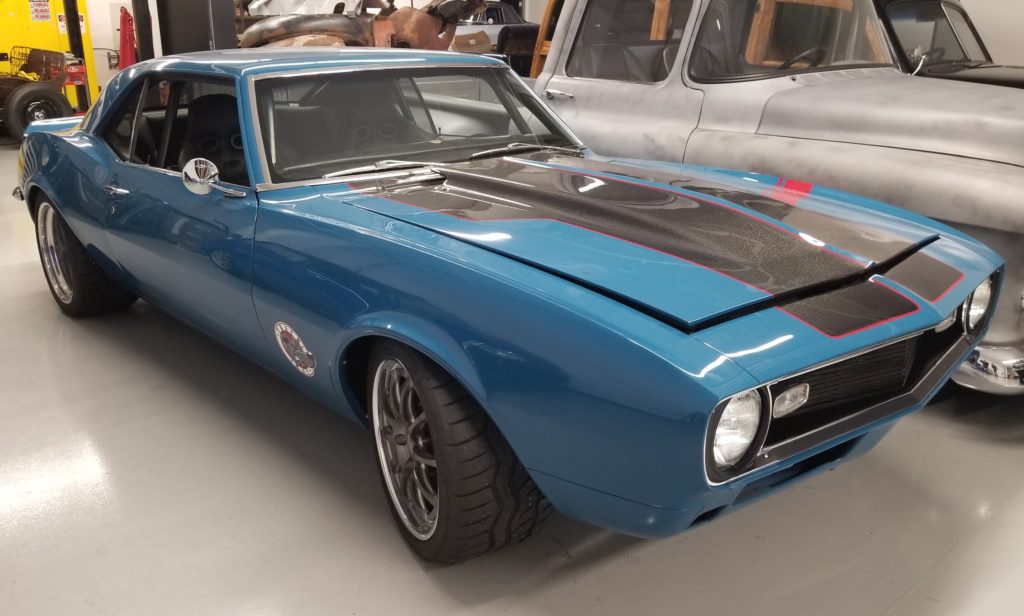
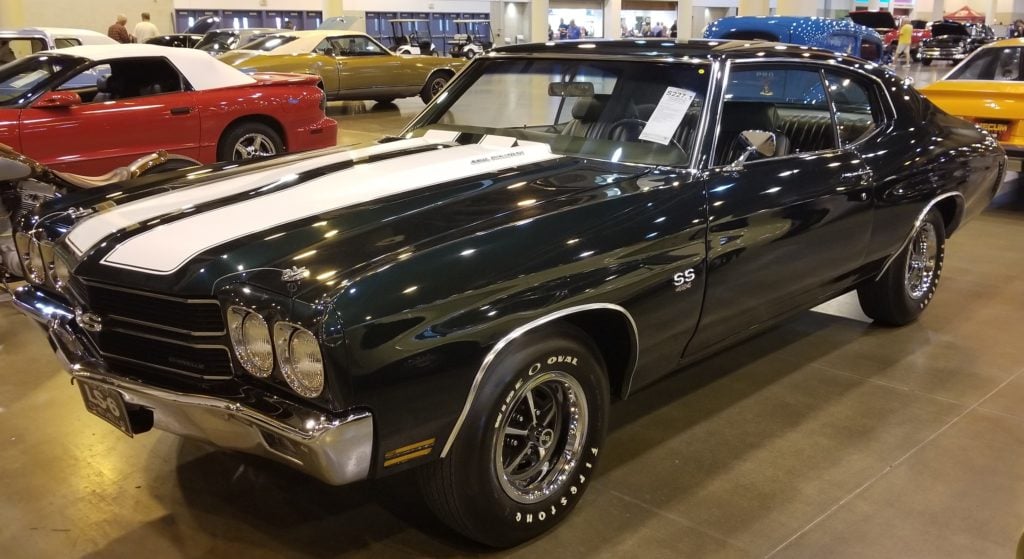
Restoring a vintage car can be a challenging project, but with some useful tips and tricks, you can make it a positive and thrilling experience. There are many reasons why one would choose to restore their vintage vehicle, the main one being a better-looking car as well as enhanced reliability. Even though restoration projects are often quite vehicle-specific, there is still some general advice that can be applied to practically any vintage restoration project.
Getting Started
Before you start aimlessly stripping the car down to the bare chassis, you need to create a plan and stick to it. You’ll often be limited by time and budget as to what you can achieve, so you need to plan accordingly. Unless you’re restoring a vintage car for a car show like SEMA, you’re probably not interested in spending hundreds of thousands of dollars on a restoration project, not to mention thousands of man hours.
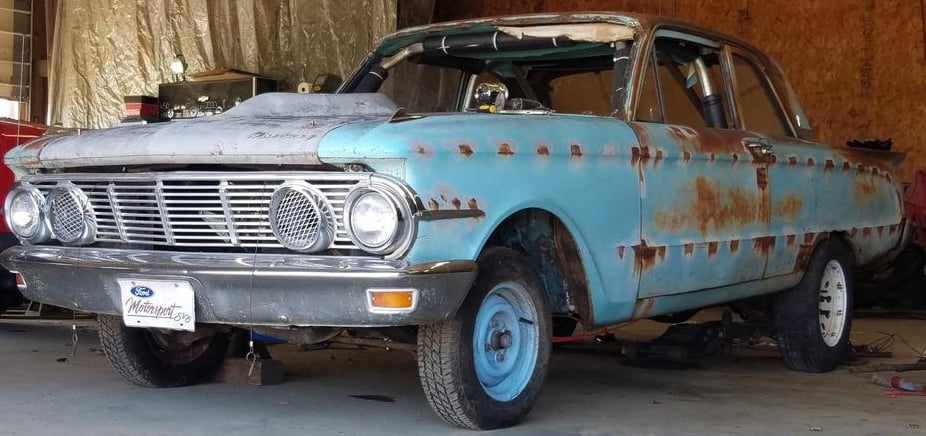
Not all restoration projects require an equal amount of work or cost an equal amount of money. If your restoration project requires more work, such as removing rust or building custom brackets for a new crate engine, you’re definitely on the more advanced end of the restoration spectrum.
To save time and avoid unnecessary headaches, make sure you have most if not all of the required equipment needed before starting the project. Basic hand tools like screwdrivers and pliers are a must, though advanced tools like angle grinders and welders might not only come in handy but could be required for certain parts of the project.
Disassembly
The most important tip for disassembly is to label all the various bolts, nuts, and washers, so that you know where everything came from and is subsequently supposed to go once it’s time to assemble it back again. Some people even like to take pictures of everything they take off so they know exactly where each part goes as well as what it’s supposed to look like once mounted.
Start by removing the battery and emptying the gas tank since you definitely don’t want any flammables near you, and the battery could easily create a spark. Proceed by taking off the bumpers and the various trim pieces scattered throughout the vehicle. You can then take off the windshield and the window moldings. Be careful when storing them since it doesn’t take a lot to crack an unmounted window or windshield.
You can then start stripping the car’s interior, first by removing the seats and the door trim, and then the headliner as well as the carpet. Some cars have a dashboard that can be removed as a single component, while others might require you to remove each instrument first. Even though we’ve said it once, we’ll say it again: take as many pictures as possible. They’ll help you with assembly down the line but they’ll also serve as valuable evidence that the car has actually undergone a restoration process and that it was done correctly. This is something a potential buyer will appreciate.
Before you remove the engine, drain all the liquids and remove the hood for easier access. At this point you can also remove the doors and the trunk lid since you’ll want to send them off to be restored anyway (in case you’re not replacing them with new ones).
Last but not least, it’s now time to remove suspension components and drop subframes. On older cars using body-on-frame construction, you’ll be able to separate the body from the frame and work on each component separately.
The entire disassembly procedure should take you anywhere between 40 and 50 hours, but someone less experienced might need significantly more time, so don’t be discouraged.
Restoration
You’re now ready to send parts off to be sanded and re-sprayed or re-chromed as needed. The body needs to be sanded and prepped for painting, which is quite tedious. Unless you’re extremely confident, you should probably send it off to a body shop and have it painted by a professional.
The engine and the transmission can also be sent off to a machine shop in case you’re not too keen on rebuilding them yourself or if you don’t plan on installing a new powertrain. Disassembling the engine is not for the inexperienced, so unless you know what you’re doing, don’t even attempt to strip the block and replace engine components.
This would also be a good time to repaint the frame and rebuild the suspension by replacing old and worn-out components. Order everything you need so that it has plenty of time to arrive and you don’t end up chasing parts when it comes time to reassemble everything.
If you’re not ordering new seats, now’s the time to have them reupholstered so that they’re fresh and clean when you inevitably put them back in. While all of that’s going on, you can rebuild and repaint interior parts as well, including but not limited to the instruments, the heater box, the radio, etc.
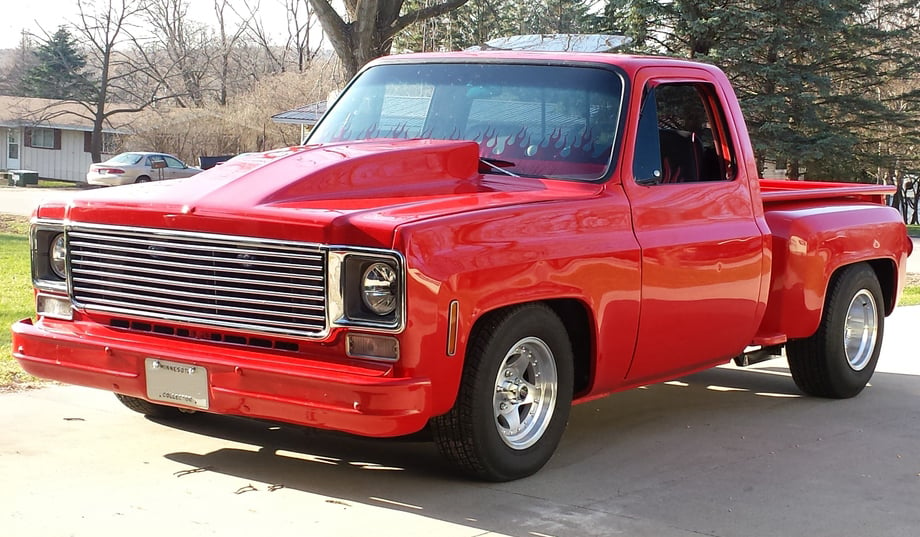
Car Rebuild
With everything restored, it’s time to fit it all back together and the car rebuild can begin. If your car has body-on-frame construction, firstly reunite the body and the frame back together. Start with everything mechanical and leave the interior for last. That means putting the engine, transmission, axles, driveshaft, and cooling system in first. You can then install the hood back on, as well as the doors and the trunk.
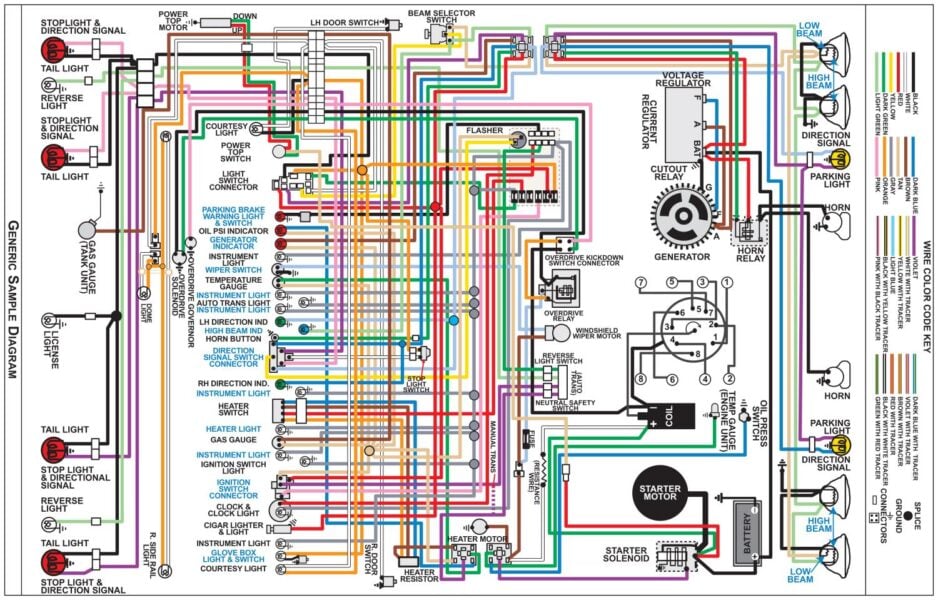
As for the interior, you want to begin with the wiring harness since it’ll be difficult to get to it if you leave it for last. Then install the dash and the associated instruments, followed by the interior trim, the carpet, and the headliner. Proceed by fitting the door glass, the trim panels, and finally putting in the reupholstered seats. Last but not least, it’s just a matter of fitting the bumpers back on and any exterior restoration trim pieces remaining.
Tips For Vintage Car Restoration
As mentioned before, have a plan, and don’t just wing it as you go along. Know exactly what you want to be done and how much you’re willing to spend, as it’s easy to go over budget with these kinds of vintage restoration projects. Research mechanics and body shops before sending your valuable parts off to them. Choose reputable shops who know what they’re doing and have good ratings.
Take as many pictures as you can since they’ll help you put everything back together and you’ll have proof that the car’s been properly restored when it comes time to sell it and pass it on. This is a broad overview covering how to restore a car, but hopefully it helps you figure out the steps involved and the size of the project you’re about to undertake.
Restoring a car with no experience is possible, but there will be a steep learning curve along the way, so just be mentally prepared for it. You’ll encounter a lot of obstacles and spend countless hours at night scratching your head, but the result will be worth it.
You can find classic car restoration parts for various makes and models at JEGS. From batteries and liquids to crate engines and fuel systems, JEGS has you covered.